Integrate Single Sign-On
Prolaborate allows access to Enterprise Architect models through SAML Single Sign-On authentication by integrating with an identity provider.
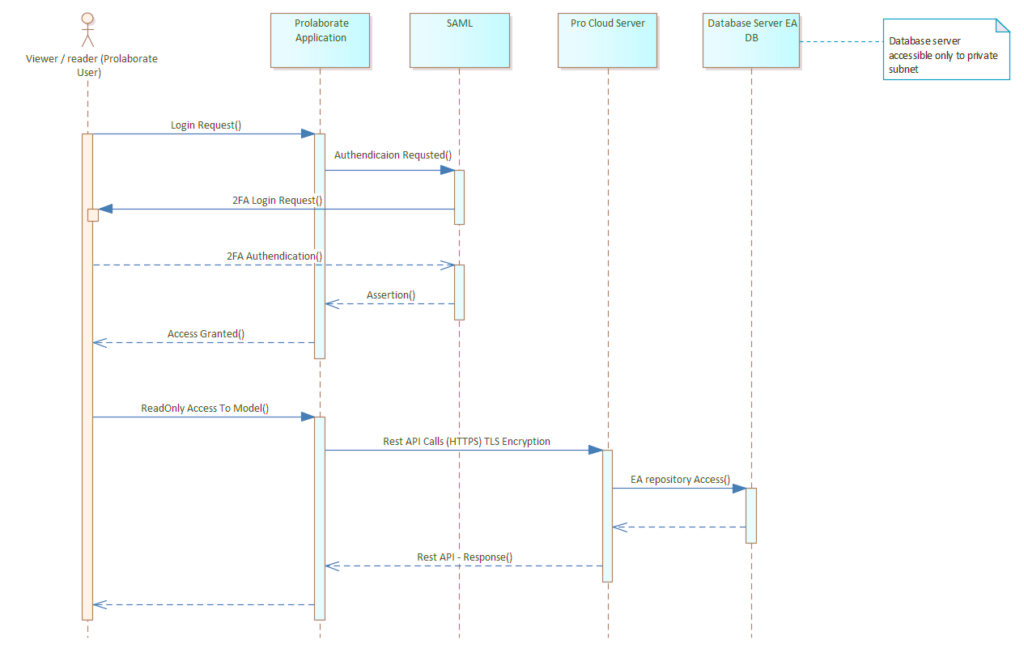
Take a look at the diagram below to understand the sequence of actions involved in configuring SAML Single Sign-On. This diagram illustrates the step-by-step process behind the configuration.

Note:
- Prolaborate supports only Service Provider (SP) Initiated Authentication.
While this integration works with any identity provider, the following are the ones that are tested by integrating with Prolaborate,
- Azure Active Directory (Learn how to configure here)
- Microsoft Active Directory Federation Services (Learn how to configure here)
- Okta (Learn how to configure here)
- Mini Orange (Learn how to configure here)
- Oracle Identity Cloud Service (Learn how to configure here)
- IBM Security Access Manager (Learn how to configure here)
- Ping Identity (Learn how to configure here)
- Jump Cloud (Learn how to configure here)
In this guide, we will see how configure SAML Single Sign-on in general.
Note:
- Only Admin users can access SAML Single Sign On page and configure it.
- SAML Single Sign On is free for Large Teams and Enterprise edition of Prolaborate. For the Growing Teams edition, the feature must be purchased as an add-on.
Create Access Control Profile
The first step is to create an Access Control Profile(s) with access to the required repository and user group membership. This allows the SSO users to directly login to the Prolaborate and access information. To know how to create an Access Control Profile, Click here.
Configure SSO in Prolaborate
On top of the usual setup and configurations that are done in the SAML provider, do the following in Prolaborate:
Click on Menu > SAML Single Sign On under Portal Settings to go to the configuration page.

Click Enable to enable the SAML Single Sign On.
Your Prolaborate site should have a valid SSL certificate and at least one repository should be added.
Service Provider Configuration
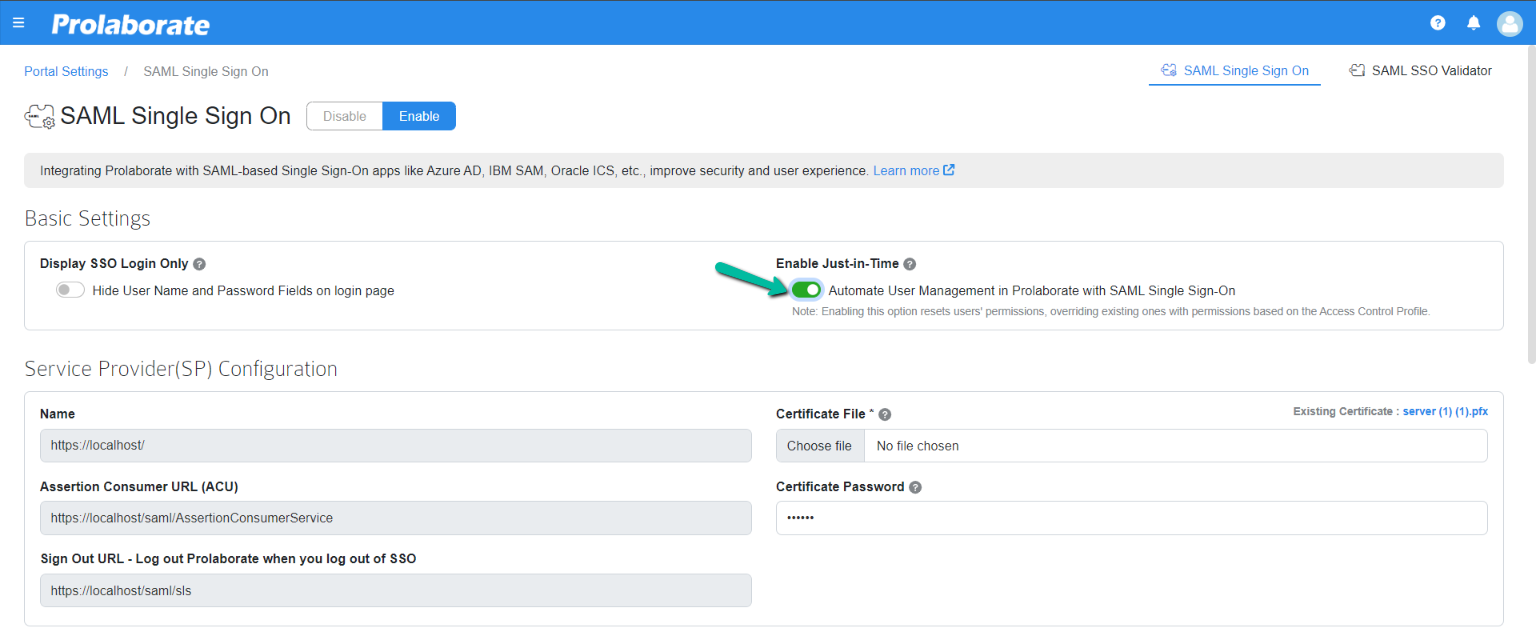
Under Service Provider Configuration, the Domain Name, Assertion Consumer URL (ACU) and Sign Out URL fields are all pre-filled. Upload the .pfx file of your SSL Certificate and its password in the Certificate File and Certificate Password field.

Note:
- If the SSL certificate expires, upload the renewed certificate in SAML configuration as well as in the Prolaborate Management application.
- From Prolaborate V5.3.0, validation for the certificate uploaded is included. If an expired or corrupted certificate is uploaded, the application will throw an error, prompting the admin to recheck the certificate.
Identity Provider Configuration
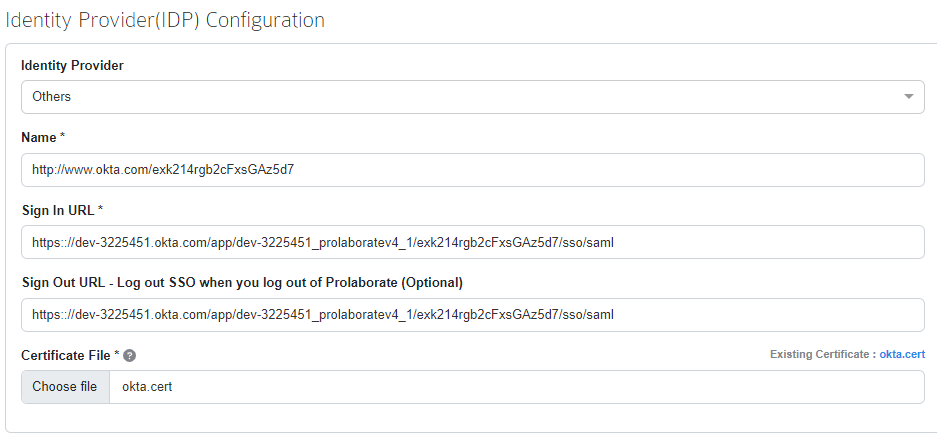
Under Identity Provider (IDP) Configuration, do the following:
| Field | Description |
|---|---|
| Identity Provider | This allows you convert existing system users or AD users to IDP users if they have the same email address Others – System users to IDP users (Learn more) Active Directory Federation Services – AD users to IDP users (Learn more) |
| Name | Get this information from your Identity provider and paste it here. |
| Sign in URL | Get this information from your Identity Provider and paste it here. |
| Sign Out URL | Get this information from your Identity Provider and paste it here. |
| Certificate | Get this information from your Identity Provider. You need to select a .cer or .cert file. |

Attributes Mapping
Attribute Mapping will be pre-filled with default values in SAML Single Sign-On page and they cannot be edited.
If required, users can change the values by clicking the toggle button from Default to Custom. Then copy the Attributes & Claims values from the SAML Application and paste them in Prolaborate Attributes Mapping.

The following attributes must be created:
- firstname
- lastname
- group
Claims
The following claims, as applicable, must be configured:
- emailaddress
- Givenname
- surname
- name
- Name identifier
- usergroup
Choose Access Control Profile
Choose the required Access Control profile from the drop down and save the configuration.

Note:
- When Just-in-Time (JIT) is disabled, selecting a different profile from the drop-down will not impact existing SAML users. However, it will affect new Single Sign-On (SSO) users signing in to Prolaborate for the first time.
Link Role-based access directly with SAML User Groups
Most modern-day teams prefer to separate user management from individual tools to a central User Management System (IAM). Prolaborate 4.4 makes this easier with the ability to link SAML user group(s) to be directly linked to Role based access in Prolaborate
For SAML based authentication, toggle the SAML Group based Restriction to enable. Choose the required profile and add SAML user group(s).
To Use SAML user groups in Prolaborate, we need to add the user group claim in SAML configuration. Please enter the User group attribute and its claims in the respective field.

Once the configuration is completed, click Save.
Just-in-Time (JIT) Access Provisioning for SAML Users
Just-In-Time access provisioning is introduced in Prolaborate V5.2.0 for SAML users. The new feature automatically validates and updates the user permissions against configuration every time a SAML user logs in to Prolaborate using SAML SSO.
So, when a SAML Admin adds or removes the User (s) from SAML user group(s), which is mapped directly to Prolaborate user group(s). Hence, that will result in changing the access of the respective User according to the current configuration.
Additionally, a new setting is introduced to enable the SAML Just-In-Time. After turning on the setting, the access permissions are applied dynamically for SSO users when they log into the application every time.

Note:
- If Just-in-Time is enabled, only group-based access applies to the users. Individual access permission given to the users is not retained.
Log in with SSO
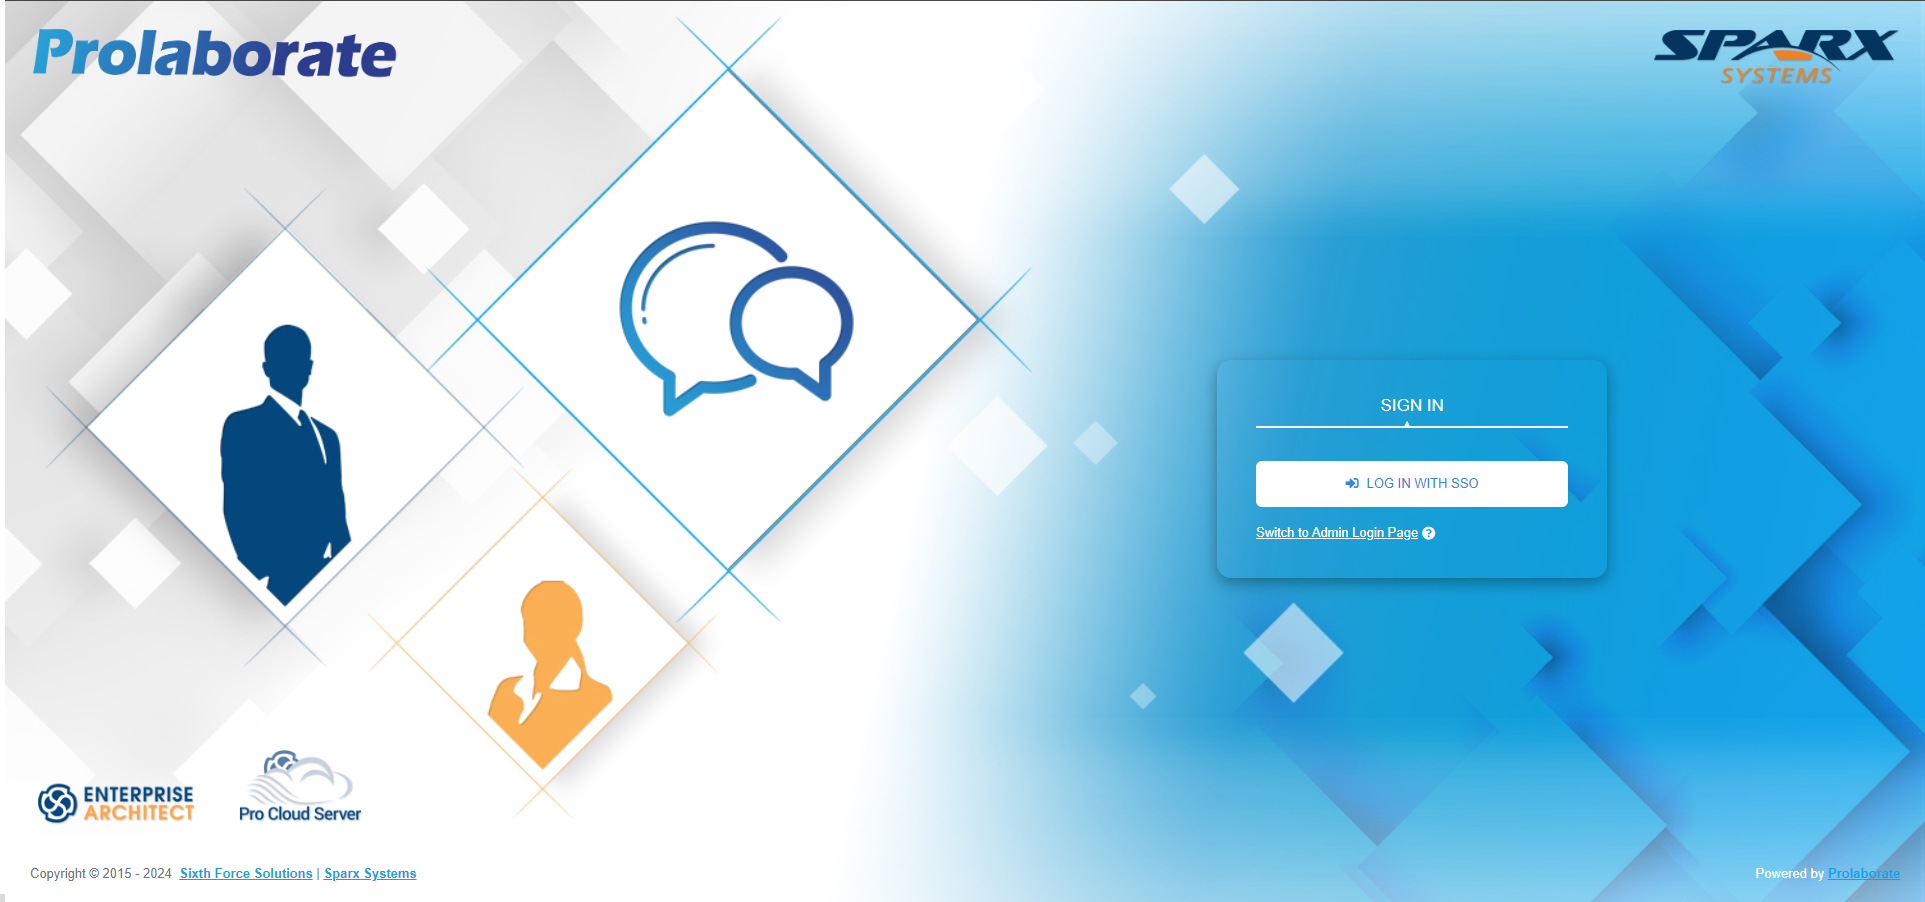
Once the configuration is done and SSO is enabled, users will start to see a new button on the login page called Login with SSO and they can click on it to login with their SSO credentials.

If you’re experiencing challenges signing in using SSO, go at SAML Assertion Validation to debug the SAML configurations.
Customize Login Screen for SSO users
Login screen can be customized to show only LOG IN WITH SSO button whenever SAML Single Sign On is configured.
A new option is introduced in SAML Single Sign On configuration page from Prolaborate V4.5.0 where if the option Display SSO Login Only is enabled, the login page shows only LOG IN WITH SSO option and only SSO users can login into Prolaborate.


An option Switch to Admin Login Page is provided at the bottom, when clicked on it redirects to a new login page where admin users can login using their email and password

Users can navigate back to SSO login page by clicking the Switch to SSO Login Page at the bottom.
Note:
- Non-Admin system users cannot login using their email and password.
- AD users and AD group users cannot login even though the user is an admin.


