
Upgrade Instruction from V3.7 to latest
Upgrade Instruction from V3.7 to latest
Introduction
In this guide, we will look at the steps involved in upgrading your current installation of Prolaborate version 3.7 to the latest version.
Prerequisites
For a smooth installation, it is recommended to upgrade your current installation of Prolaborate to version V3.7, if not done already, Refer to the steps mentioned in this guide to upgrade your Prolaborate version from V3.2 to V3.7.
Note:
- If the version is below 3.7, It is recommended to upgrade Prolaborate version to 3.7 before upgrading directly to the latest version.
Decision Gate
Check the following points and decide whether you are ready to go ahead with the upgrade.
- EA Database
Click here to know about supported Enterprise Architect Databases. - Password Update
The password algorithm has been upgraded for enhanced security. If you are using Prolaborate’s inbuilt User Management capabilities (and not integrated with AD or SAML SSO), the password will be reset for all users. You should proceed with latest version only if you can handle the impact. - Integration
A quick update will be needed after the migration if you are using SAML integration of Prolaborate. Proceed with latest version if the SSO team understands the change and is available. - Release notes
Review the complete release notes to confirm all the features that you use right now are already released in latest version. Here is the link to a summary of the release. - Upgrade Prolaborate to V3.7
For a smooth installation, it is recommended to upgrade your current installation of Prolaborate to version 3.7, if not done already. - Cloud Server
Pro Cloud Server should be upgraded to version 5.1, if not done already. Click here to download the installer.
V4 Upgrade Plan
Once the decision is made to go ahead with latest version, you need to plan for it. This section will help you with the same.
Schedule Upgrade
Check out the details of this planning section and finalize the date of the upgrade.
Communicate
Inform the business stakeholders about the Prolaborate latest upgrade version and the changes in advance.
You can inform them about the date and time of the upgrade, and the new features.
Installation Plan
The plan should consider the following activities as a minimum:
- Backup – A backup of Prolaborate Application Server and Prolaborate database. This will be needed if the validation fails
- Installation – Review Installation steps thoroughly so that there are no surprises on the day of installation.
- Post Installation Steps
- IT team would be needed for enabling HTTPS in Prolaborate. Check the Post Installation section below for more details.
- SSO team will be needed to complete the configuration of Prolaborate with SAML SSO
- The architecture team would have to reset the Passwords and inform the users
- Validation – Once Prolaborate latest version is installed and configured, it should be validated to ensure success. Create a simple checklist of features that you use majorly. You can quickly check them out and validate the new version.
- Success – Once the installation is validated to be a success, stakeholders need to be notified again
- Failure – If validation is not successful, installation should be reverted. Create the required steps to do the same
Stakeholder Summary
| Activity | Stakeholders |
| Communications | Architecture team |
| Backups | IT team |
| Prolaborate Upgrade | IT team |
| Post Installation – User Update | Architecture Team |
| Post Installation – SSO Update | SSo Team |
| Post Installation – SSL update and other steps | IT Team |
| Validation | Architecture Team |
| Rollback | IT team |
Installation
Follow these steps on the day of the upgrade.
Note:
- Stop all the existing Prolaborate Services in Task Manager before initiating the upgrade process.
Prerequisites
Ensure the previous prerequisites are met and the Prolaborate installation file is downloaded.
Run the Installer
Download the Prolaborate Installer file. Once the file is downloaded, extract it contents in a folder. Run Setup.exe as administrator.
Click on Next


Accept EULA
Check the box to accept the terms and click Next.

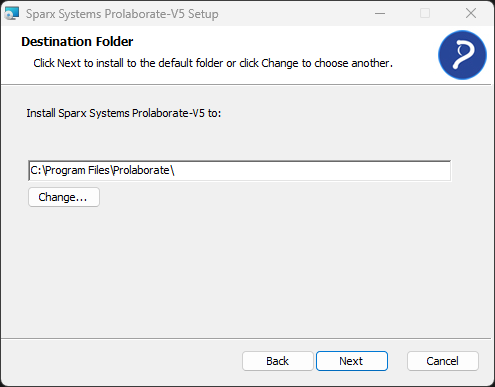
Select Installation Path
Select a file path to install Prolaborate.
Note:
- Please use an alternate folder path rather than the one used for version 3 to avoid data conflicts. This also helps with rollback if needed.
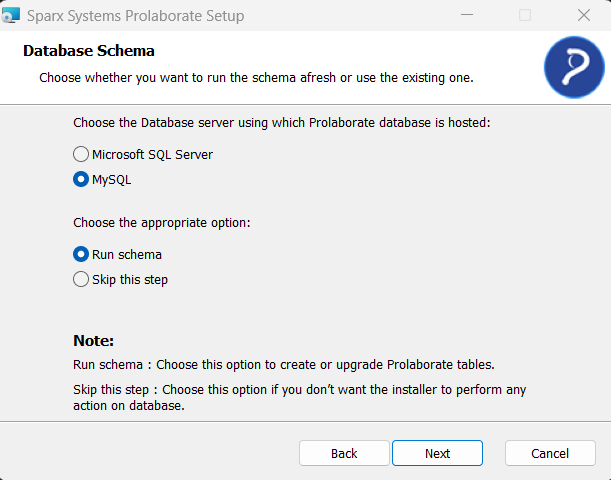
Select Database Server
Choose the Database server (MySQL or MSSQL) in which the Prolaborate database is hosted and then choose Run Schema.
Provide Database Details
Fill in the Prolaborate database details in the given fields.
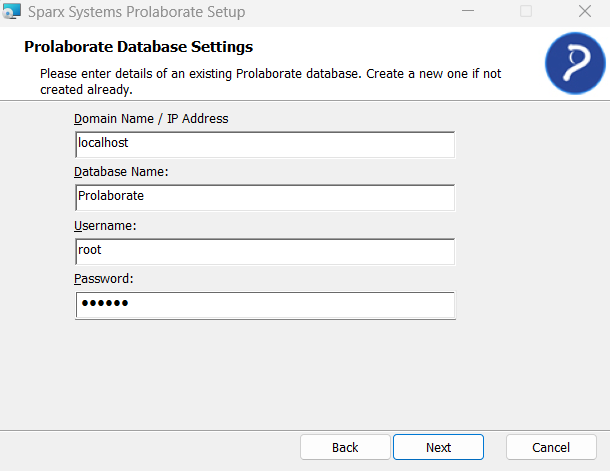
Version compatibility check is applied during upgrade. If the previous version of Prolaborate is less than v3.5.0, the application throws a warning during the upgrade and halts the upgrade process.

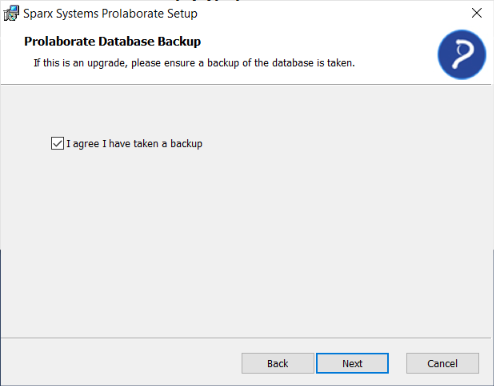
Prolaborate Database Backup
Ensure the database is taken as a backup. Enable the checkbox and click Next to continue the installation process.
Configure Prolaborate
Enter the Prolaborate server details in the given fields
| Field | Description |
|---|---|
| Host | Enter Domain Name or IP Address (E.g., localhost) |
| Port Number | Enter a Port Number that is not used. The port should be opened in the Firewall |
| Email ID of an Admin | Enter an Email ID. This user will be made the Super Admin of Prolaborate |

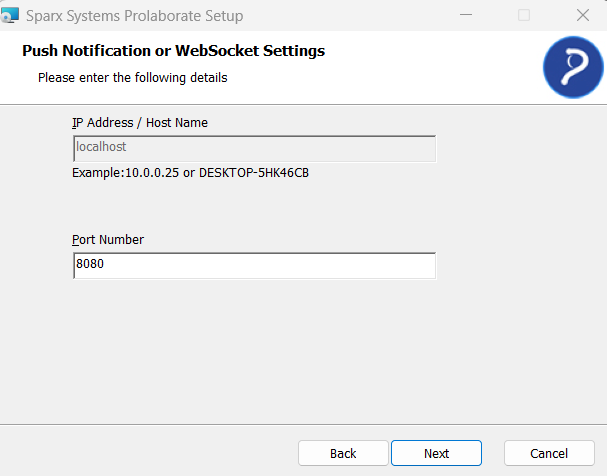
Configure Push Notification
Enter the details in the given fields to configure Push Notification in Prolaborate.
| Field | Description |
|---|---|
| IP Address / Host Name | The Domain Name or IP Address entered in the previous step is displayed automatically |
| Port Number | Enter a Port Number that is not used. The port should be opened in the Firewall. Default port number is 8080 |
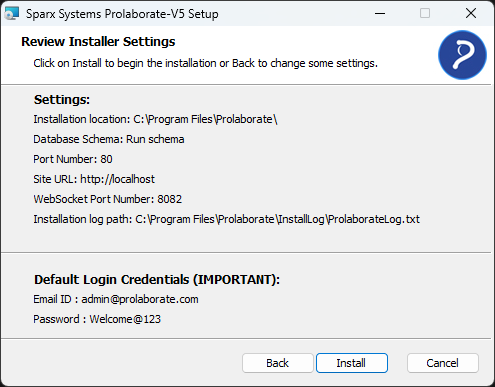
Install Prolaborate
Review the information given in the previous steps and click Install to being the installation process.
Note:
- Write down the credentials or take a screenshot of this page for future reference.
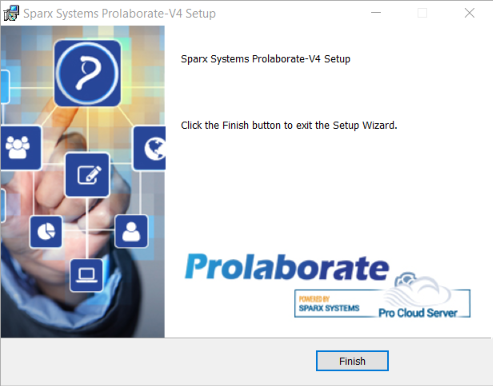
Click Finish once the installation is completed successfully.
Run Data Migrator
Data Migrator helps in migrating the data from V3 to V4. Existing configurations include dashboards, chart widgets, report widgets, discussions, reviews, users, modeling languages, etc can be transferred with the help of Data Migrator.
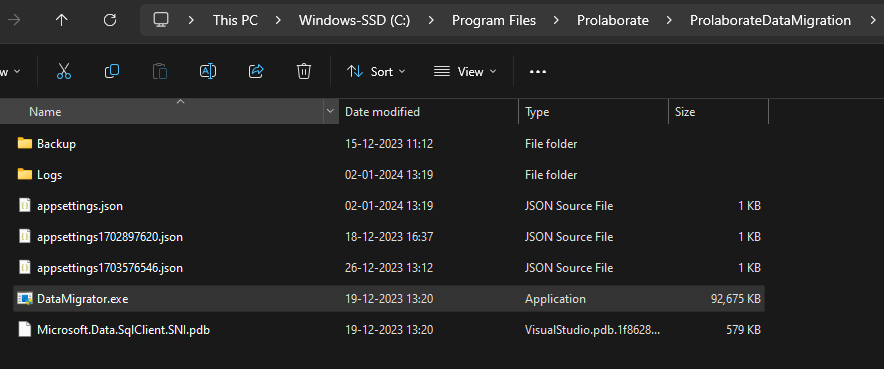
To initiate the migration process, go to the Prolaborate installation folder (For example, C:\Program Files (x86)\Prolaborate\ProlaborateDataMigration). Right click on “DataMigrator.exe” and choose ‘Run as Administrator’.
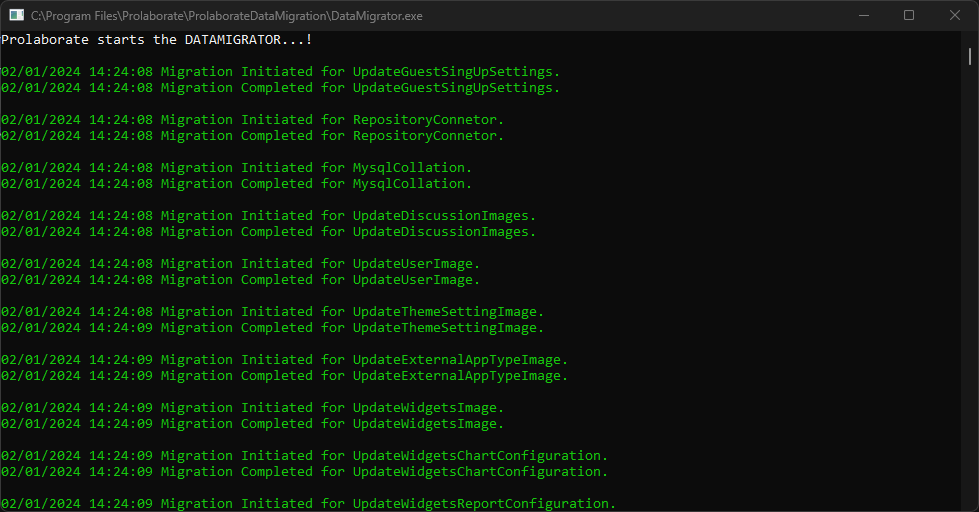
Data Migrator initiates the command prompt window to show the migrated file name and its status. After the migration is completed, press any key to close the window.
Note:
- From Prolaborate V5.2.0 onwards, Data Migrator is executed automatically at the end of the upgrade process.
Post Installation Steps
Refer the information mentioned in this link for Post Installation Steps