Set Up Email Notification
Set Up Email Notification
One can receive email notifications for the actions performed by integrating Prolaborate with the relevant Enterprise SMTP or O365 Outlook Mail authentication. This can be done by setting up appropriate connection settings to send out email notifications to the users for the actions performed in Prolaborate.
Email notifications sent to users are in HTML format by default. From Prolaborate V5.2.0 onwards, the administrator can choose the email message format, either HTML or plain text, from the Mailer configuration for the organization.
There are two approaches of Mailer configuration available in Prolaborate (from Version 4.3)
- SMTP Authentication click here
- O365 Outlook Mail Authentication click here
Prerequisites
- Administrator access is mandatory to configure the mailer.
Enable Mailer
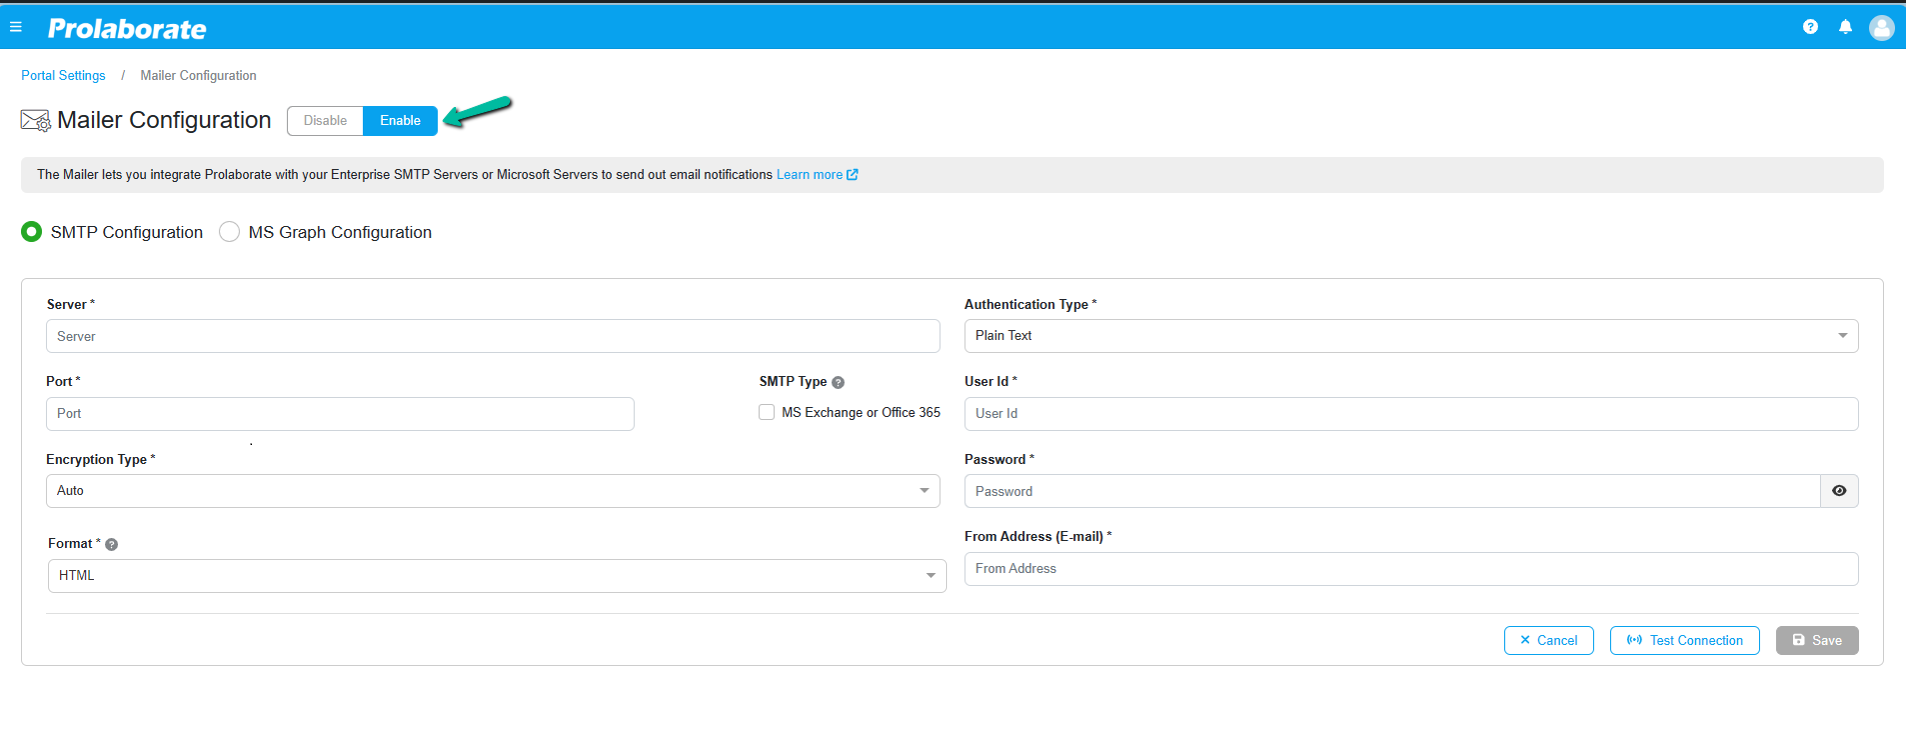
To enable Mailer, navigate to the Mailer Configuration page by clicking on Menu > Mailer Configuration.
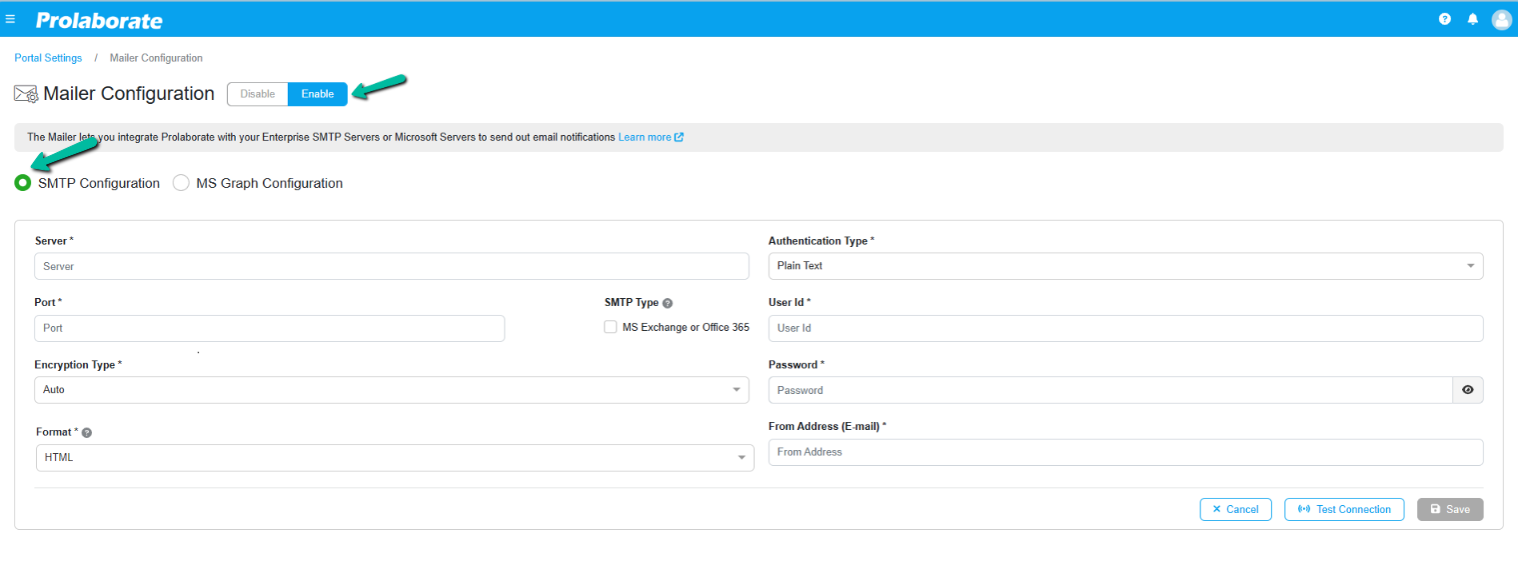
Enable the Mailer Configuration from the top left of the page.


SMTP Authentication
SMTP is a protocol for sending email messages between servers. It is primarily for organizations using email servers having basic authentication.
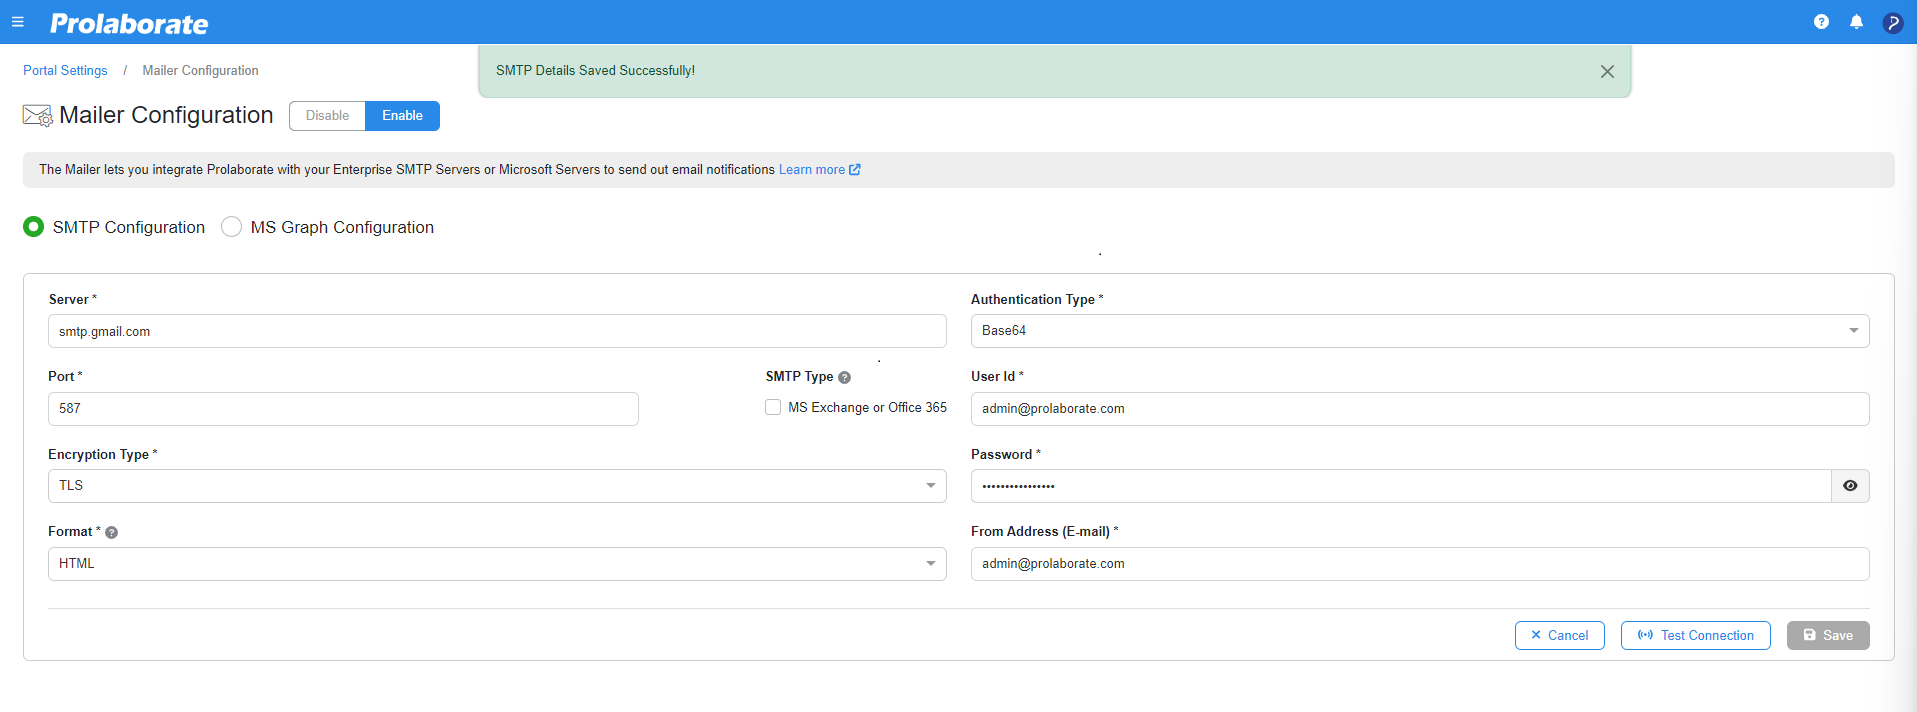
When enabled, it lands on the SMTP configuration page by default.
Enter the following details,
| Field | Description |
|---|---|
| Server | IP Address or Domain Name of SMTP Server. |
| Port | Port number of the outgoing mail (SMTP) server. |
| Encryption Type | Prolaborate Supports the following Encryption types, SSLTLSAuto
|
| SMTP Type | Enable the checkbox if your SMTP server type is MS Exchange or Office 365 |
| Format | Prolaborate allows you to define the email format HTMLPlain Text
|
| Authentication Type | Prolaborate Supports the following Authentication types, Base 64 Default CredentialsPlain Text
|
| User Id | User Id of a user who has access to the SMTP server. |
| Password | Password of the entered User Id. |
| From Address (E-mail) | Email address from which you want to receive email notification from Prolaborate.
The domain of the e-mail should match the domain name of the server. |
Once the details are entered, click on Test Connection.
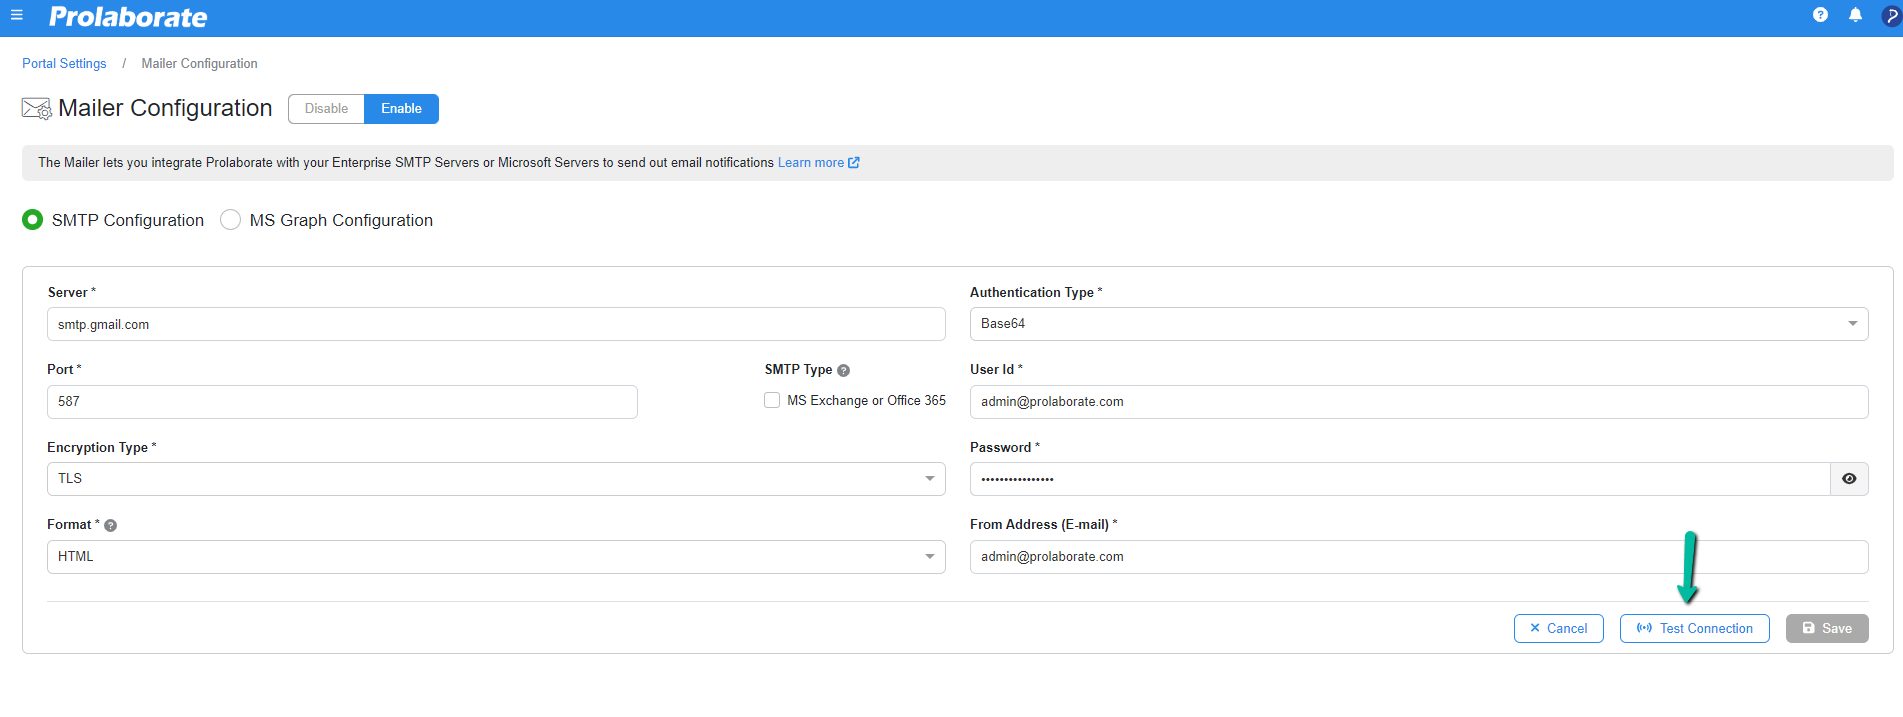
The details are validated in Prolaborate by connecting to the SMTP server using the details provided.

Click on Save. The changes are saved only if the details are valid.
O365 Outlook Mail Authentication
O365 Outlook Mail configuration using MS Graph is introduced for organizations using Microsoft office-based email accounts. This feature brings in the support for Modern Authentication introduced by Microsoft.
O365 Outlook Mail’s Prerequisites
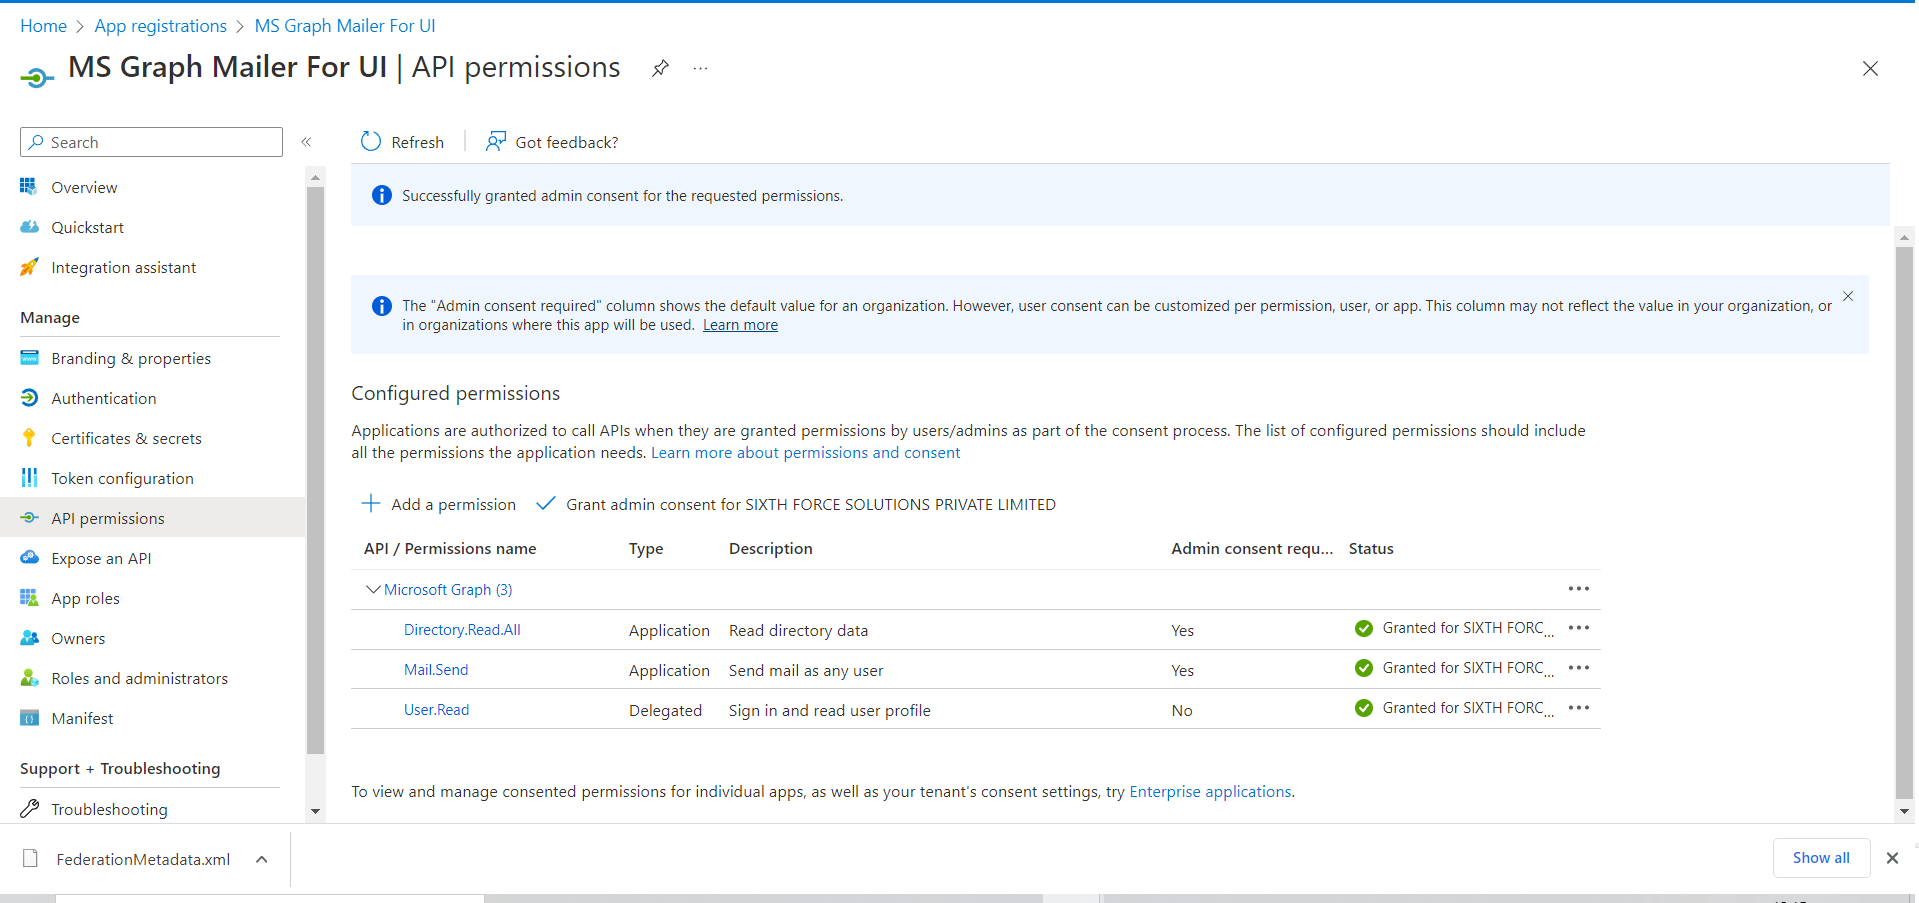
Before configuring the mail authentication, Admin must register the Prolaborate application in the Azure Portal and send a request. Once the request is received, Super Admin of Azure Portal should grant the following API permissions in order to receive email notification from the Prolaborate Application.
- Directory.Read.All
- Mail.Send
- User.Read
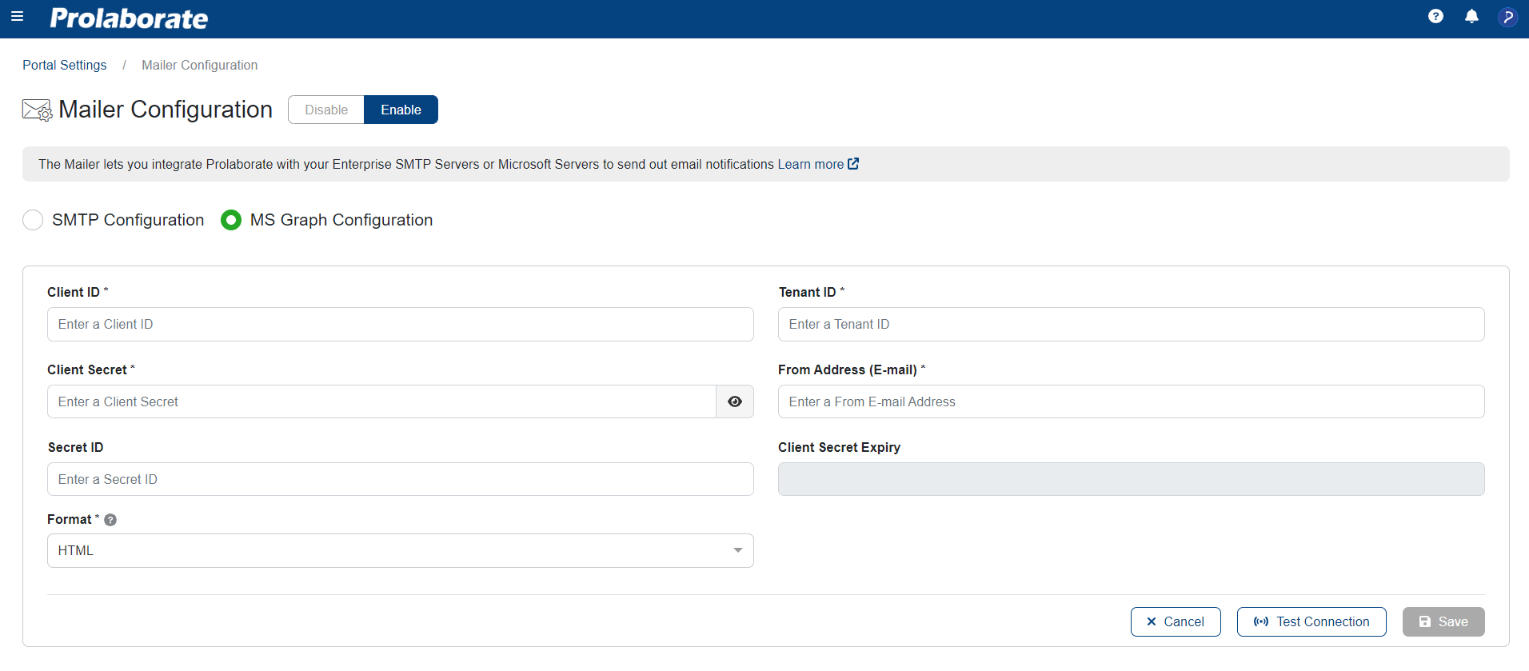
On the Mailer configuration page, switch to MS graph Configuration and provide the following details
| Field | Description |
|---|---|
| Client ID | Copy the Client ID from the Azure Portal and paste it into the Prolaborate field |
| Tenant ID | Copy the Tenant ID under App Registrations Section from the Azure portal and paste it into the Prolaborate field |
| Client Secret | Copy the value of Client Secret from App Registrations Section in the Azure Portal under API Permissions and paste it into the Client Secret field.
|
| From Address (Email) | Add the admin user email id in this field. The mentioned email id is shown while receiving emails. |
| Secret ID | Copy the Secret ID under App Registrations Section from the Azure Portal and paste it into the Prolaborate field.
|
| Client Secret Expiry | Shows the client secret expiry date in the MS graph configuration. |
| Format | Prolaborate allows you to define the email format HTMLPlain Text
|
Click on Test Connection to validate the details entered. The details are validated in Prolaborate by connecting to the SMTP server using the details provided. The changes are saved only if the details are valid.
Once it is done, click on Save to save the configuration.
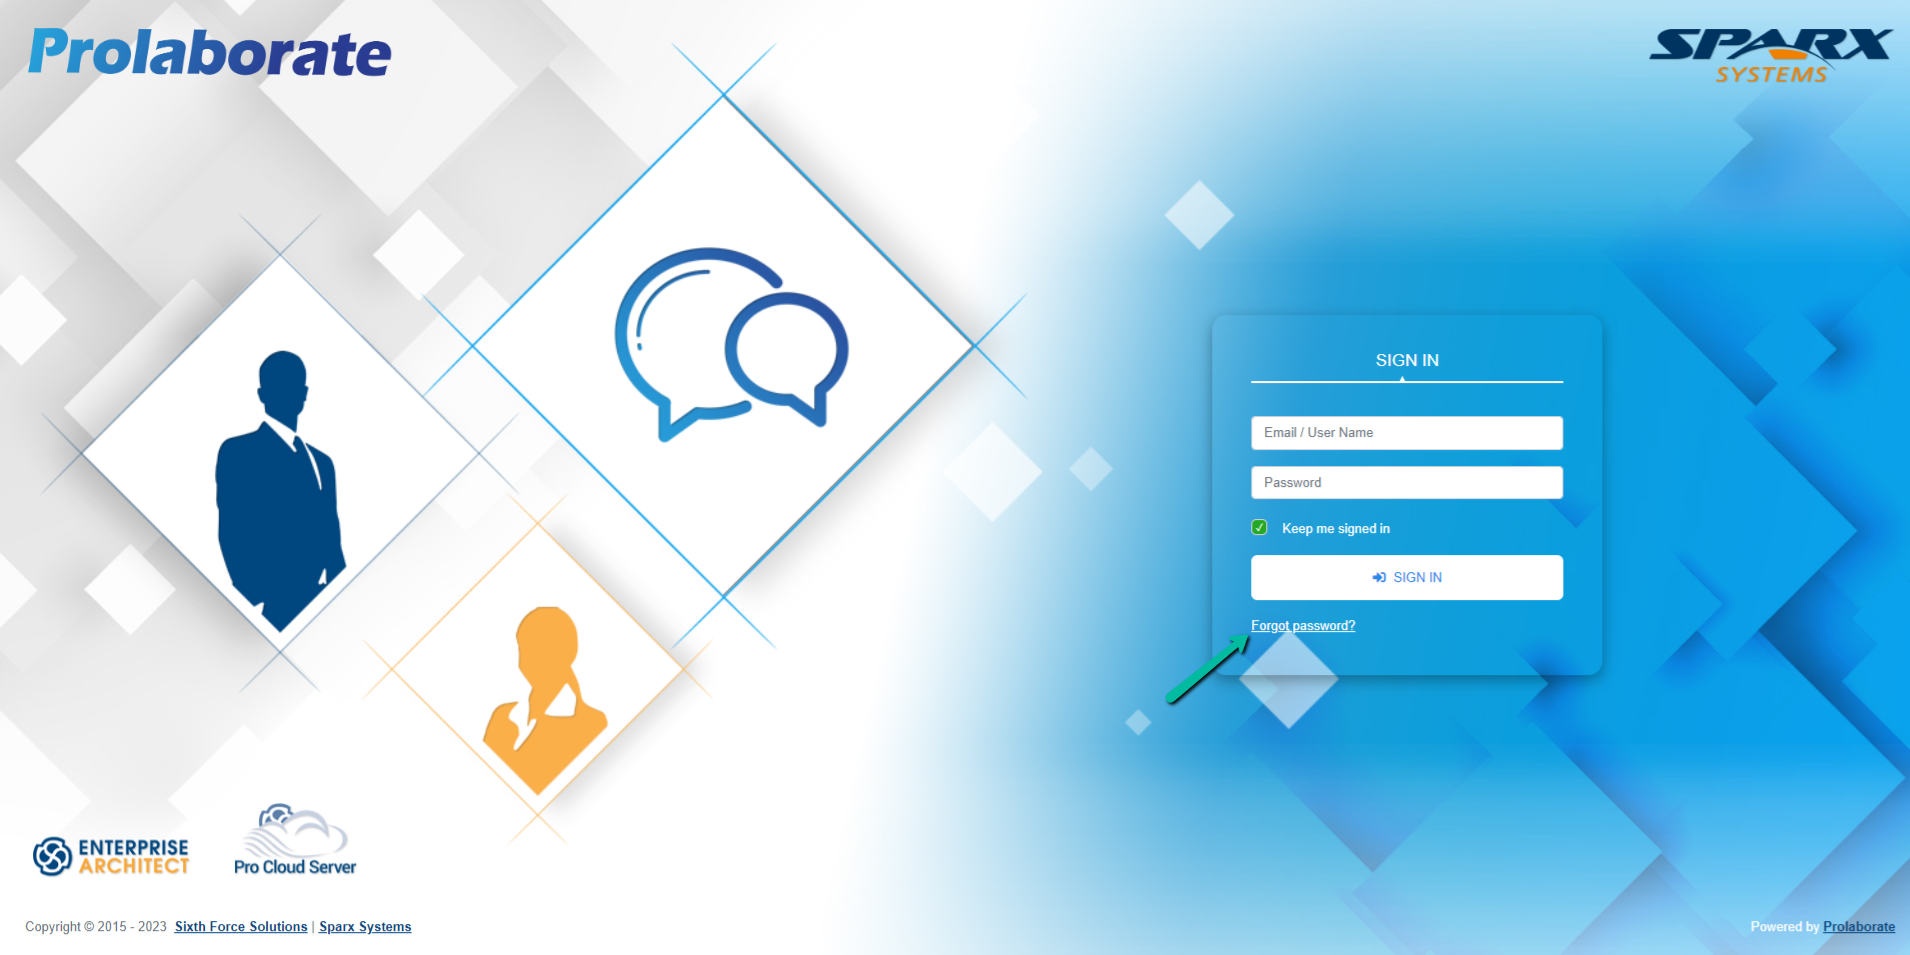
Once Mailer is configured, users will receive email notifications when they are tagged in a discussion or review, or when they want to reset their password.
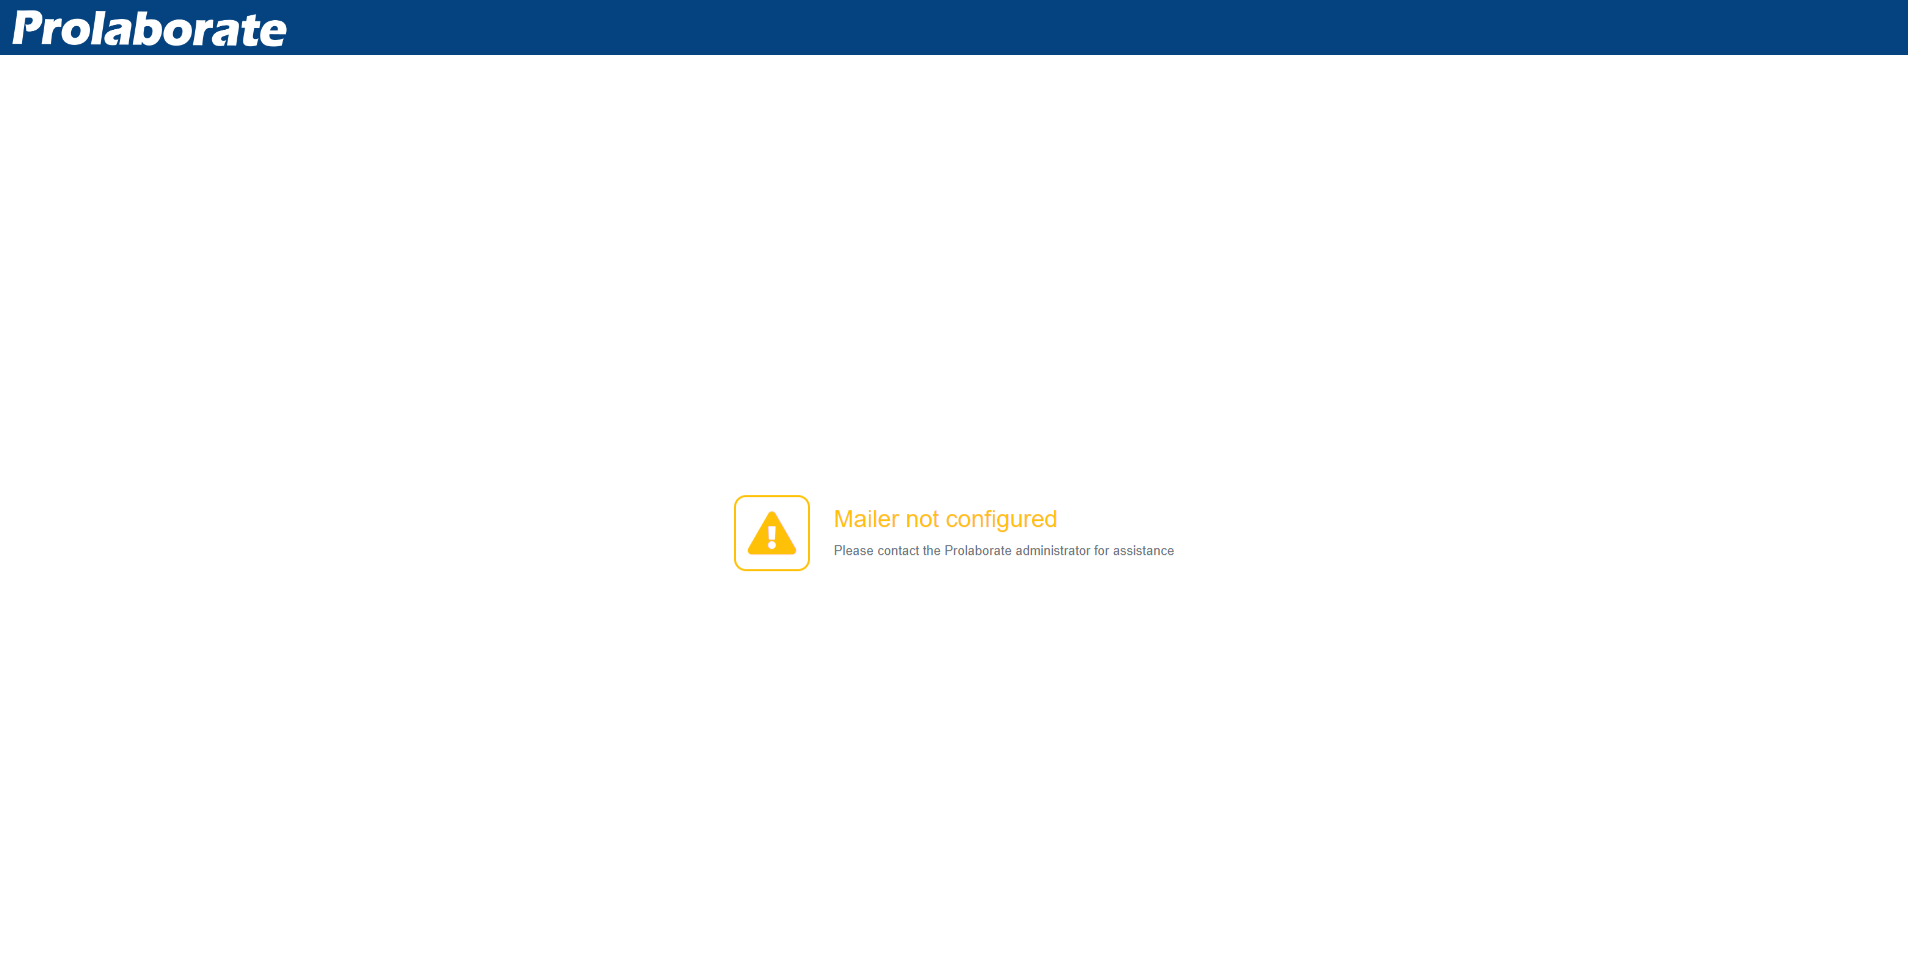
For example, users can reset their password by clicking the Forgot Password on the login page as shown in the below image. After that, they will receive an email with a link to reset the password.
If the mailer is not configured, clicking on the Forgot Password option on the login page will show the below error.