Setup Active Directory
Setup Active Directory
Integration with Active Directory lets you Improve Security and user experience. Users can just use their Windows login.
The integration is real time and so, user management becomes effortless for the admins of Prolaborate.
This article explains how to set up Active Directory in Prolaborate.
Configure Active Directory (AD)
To configure AD, click on Menu > Active Directory Click on Setup Active Directory.
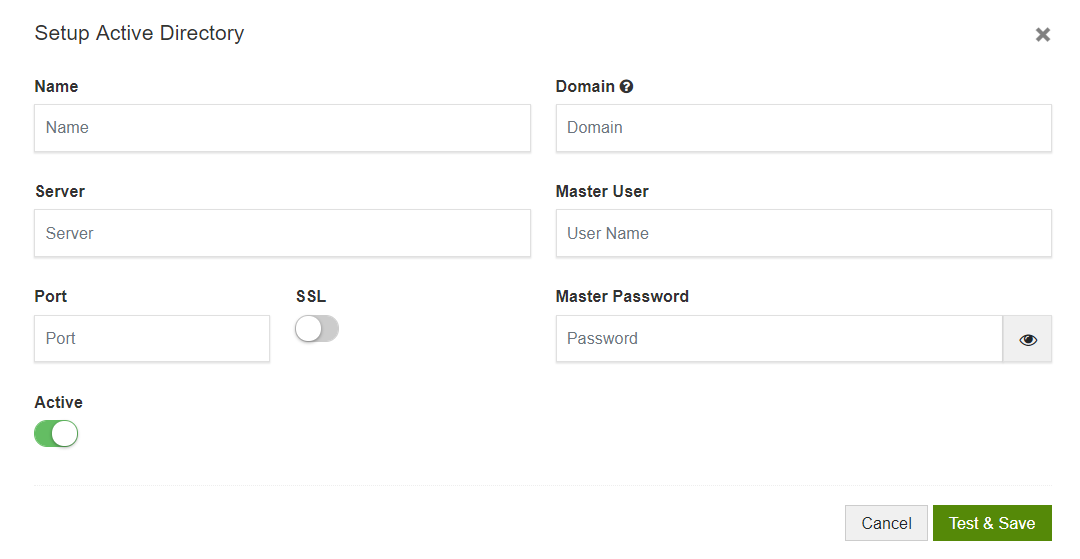


- Give a Name to the setup.Better to give a name based on the domain
- Enter the Active Directory Server’s IP address and Port Number.
- Enable/disable SSL option based on your AD server’s configuration
- Enter the Domain address in the Domain field.
Please ensure proper domain or sub-domain is added here. Global domain names should not be used.
- Enter the User name and Password used to login to the AD server(This is the user with permissions to access and retrieve AD objects)
- Click on Save
You can get the details mentioned above from your IT team.
On clicking Test & Save, Prolaborate will check whether the details you entered are valid. If they are valid, the settings will be saved. Else, you will see an error message and the details will not be saved.
Once the setup is saved successfully, you need to enable the AD Sign-in option to allow the Active Directory users to login to Prolaborate.
You can repeat the above steps if you want users from more than one domain to access Prolaborate.
Add Active Directory Users
Active Directory must be configured to view this option.
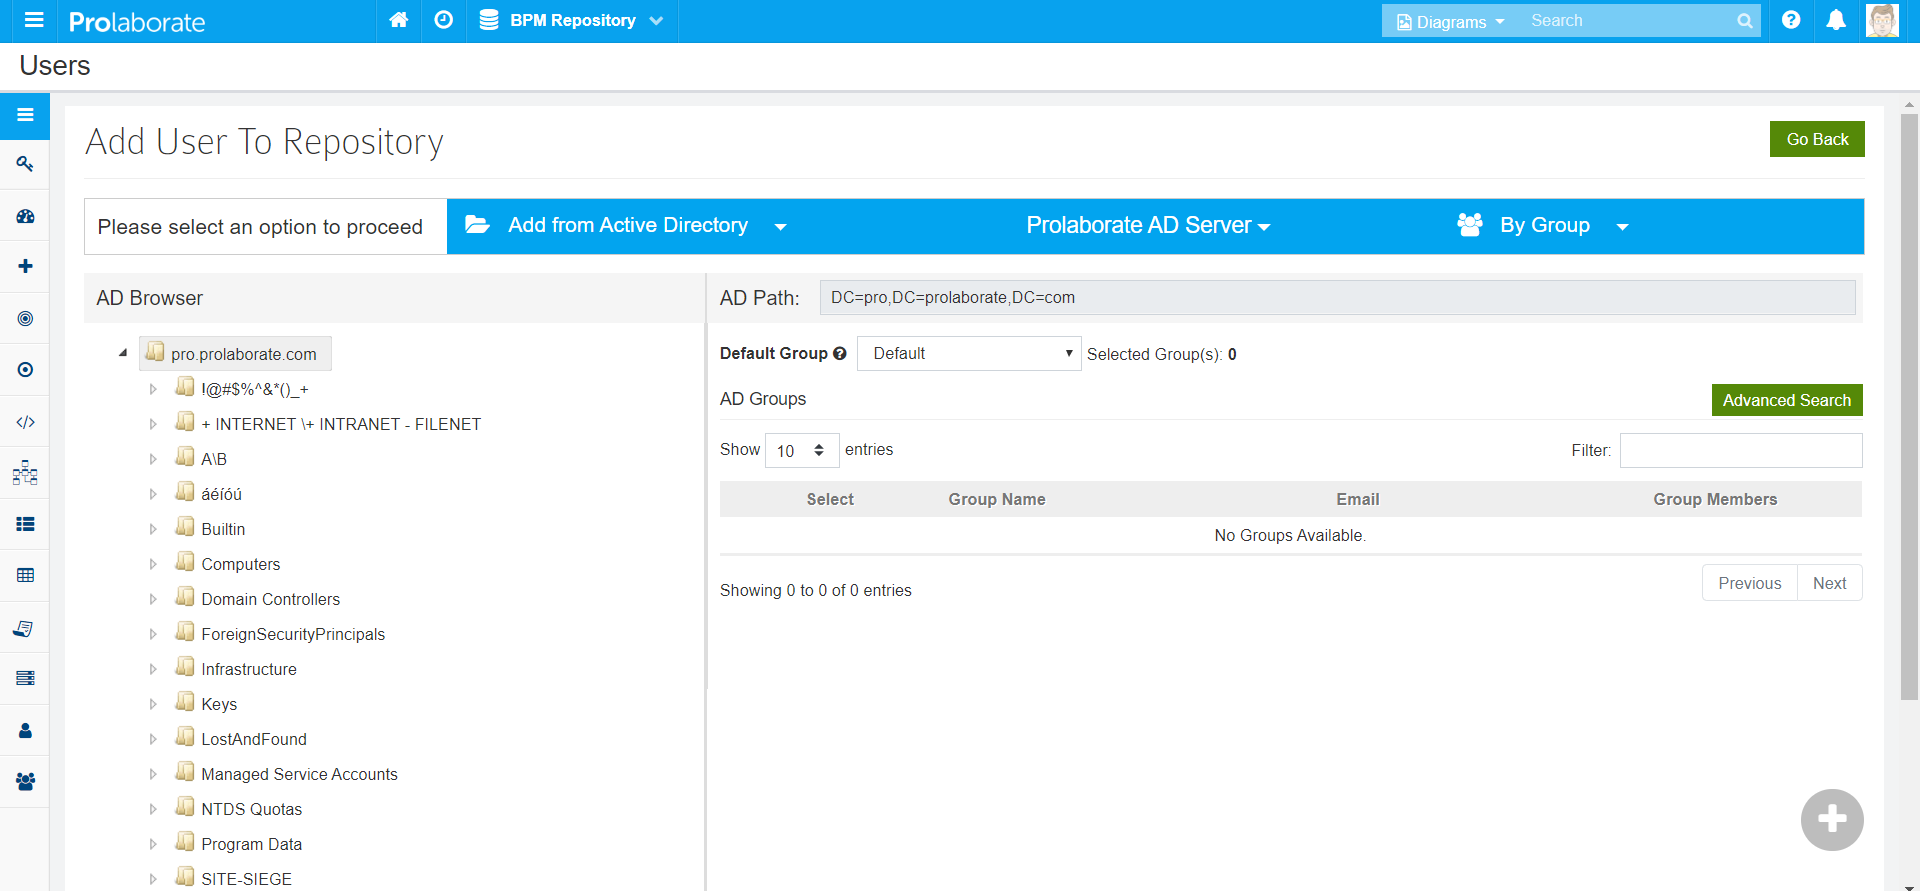
Select Add from Active Directory option and the appropriate AD domain to add users from Active Directory (AD).

To add an AD user, select By User option
- In the AD Browser, select the appropriate folder and the users available in that folder will be listed under AD Users section on the right
- Select the users you want to add and Add icon will be enabled
- Optionally, if you want to add the selected users to a specific group, select the group in Default Group dropdown
- Click on Add icon to add the selected AD users
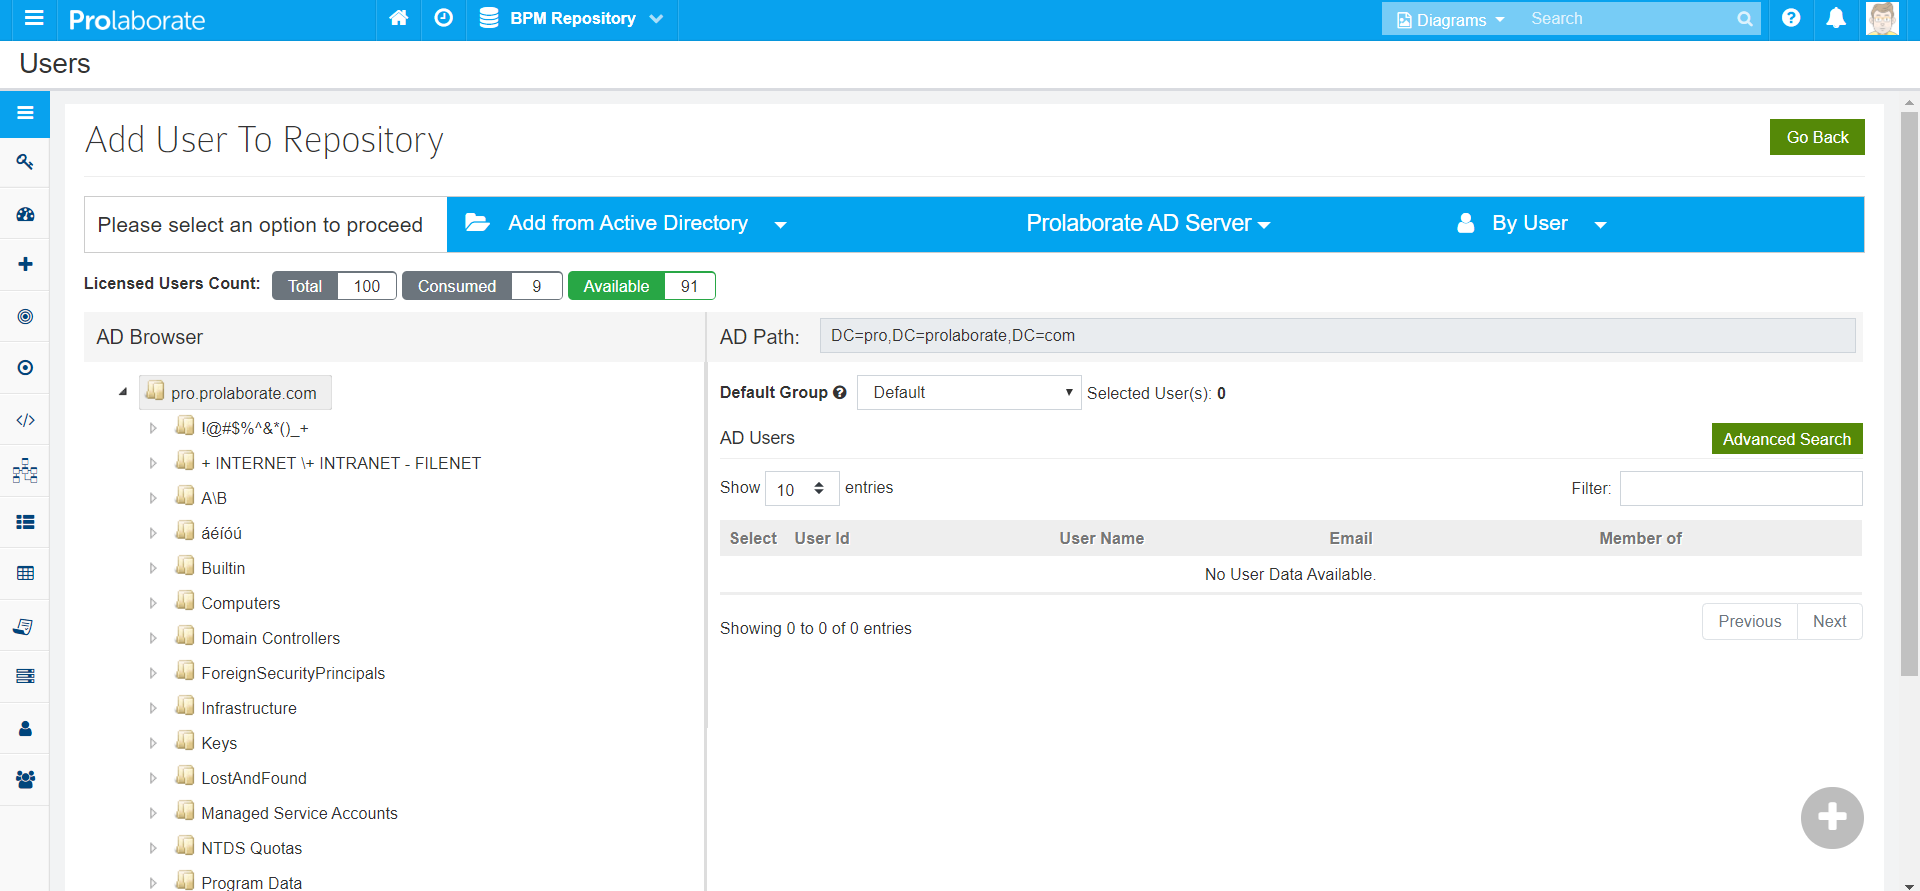
If you can’t locate a user, you can select the top folder and click on Advanced Search.
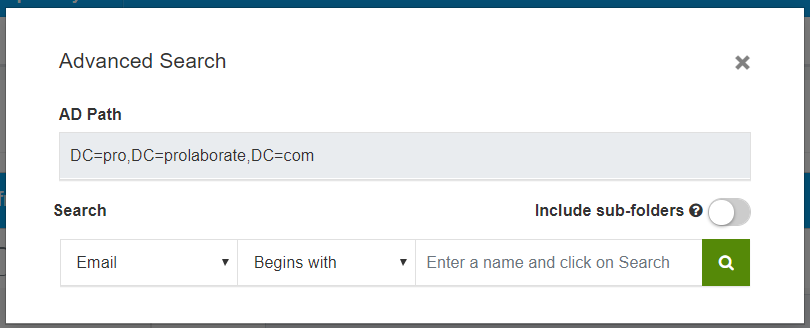
You can choose the search operators to locate the user easily. Enable Include sub-folders to search for users in the AD Path and all the folders under it.
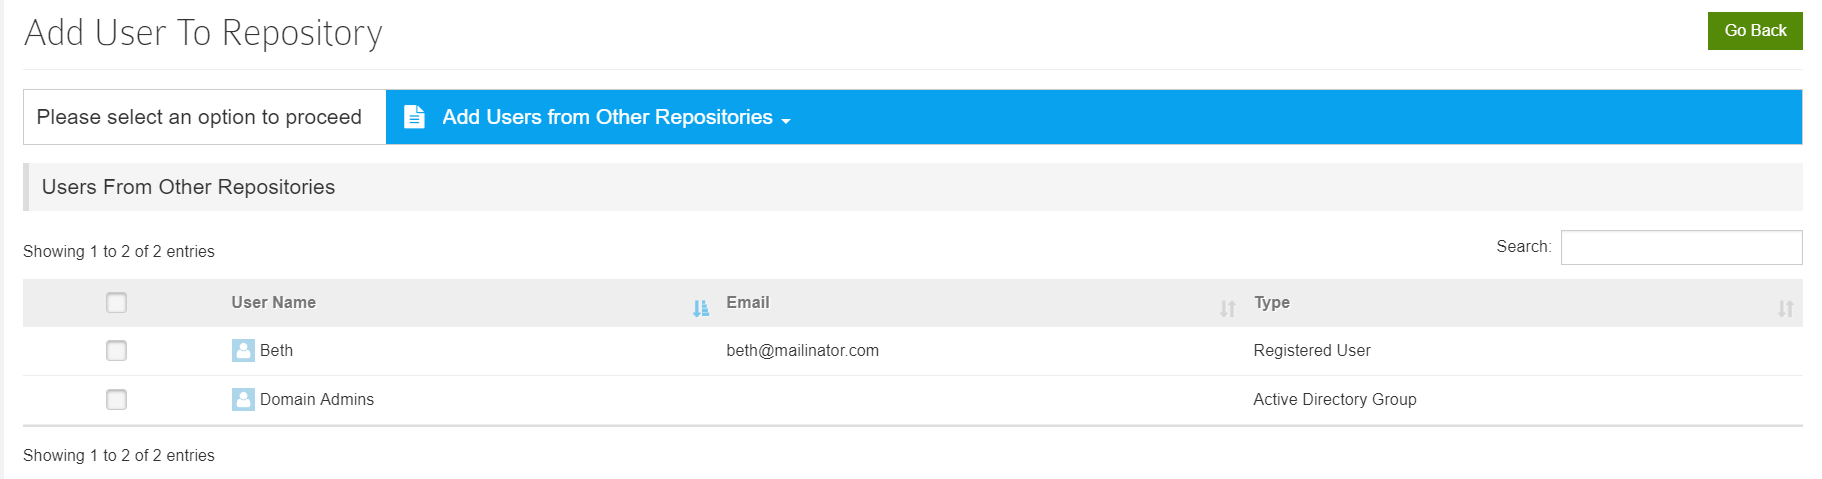
Add Users from Other Repositories
Use the Select existing users if you want to add Active Directory users whom you have added already to other repositories.
This saves you from the manual effort of adding the same list of users to each repository.
Select the users you want to add and click on Add icon.
Add Active Directory Groups
Go to Menu > Users page and click on Active Directory Groups. To add an AD Group, click on Add AD Group
- In the AD Browser, select the AD path and the groups available in the selected path will be listed under AD Groups section on the right
- Select the Groups you want to add
- Optionally, if you want to add the selected groups to a Prolaborate group, select the group in Default Group dropdown
- Click Add icon to add the selected AD Groups
All the users who are part of this group will be given the access permissions assigned to the group.
Manage Users
After you have added the users, click on Go Back to go back to the Users page.

You can view the complete details of a user by clicking on the icon in View Details column.
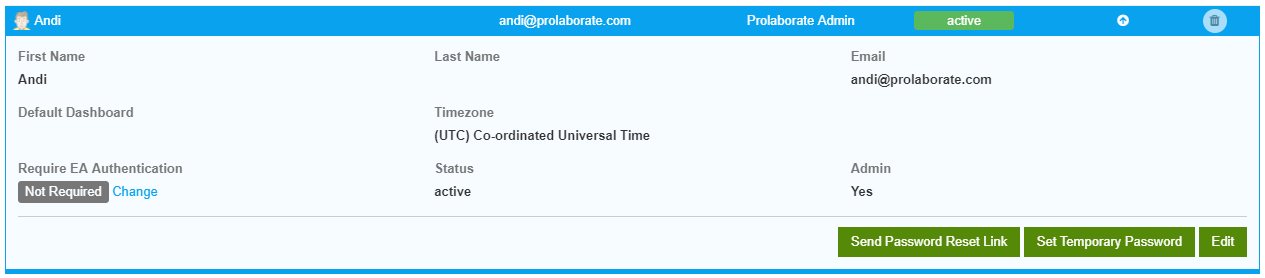
In the expanded view, you can
- View the list of user groups this user is part of
- Edit Default Dashboard of the user. Default dashboard set at a user level takes precedence over the default set at Repository and Group level
- Edit the Status. Users who are Inactive will not be able to login to Prolaborate
- Make an user as Admin.
Manage Groups
After you have added the groups, click on Go Back to go back to the Users > Active Directory Groups page.
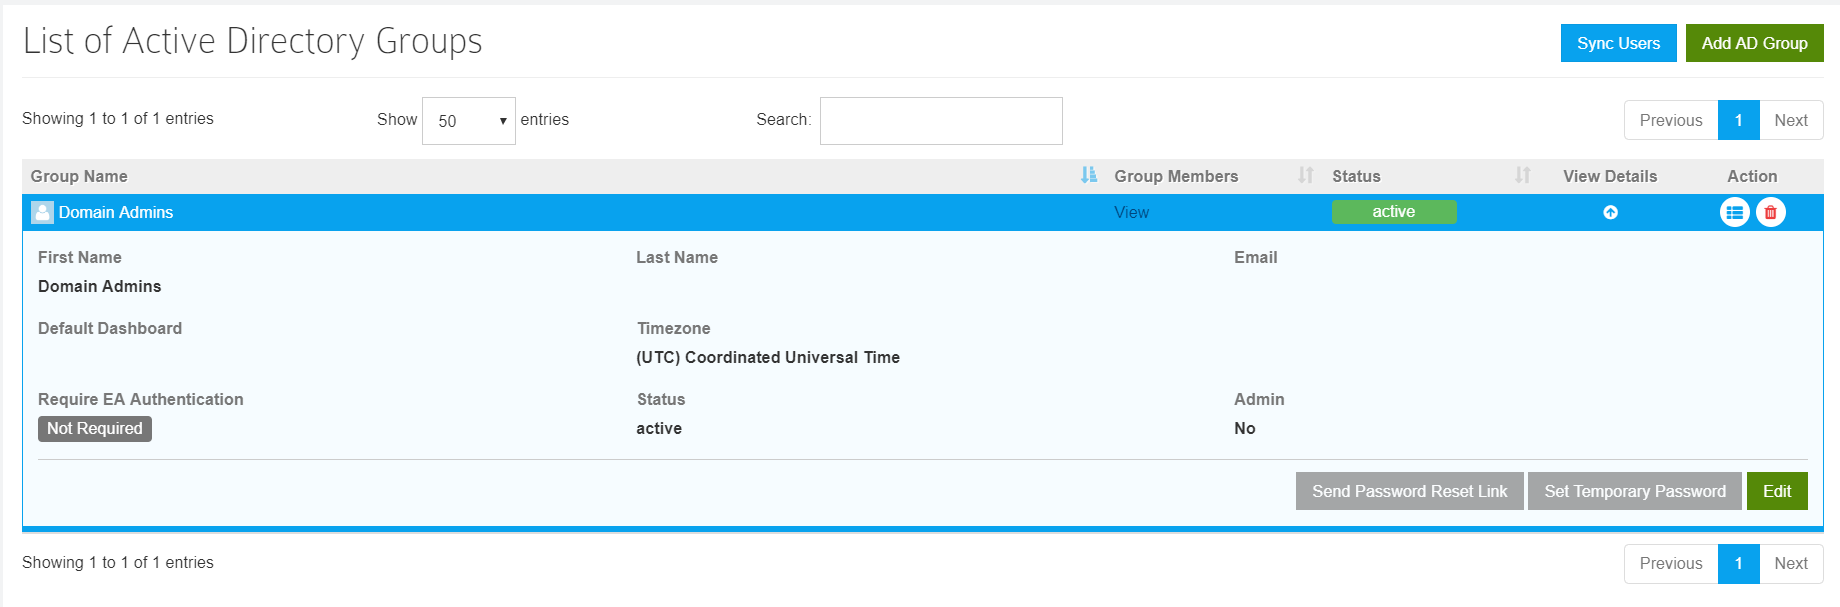
You can do the following:
- View the members of the group by clicking on View
- Assign Default Dashboard to a group by clicking on down arrow icon in View Details > Edit.
- Change the Status of the group in the same Edit page.When you change the status, the users who are neither present in any group in the AD Groups list nor directly added to Users list from AD are shown. You can choose the action you want to perform on them.
Sync Users from Active Directory
Every time a user from an Active Directory group logs in, that user is added to User’s list.
If that user is removed from Active Directory or from the Active Directory group added to Prolaborate, it needs to reflect in Prolaborate as well. This is facilitated by the “Sync Users” functionality in the Users > Active Directory Groups page.
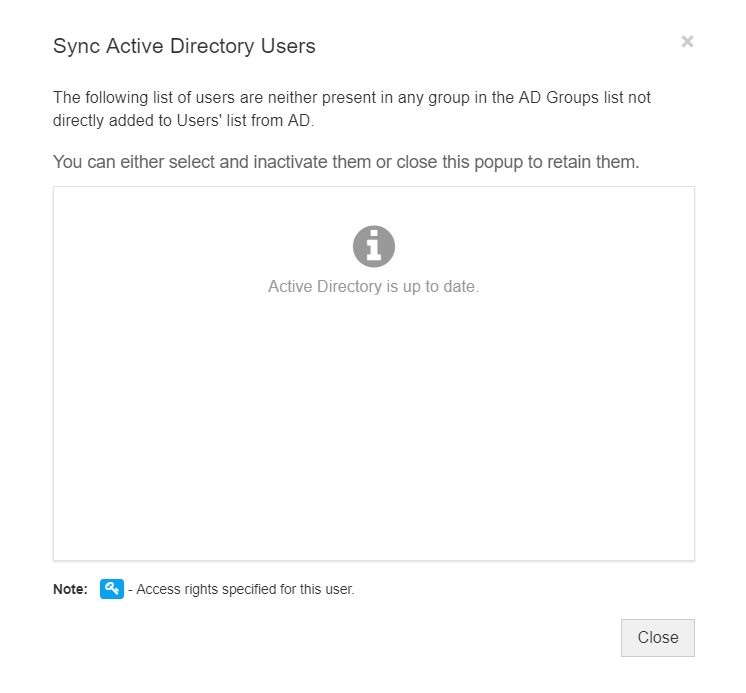
When you click on Sync Users, the users who are neither present in any group in the AD Groups list nor directly added to Users list from AD are shown. You can either choose to inactivate them preventing them logging in to Prolaborate or leave them as it is.
Login to Prolaborate
Once the AD Users/Groups are added to Prolaborate, the users can login using their Active Directory credentials.
Note that they should use only their samaccountname to login into Prolaborate.