
Prolaborate SAML SSO – Best Practices
Prolaborate SAML SSO – Best Practices
The Goal
The goal is to deliver the best experience to all the Prolaborate users with minimal efforts!
The objective is to make it easy and effortless for
- Admins to manage users and their experience in Prolaborate. Experience refers to what EA model information is shared with the users and whether they can edit or collaborate, what information is presented to them through dashboards, etc.
- Users to securely connect to Prolaborate and get the right information
Plan
- Do all necessary configuration based on the roles or teams
- As the users logging in to Prolaborate for the first time cannot be differentiated, create a general group with certain access levels and assign it to the users logging in
- In the first few weeks of using Prolaborate, review the users in General group and move them to their right groups
Create User groups
Create a General group and a group for each team.
To create a group, click on Menu > User Groups.
List of Groups page displays all the groups in the current repository.
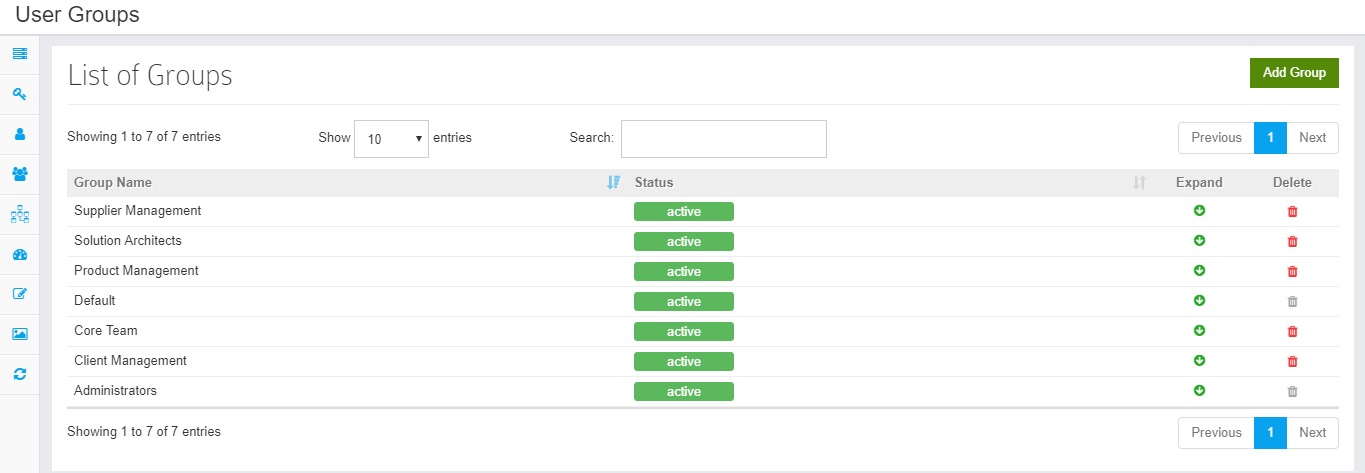


To add a group, click on Add Group.

Fill the following details and click on Submit to create a group.
- Mention the Name of the group
- Set the Default Dashboard for this User group if you created already
- Select the Feature Sets you want this group to have access to. For example, if you select Dashboard Management, this group members will be able to add, edit, delete and set default dashboards
On clicking Test & Save, Prolaborate will check whether the details you entered are valid. If they are valid, the settings will be saved. Else, you will see an error message and the details will not be saved.
If you have more than one domain or sub-domain, repeat the above steps for each.
Once the details are saved successfully, enable the Windows Sign-in.
Setup Access Permissions
Assign the right permissions to each group. For the general group, assign read-only access to some generic information if available.
Select the package/element from Repository Browser which you want to grant access to all the SSO user under Configure Access for Users or User Groups mode
- Choose the Type of Access. There are four types of Access:
- Read Only – See what is happening in Prolaborate
- Read and Write – See and edit EA models
- Read and Collaborate – See EA information, and participate in discussions but cannot edit EA models
- Read, Write and Collaborate – User can view, edit, and participate in discussions
- Click on Add icon
- Select Apply Recursively option to give access to all elements and packages under the selected package
Design Dashboard
Assign the right landing page or dashboard for the groups. For the General group audience, create a dashboard with details on what you expect them to do after logging in. For example, you can ask them to get in touch with admin to get the right access.
Once the user logged in using SSO, they and straight onto the live and dynamic dashboards specifically designed for them.
- All the general instructions (For example, Prolaborate user guides, Admin contact details, etc) which you want to inform all the SSO user
- Set as Default dashboard and give permission to General SSO group
Default Access Control Profiles
When a SSO user logs in for the first time, they are automatically registered to Prolaborate. You can configure which Repository they can access and which group they should be added to.
As per the instructions so far, you can select the right repositories and assign the General group.
Configure the User groups in Access Control profiles. Click on Menu> Access Configurations
Click on Create Profile.
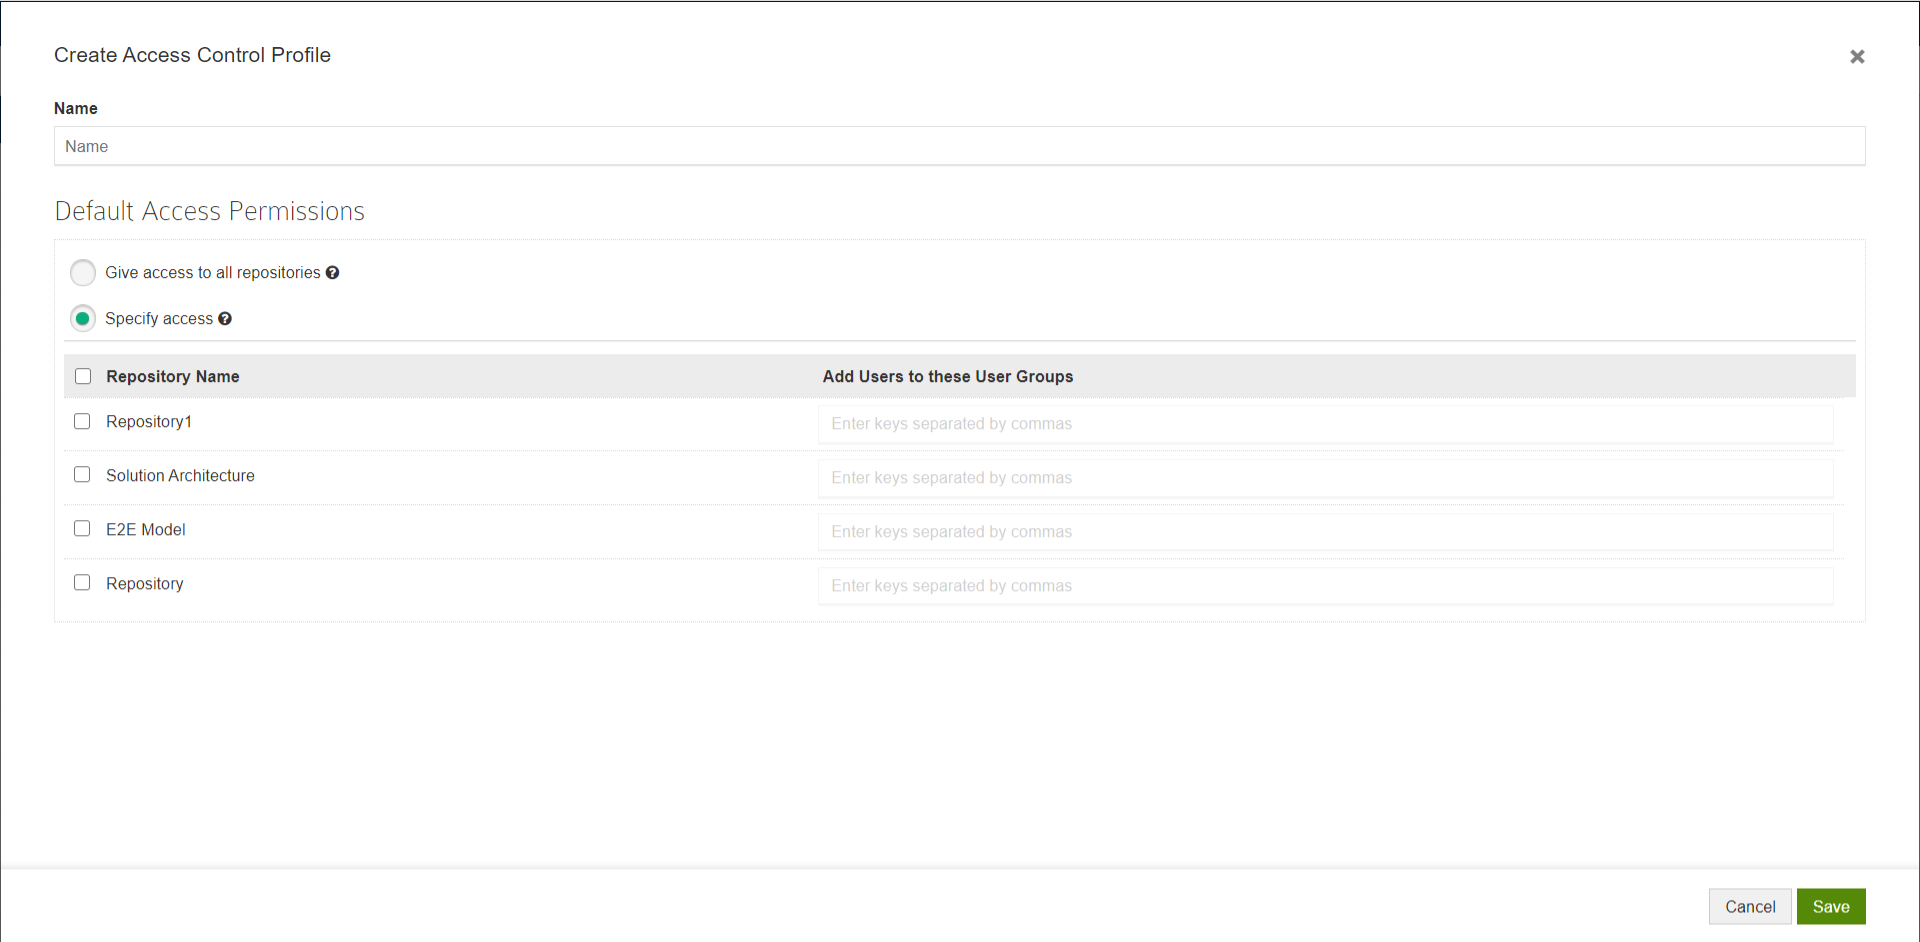
Give a Name to the Profile and configure permissions.
You can choose any one of the following options:
- Give access to all repositories – Any user logging with their SSO credentials will be given access to all repositories
- Specify access – Any user logging with their SSO credentials will be added to the user groups you have specified after selecting the repositories
Click Save.
SAML Settings
- Configure the Service Provider and Identity Provider Configuration in SAML settings page as per instructions in this link
- Choose the Access Control profile which you have created under Default Access Control Profile and click Save
Conclusion
What we saw so far is a bottom-up approach. This is how the configuration works.

SAML SSO users logs in and gets assigned to the configured repositories and groups. Based on the group they are configured to, they get relevant model access and dashboards.