
Prolaborate and Azure AD SAML Integration
Prolaborate and Azure AD SAML Integration
Prerequisites
Your Prolaborate site should have a valid SSL Certificate.
If you don’t have a SSL Certificate, you can create a self-signed certificate yourself. Please get in touch with Prolaborate team to know more about it.
Service Provider Configuration
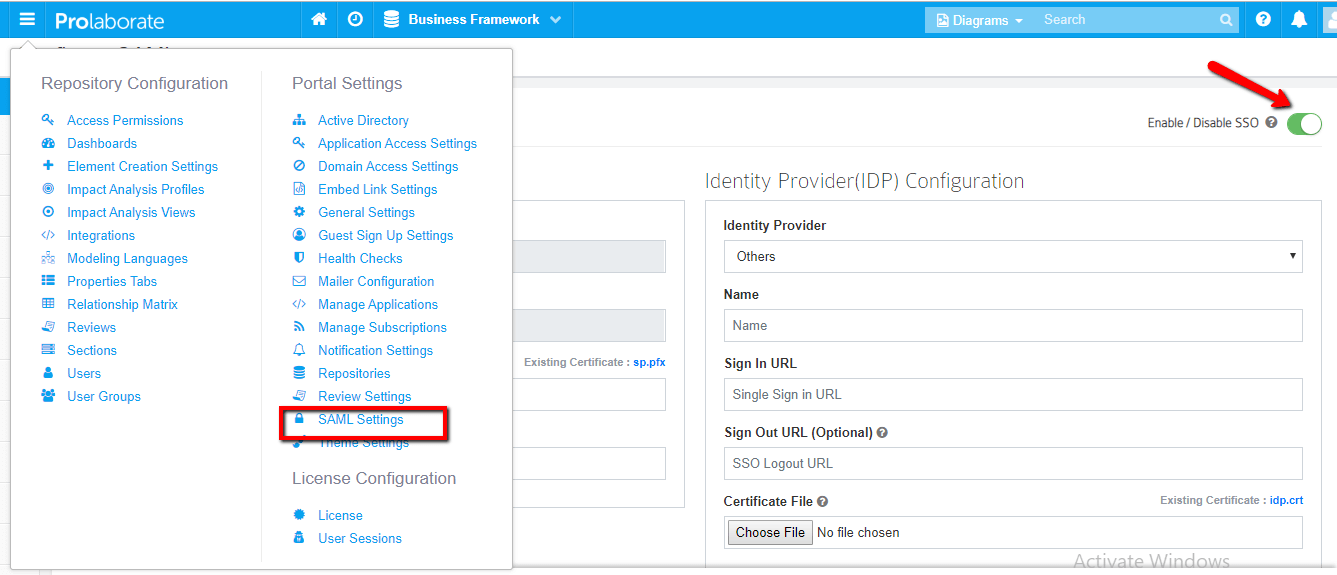
To configure the Service Provider i.e. Prolaborate, click on Menu → SAML Settings.
From the top right of the page that opens, click on Enable SSO.


Under Service Provider Configuration,
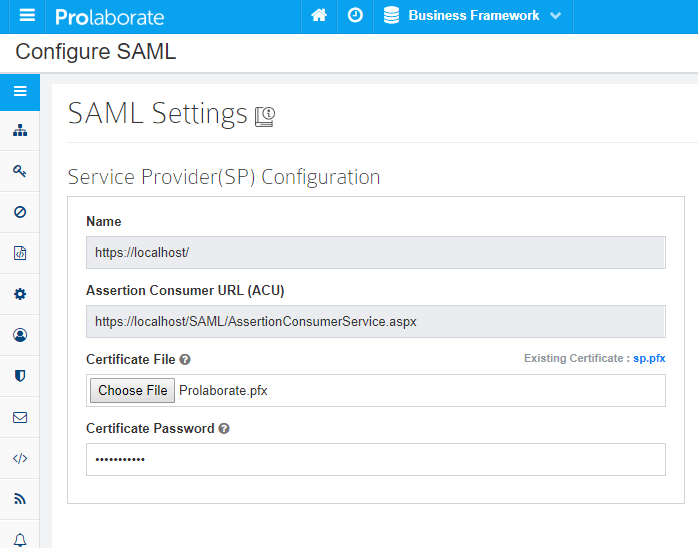
- Name and Assertion Consumer URL will be prefilled. Note that these URLs will be used as ‘Identifier (Entity ID)’ and ‘Reply URL (Assertion Consumer URL)’ in Azure Active Directory configuration respectively.
- Choose the .pfx file of your SSL certificate
- Enter the Password of the .pfx file
Configuring Prolaborate in Azure Active Directory
The following sections will elaborate the steps involved in setting up Prolaborate in Active Directory (AD).
Create a new SAML Application
To create a SAML application, follow the below steps:
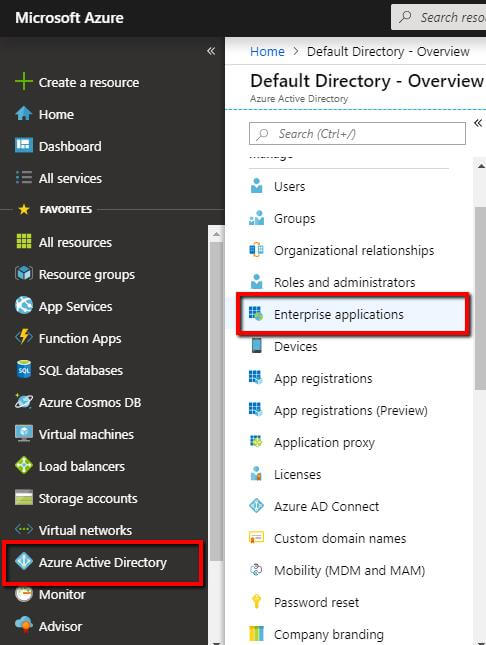
- Sign in to the Azure portal using your administrator account
- Browse to the Azure Active Directory and click on Enterprise Applications.
3. Click on New Application
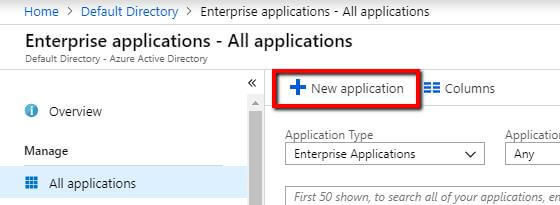
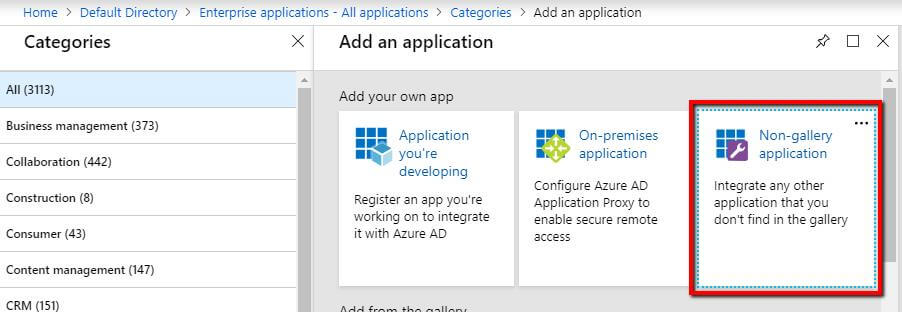
4. In the Add an application page that opens, click on Non-gallery application
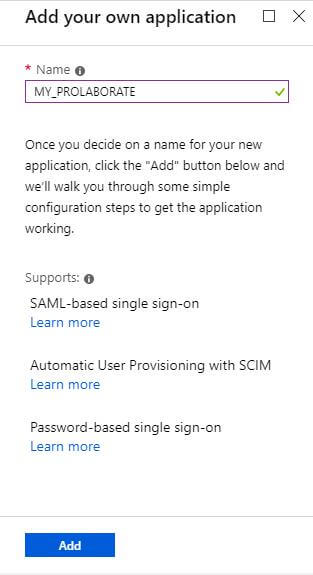
5. Enter your Application Name (say Prolaborate) and Click on Add . Once successfuly added, the Overview page will open.
Assign Users
In this section, we will specify which AD users can access Prolaborate.
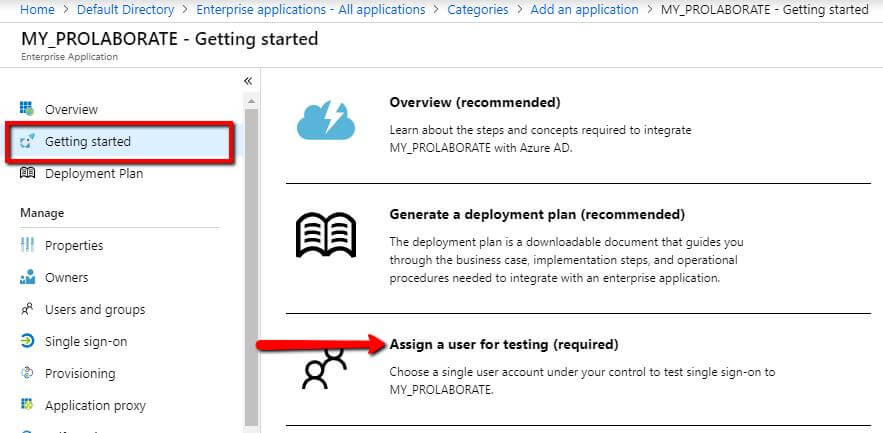
- Click on Getting started and select Assign a user for testing
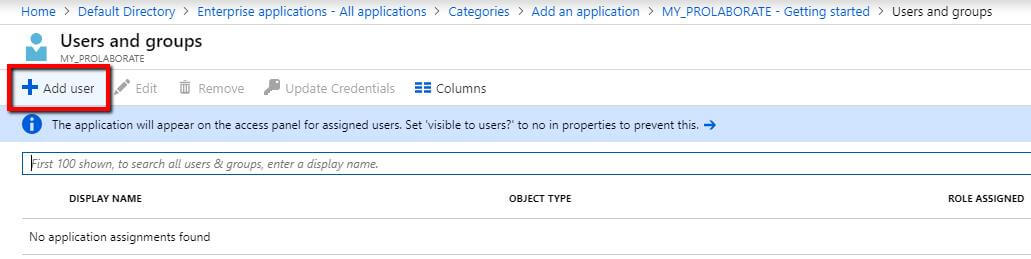
2. In the Users and groups page that opens, click on Add user
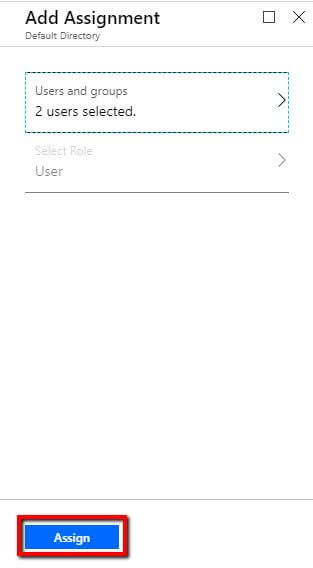
3. In Add Assignment page, click on Users and groups tab to select the users to whom to give access to Prolaborate and click on Select

4. Click on Assign
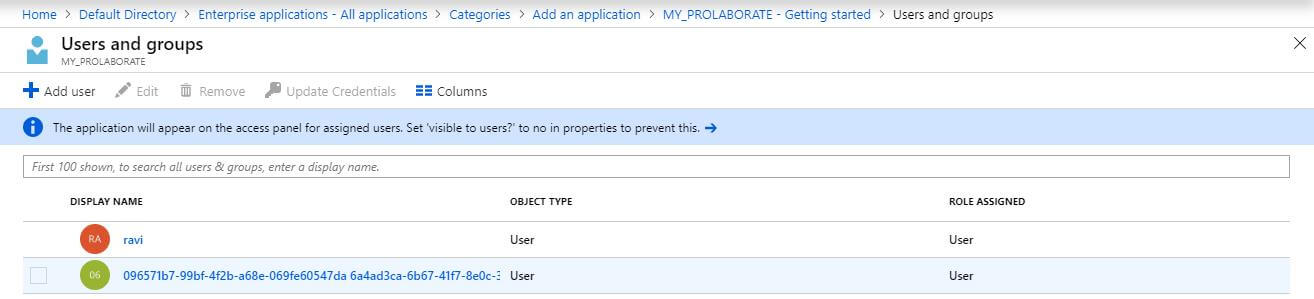
5. The users whom we have selected will now show up in Users and groups page.
SAML Single sign-on Configuration
Follow these steps to configure SAML Sign sign-on and get required information that are needed to configure from the Prolaborate side:
- Click Single sign-on option and select SAML
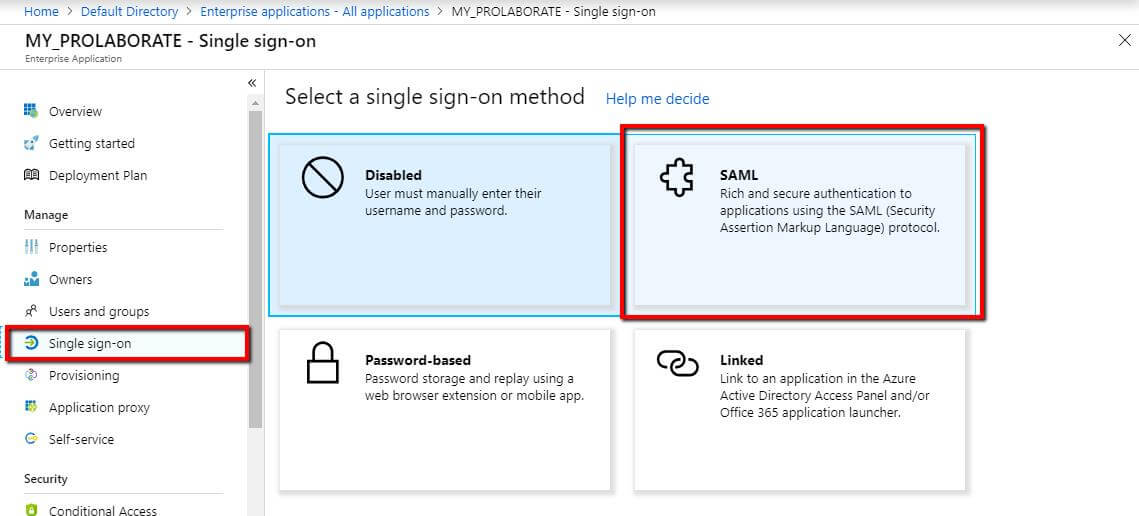
2. The subsequent sections will talk about how to complete the configuration.
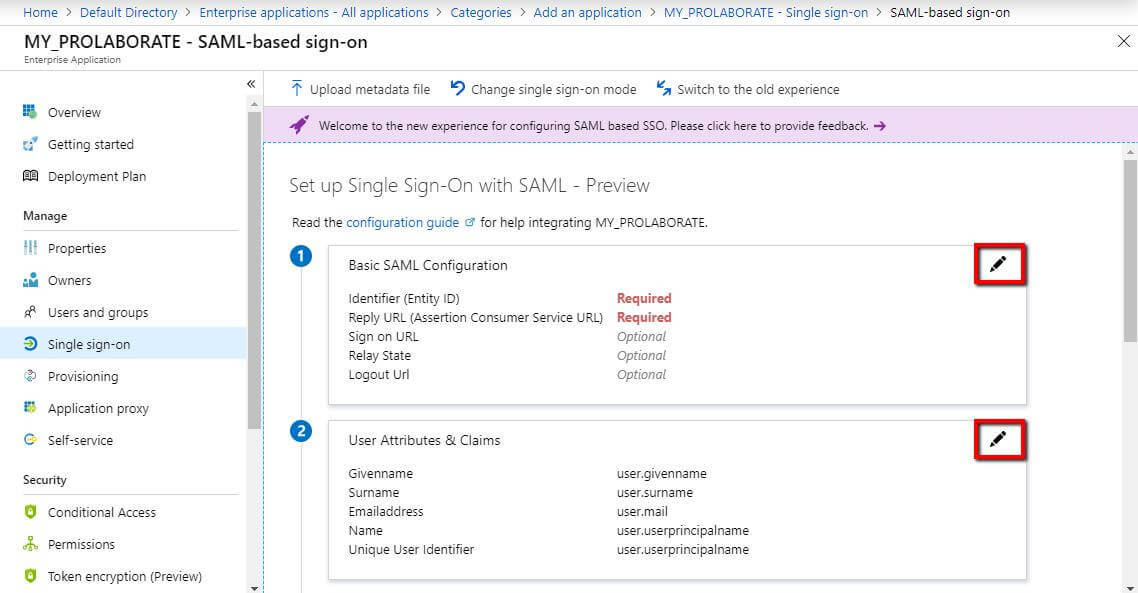
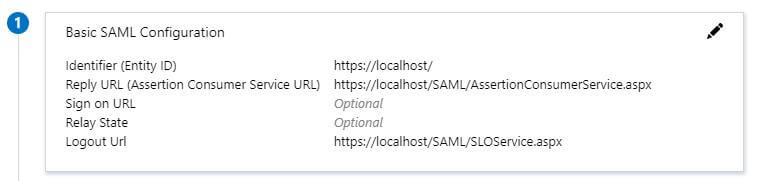
Basic SAML Configuration
- Click on Edit
- Fill ‘Identifier (Entity ID)’ and ‘Reply URL (Assertion Consumer URL)’ fields from Prolaborate Service Provider configuration as stated above n section Service Provider Configuration and Enable by default option for Entity ID (Identifier)
- Get Name from Service provider Configuration of Prolaborate and append it with /SAML/SLOService.aspx. to get the Logout URL. For example, https://localhost/SAML/SLOService.aspx
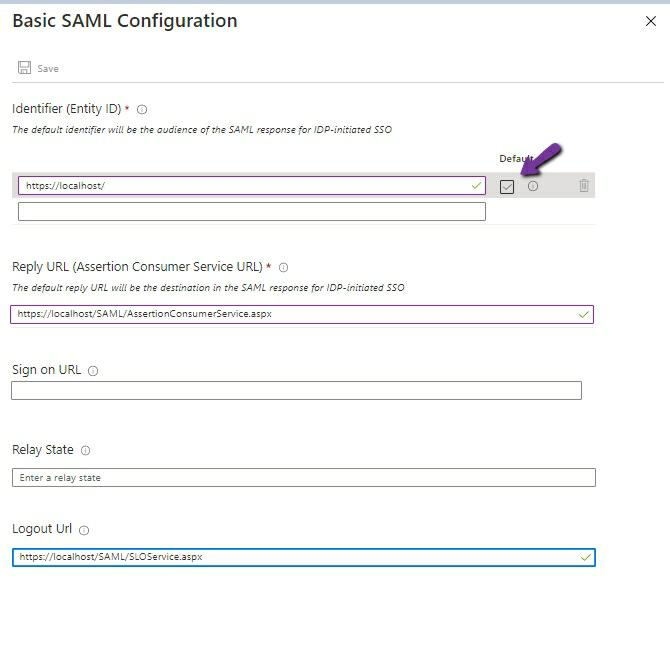
4. Click on Save and close this page
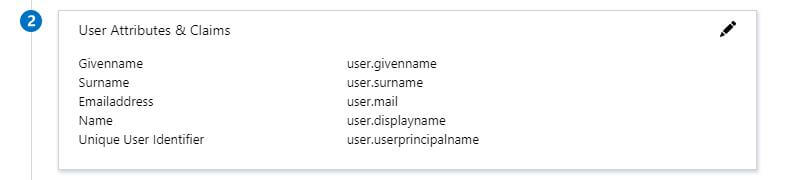
User Attributes and Claims
- Click on Edit against User Attributes and Claims
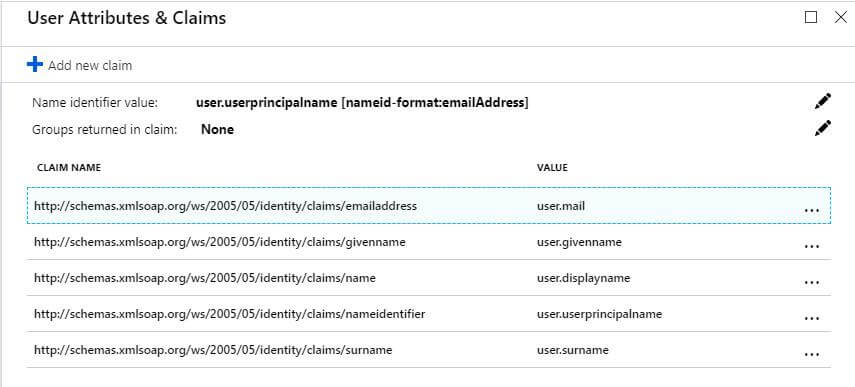
2. Claims should be configured as below:
| Claim Name | Value |
|---|---|
| emailaddress | user.mail |
| givenname | user.givenname |
| name | user.displayname |
| nameidentifier | user.userprincipalname |
| surname | user.surname |
SAML Signing Certificate
- Download Certificate (Base64) file. This certificate will be used in Identity Provider configuration in Prolaborate
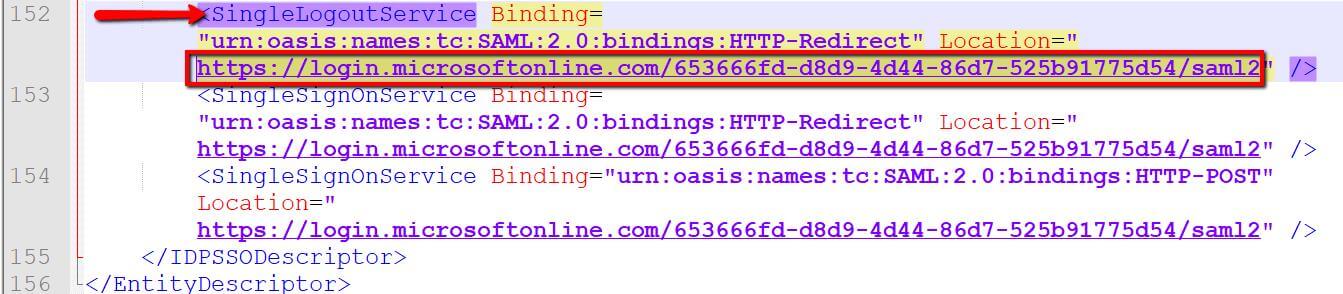
- Download Federation Metadata XML . You can availEntity ID URL and Single Logout Service URL from this file, which will be used as Name and Sign out URL in Identity Provider configuration in Prolaborate
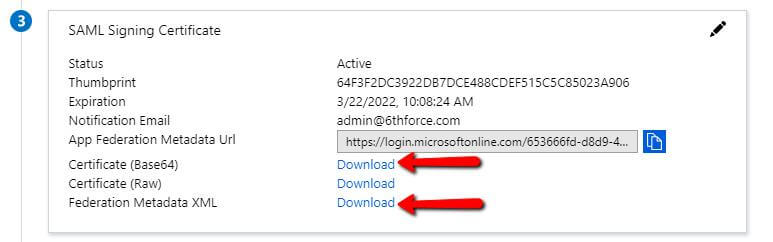
Step 4 can be ignored.
Step 5 can be carried out only after Identity Provider Configuration is done in Prolaborate.
Identity Provider Configuration
Go back to Prolaborate, click on Menu → SAML Settings .
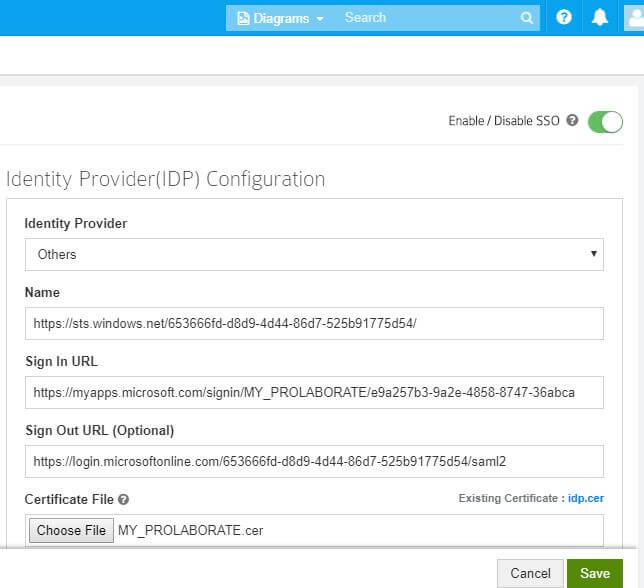
Fill the Identity Provider Configuration as per the instructions below:
- Select your Identity Provider as Others .
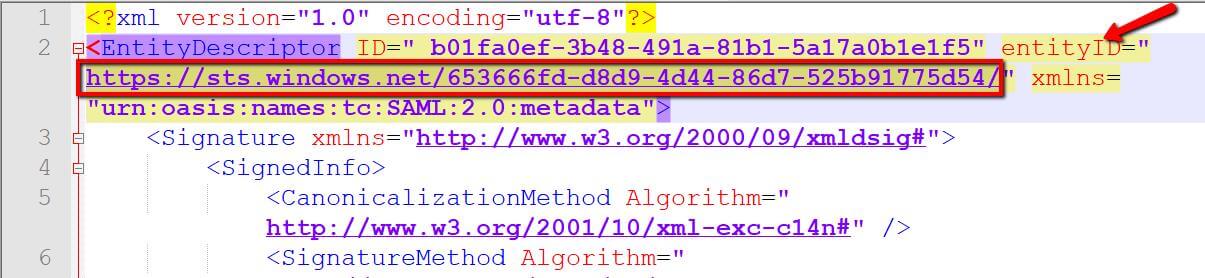
- Fill Name field using Entity ID URL from the Federation Metadata XML file (Refer to section SAML Signing Certificate)
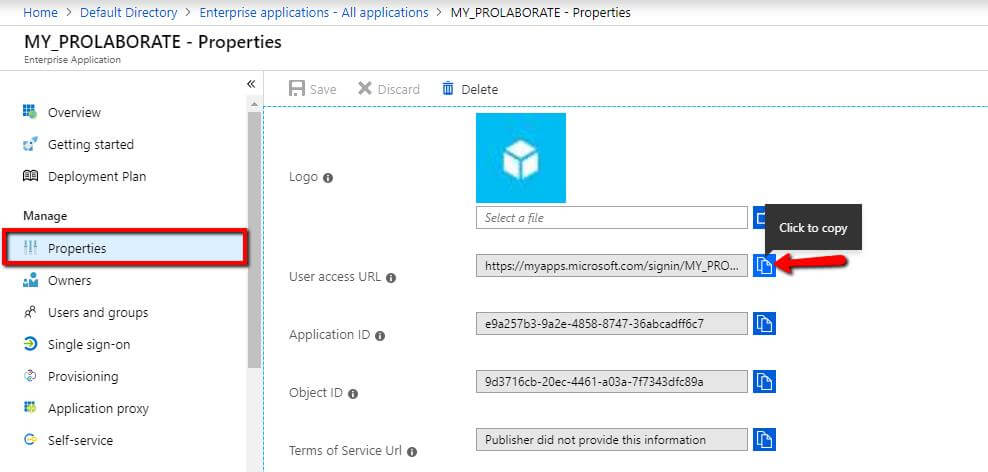
3. Sign In URL will be the User access URL availed from Properties tab as shown below.
4. Fill Sign Out URL field using Single Logout Service URL from the Federation Metadata XML file (Refer to section SAML Signing Certificate)
5. Certificate File:Choose the .cer file downloaded in the SAML Signing Certificate section above.
Test Single Sign-On from Azure AD
This is the step 5 mentioned in SAML Single sign-on Configuration section.
Click on Test and you will be taken to a new page.

Click on Sign in as current user.
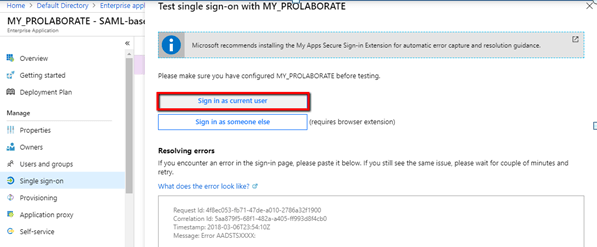
You will be redirected to Prolaborate successfully if the configuration is done right as said in the document.
Note the Repositories you see will be based on Default Access Control Profile

Please check the configuration if you are not logged in to Prolaborate.
Default Access Control Profile
Click on Manage Profiles to create a new profile.
Click on Create Profile.
This is the permission that will be provided to all the users logging into Prolaborate using their SSO Crendentials.
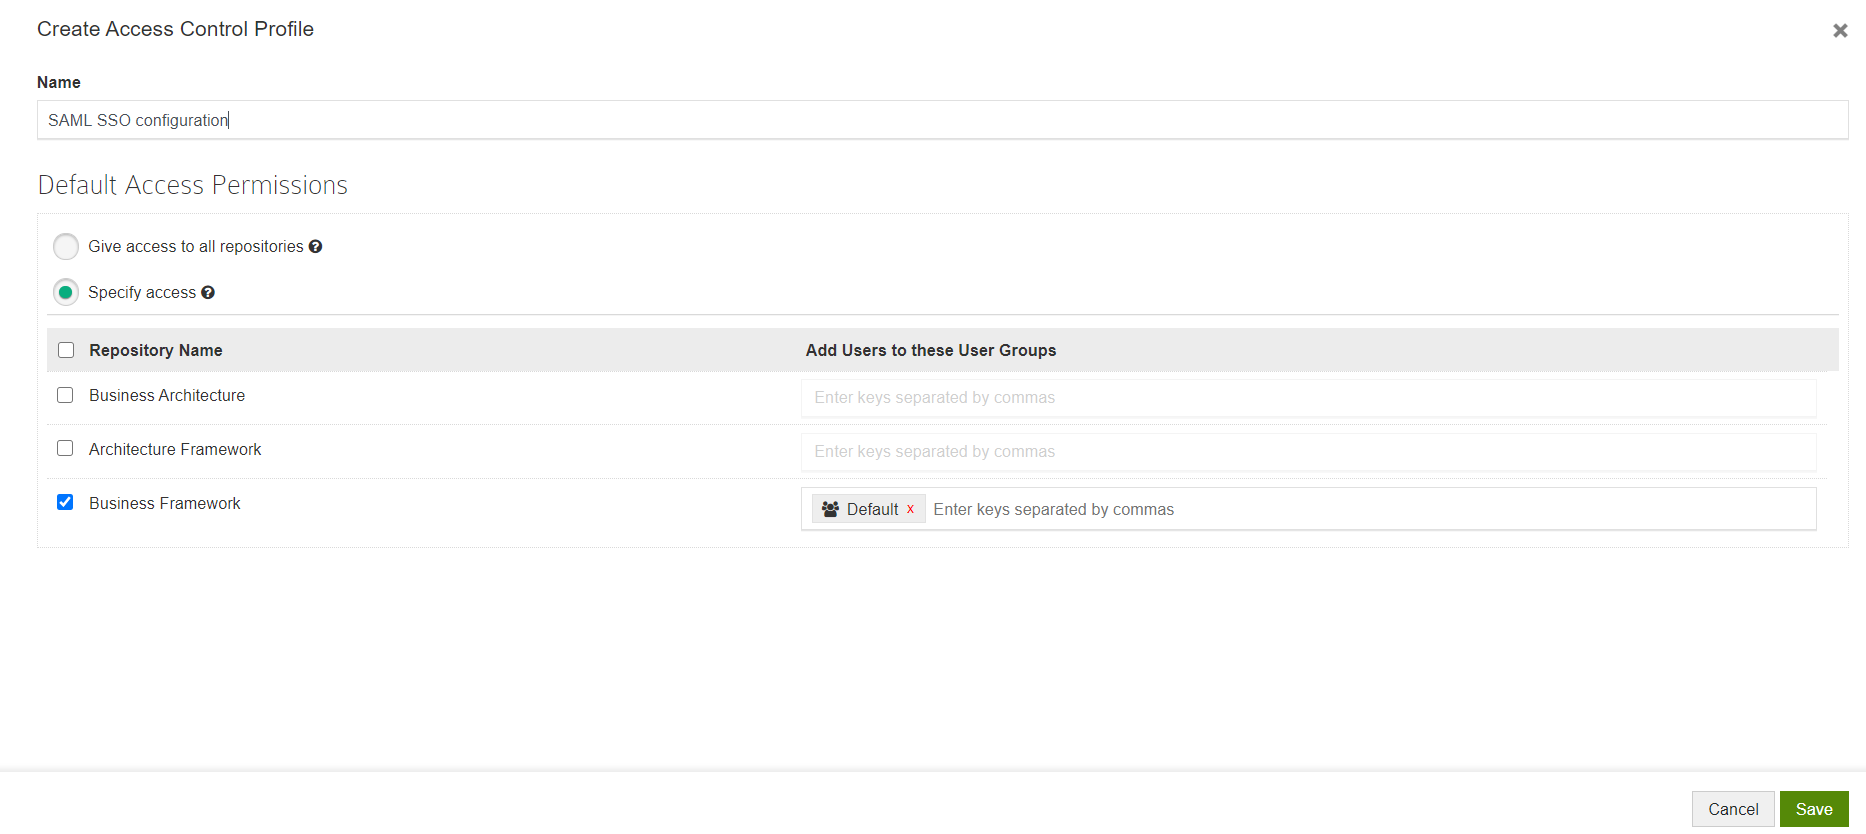
Give a Name to the Profile and configure permissions.
You can choose any one of the following options:
- Give access to all repositories – Any user logging with their SSO credentials will be given access to all repositories
- Specify access – Any user logging with their SSO credentials will be added to the user groups you have specified after selecting the repositories
Click Save.
Now, go back to SAML Settings page.
Select the newly created profile and click Save.
Log in with Azure AD Credentials
Once the configuration is done, your users will start to see a new button on the login page called Login with SSO .
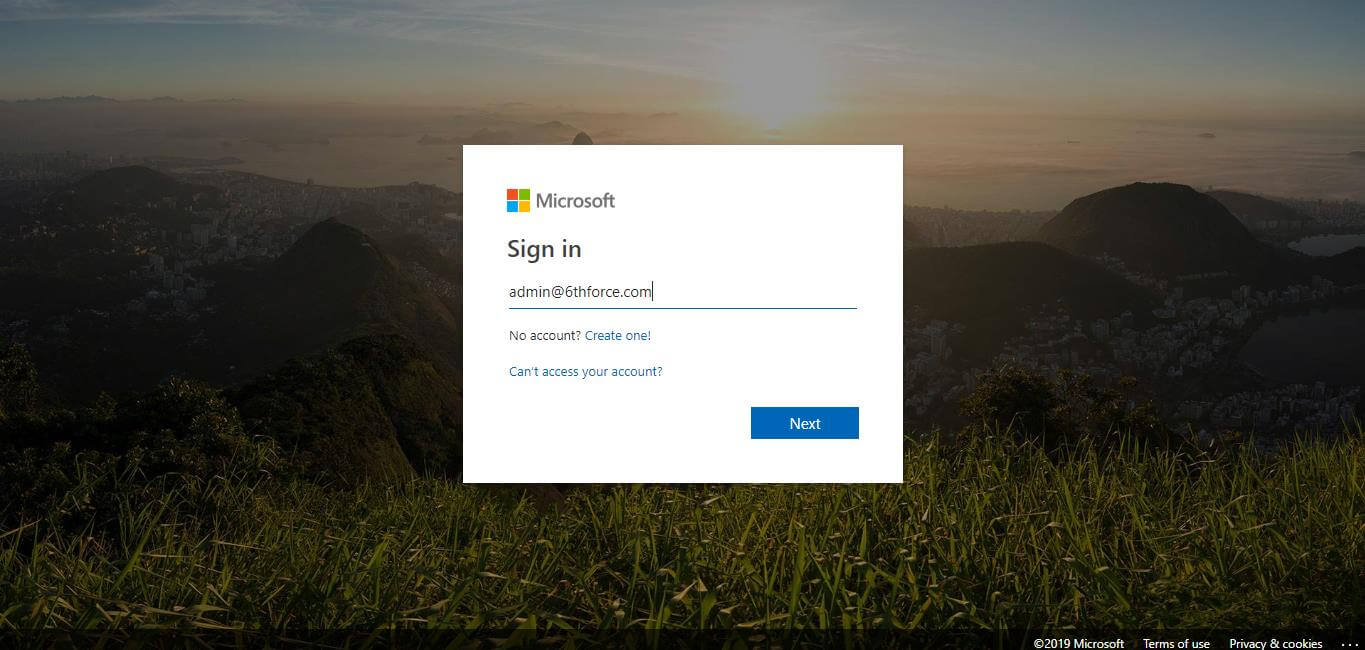
When they click on Login with SSO,
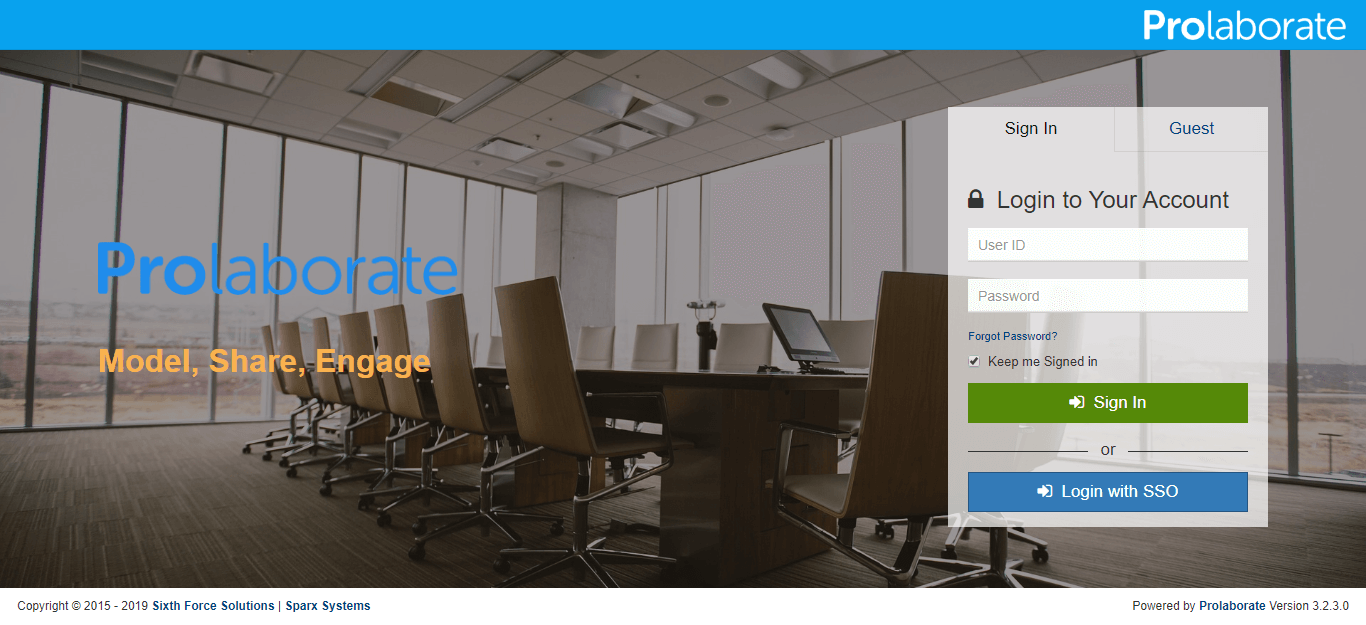
They will be redirected to an URL as per configuration. They can then give their Azure AD credentials to login to Prolaborate.
Logging out from Prolaborate
When a user logs out from Prolaborate, the user will be logged out from all applications signed in using their SSO credentials.