
Prolaborate and ADFS SAML Integration
Prerequisites
Your Prolaborate site should have a valid SSL Certificate.
If you don’t have a SSL Certificate, you can create a self-signed certificate yourself. Please get in touch with the Prolaborate team to know more about it.
Service Provider Configuration
To configure the Service Provider i.e. Prolaborate, click on Menu > SAML Settings.
From the top right of the page that opens, click on Enable SSO.
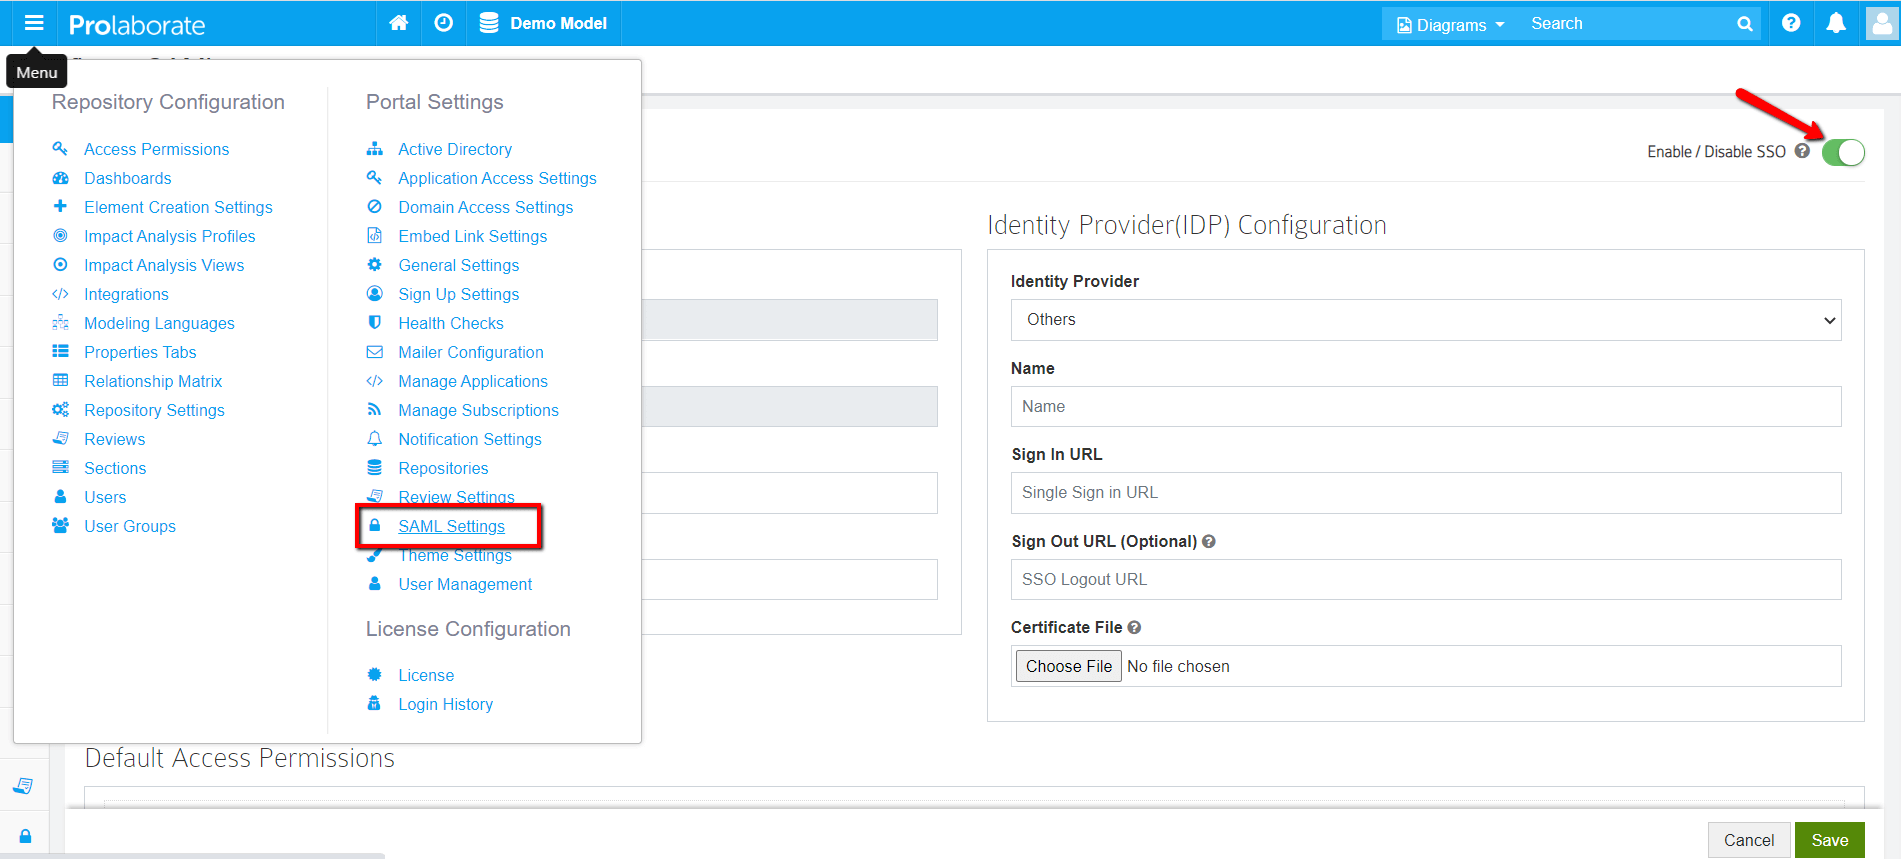


Under Service Provider Configuration,
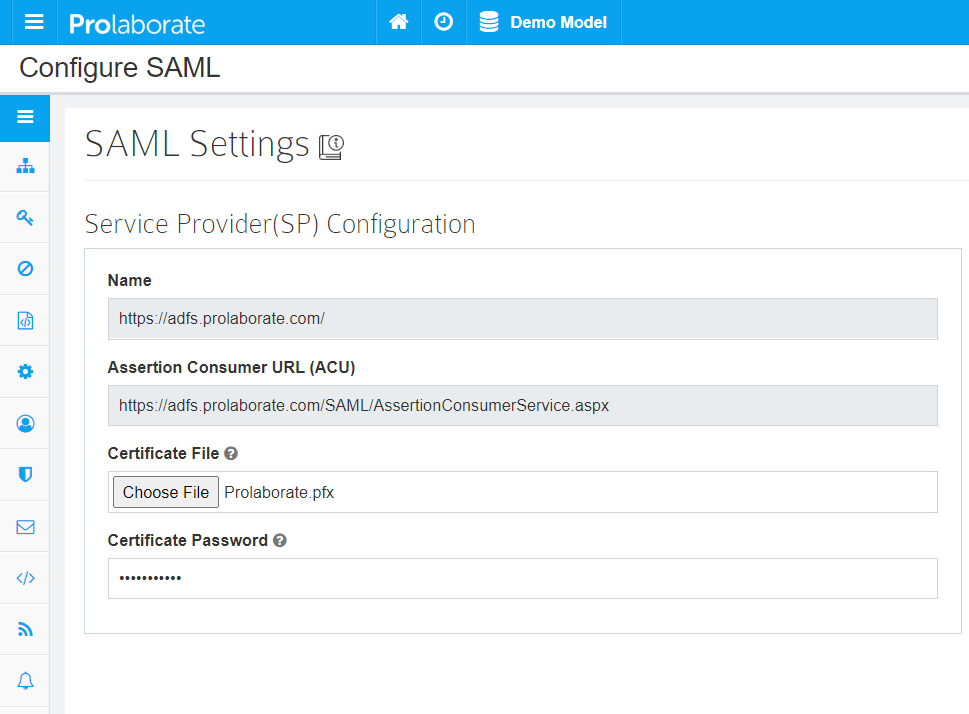
- Name and Assertion Consumer URL will be prefilled. Note that these URLs will be used as ‘Relying party trust identifier (Entity ID)’ and ‘Relying party SAML 2.0 SSO service URL (Assertion Consumer URL)’ in ADFS configuration respectively.
- Choose the .pfx file of your SSL certificate
- Enter the Password of the .pfx file
Configuring Prolaborate in ADFS
The following sections will elaborate the steps involved in setting up Prolaborate in ADFS.
Create a new Relying Party Trusts
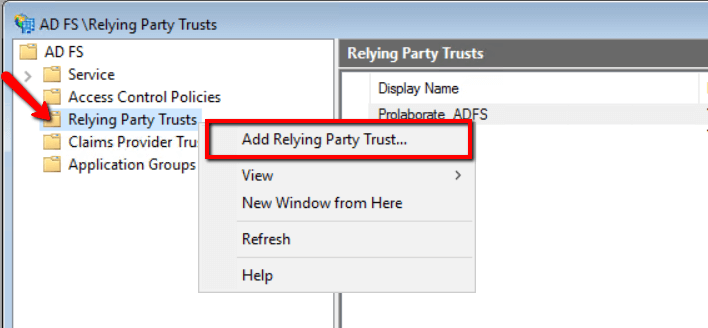
To create a Relying Party Trusts, follow the below steps:
- Sign in to the ADFS management using your administrator account
- Right-click the Relying Party Trusts and click on Add Relying Party Trust….
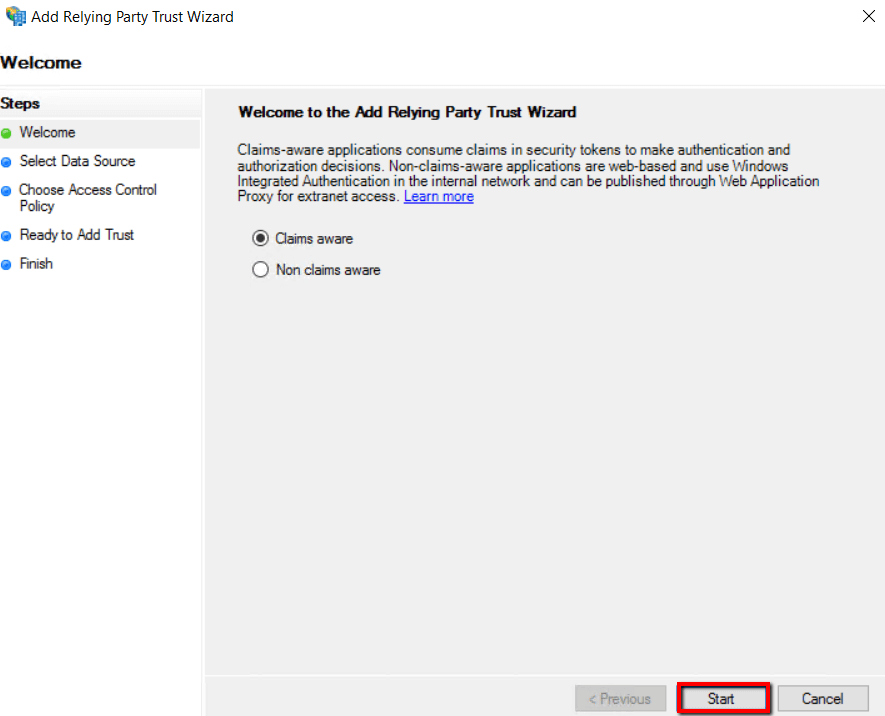
3. Select Claims aware and click on Start
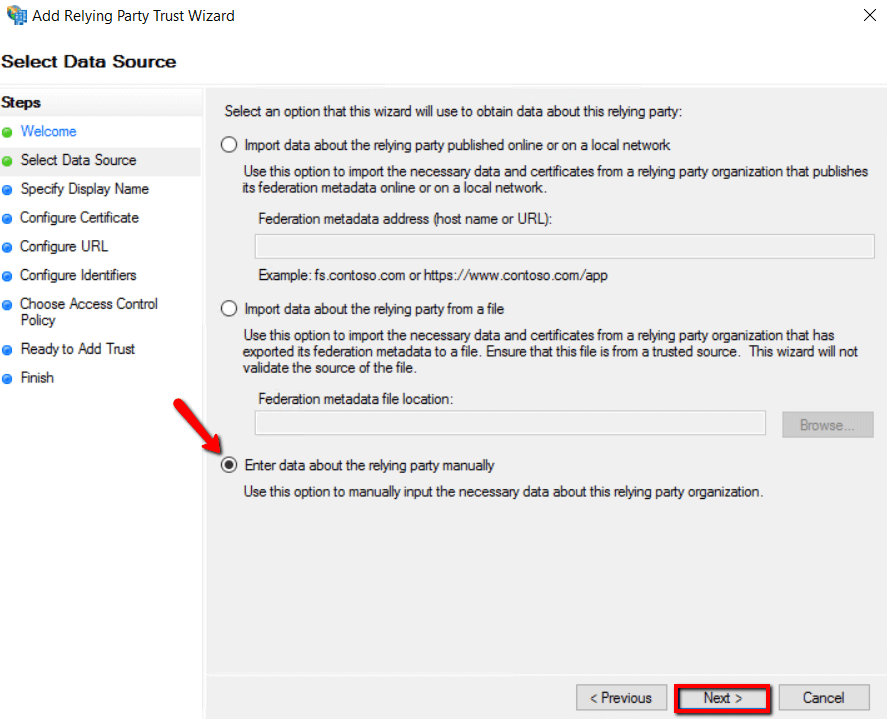
4. Choose Enter data about relying party manually option and click Next
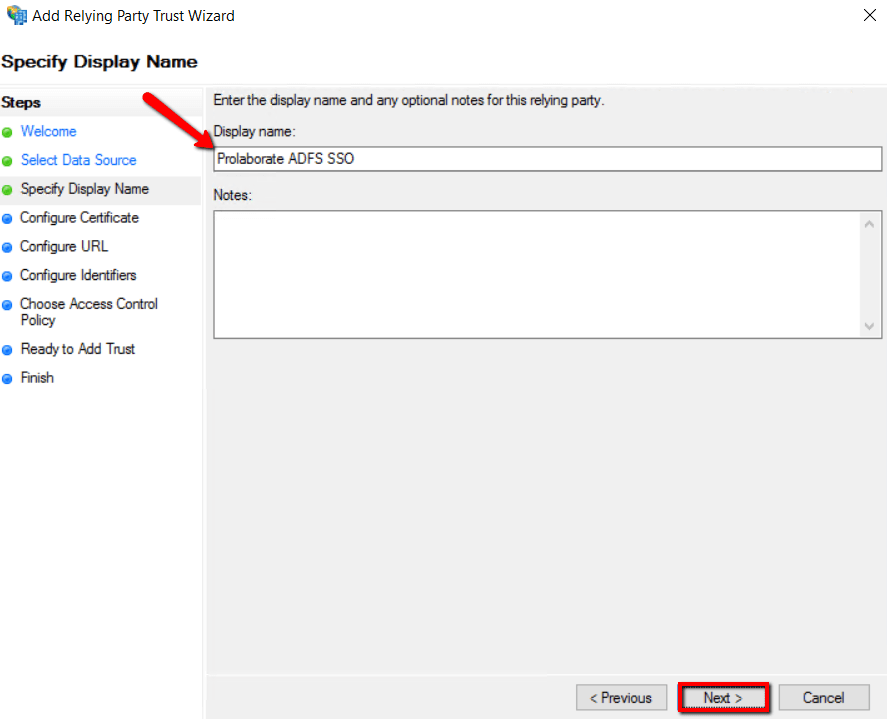
5. Enter the Display name called Prolaborate ADFS SSO and click Next.
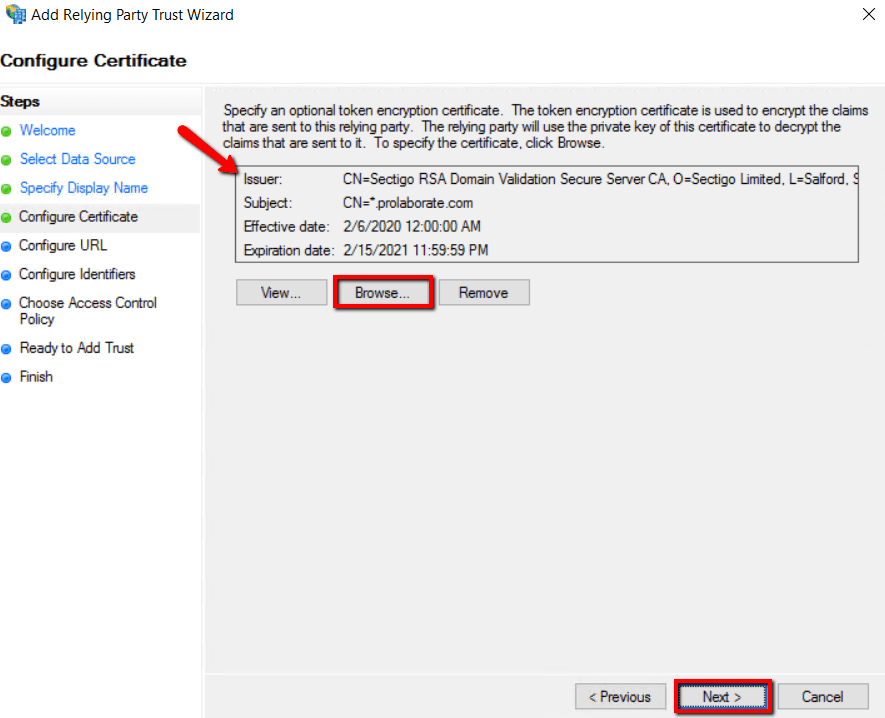
6. Browse the Prolaborate site SSL certificate based on .cer file and click Next
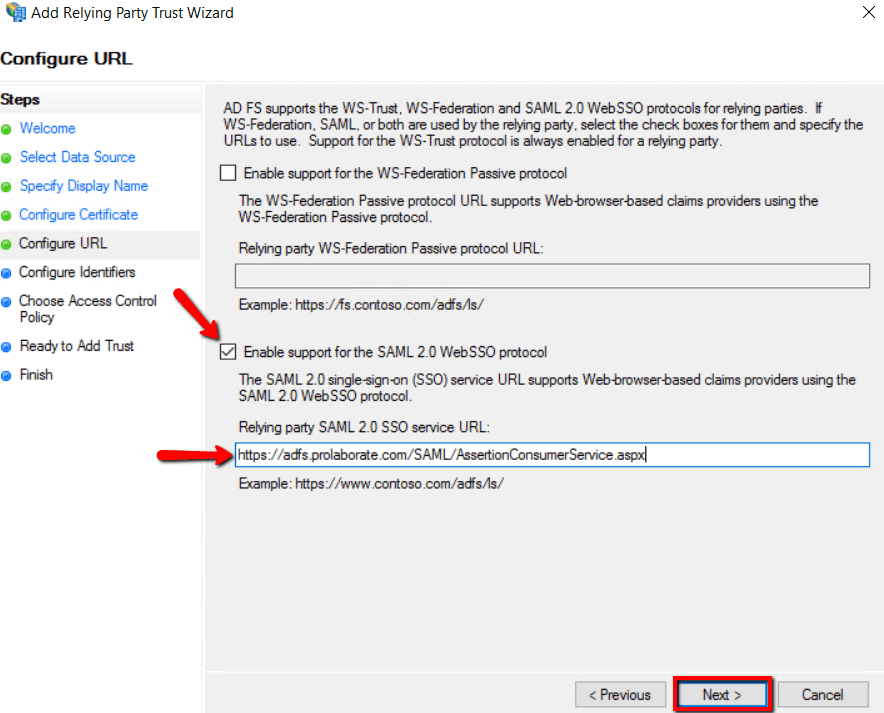
7. Select Enable support for the SAML2.0 WebSSO protocol, and fill ‘Relying party SAML 2.0 SSO service URL (Assertion Consumer URL)’ fields from Prolaborate Service Provider configuration as stated above in section Service Provider Configuration and click Next.
8. Fill ‘Relying party trust identifier (Entity ID) fields from Prolaborate Service Provider configuration as stated above in section Service Provider Configuration then click Add and click Next.
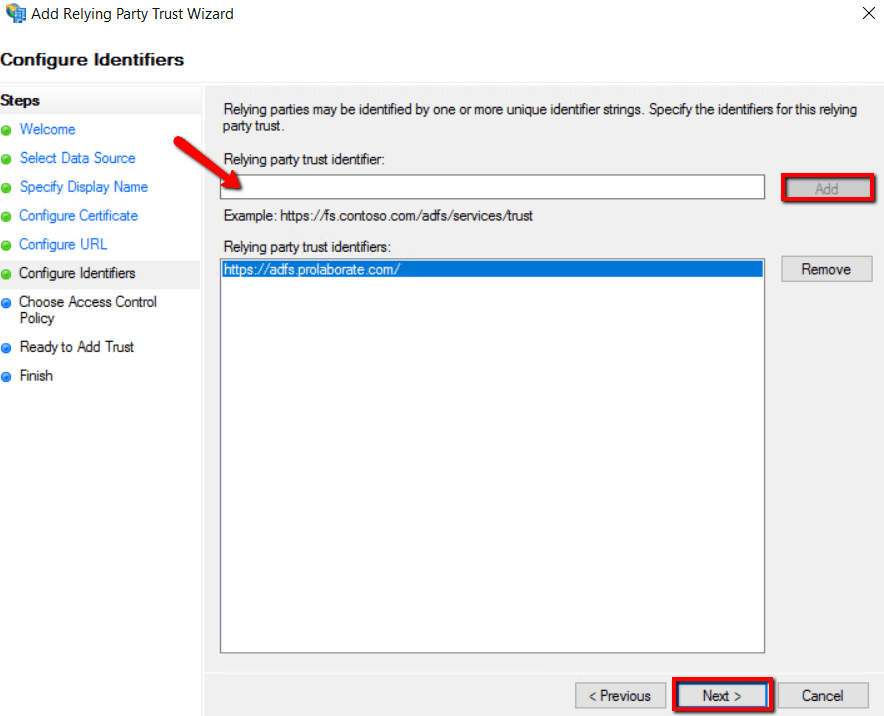
9. Click Next
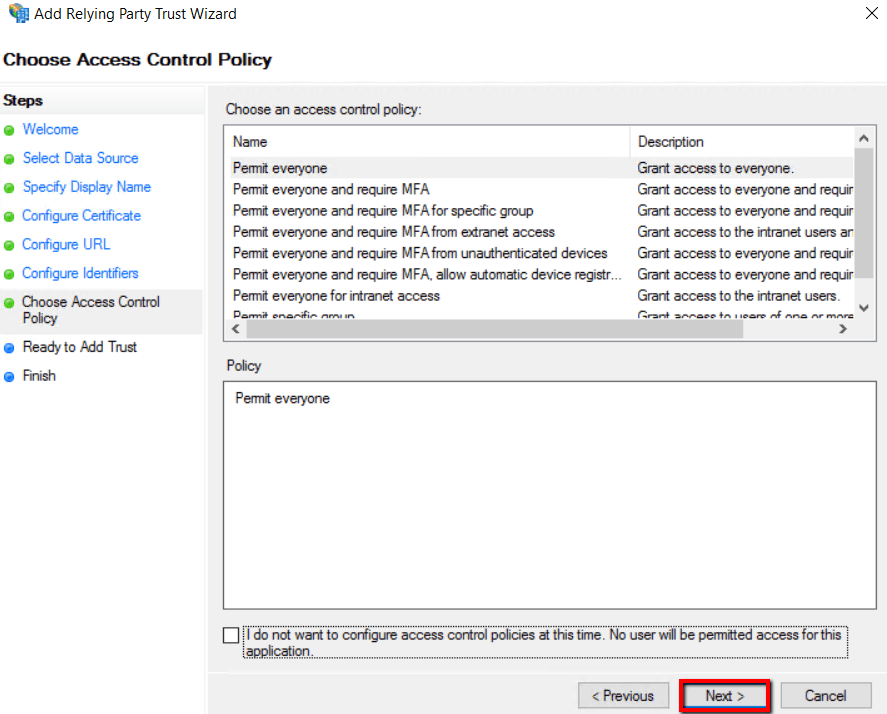
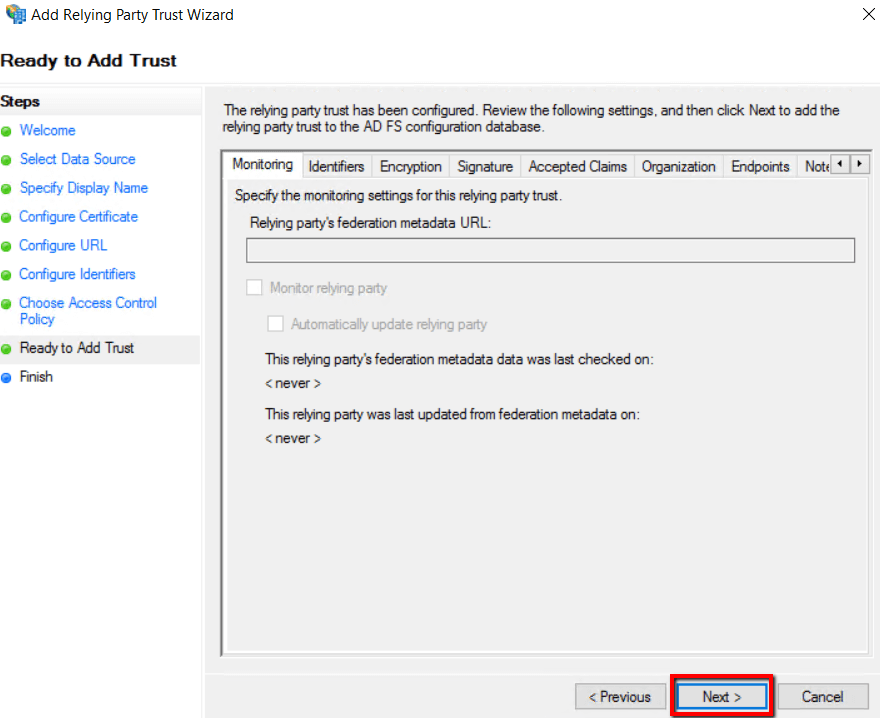
10. Click Next
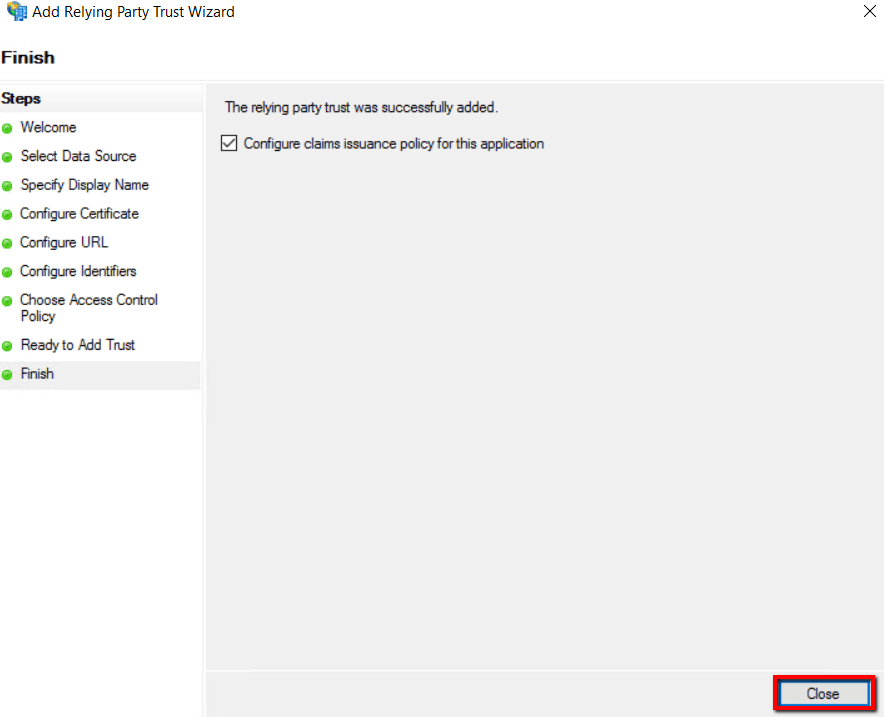
11. Select Configure claim issuance policy for the application and click Close
Relying Party Trust properties
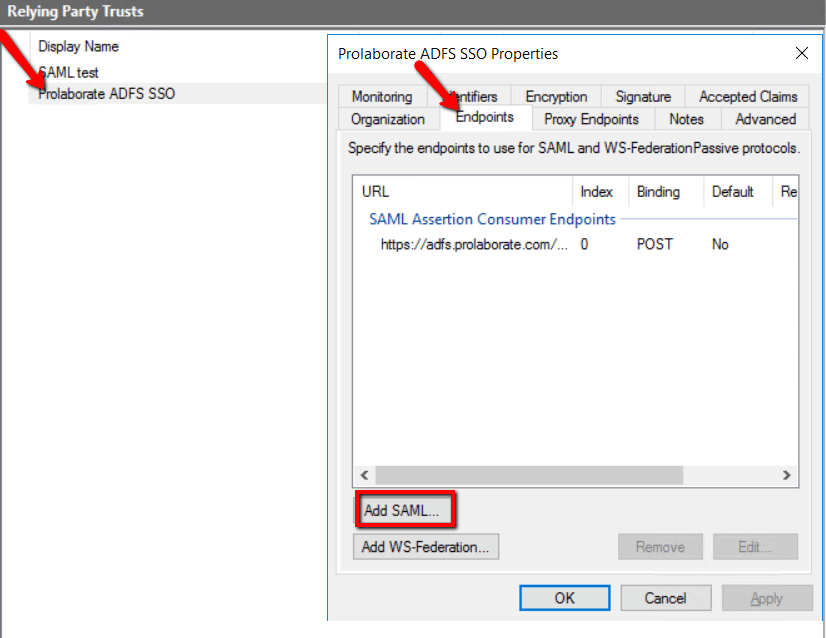
Double- click to open the Prolaborate ADFS SSO Relying Party Trust properties Endpoints
- Select Endpoints and click Add SAML
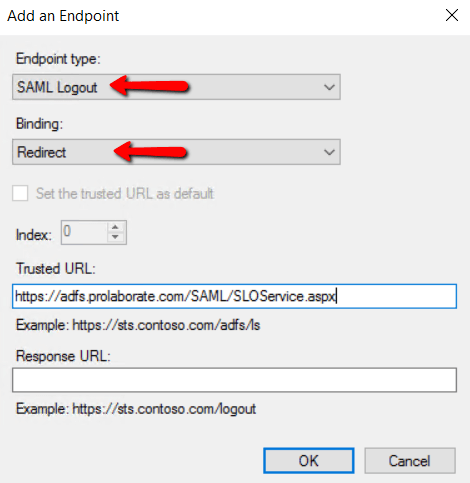
2. Select SAML Logout as Endpoint type and choose Redirect in Binding.
3. Get Name from Service provider Configuration of Prolaborate and append it with /SAML/SLOService.aspx. to get the Trusted URL and click OK
For example, https://localhost/SAML/SLOService.aspx
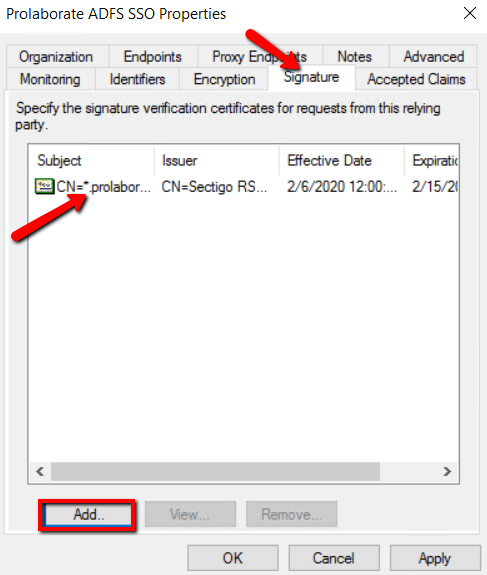
Signature
Click Add to choose the .cer file of your Prolaborate application SSL certificate and click OK
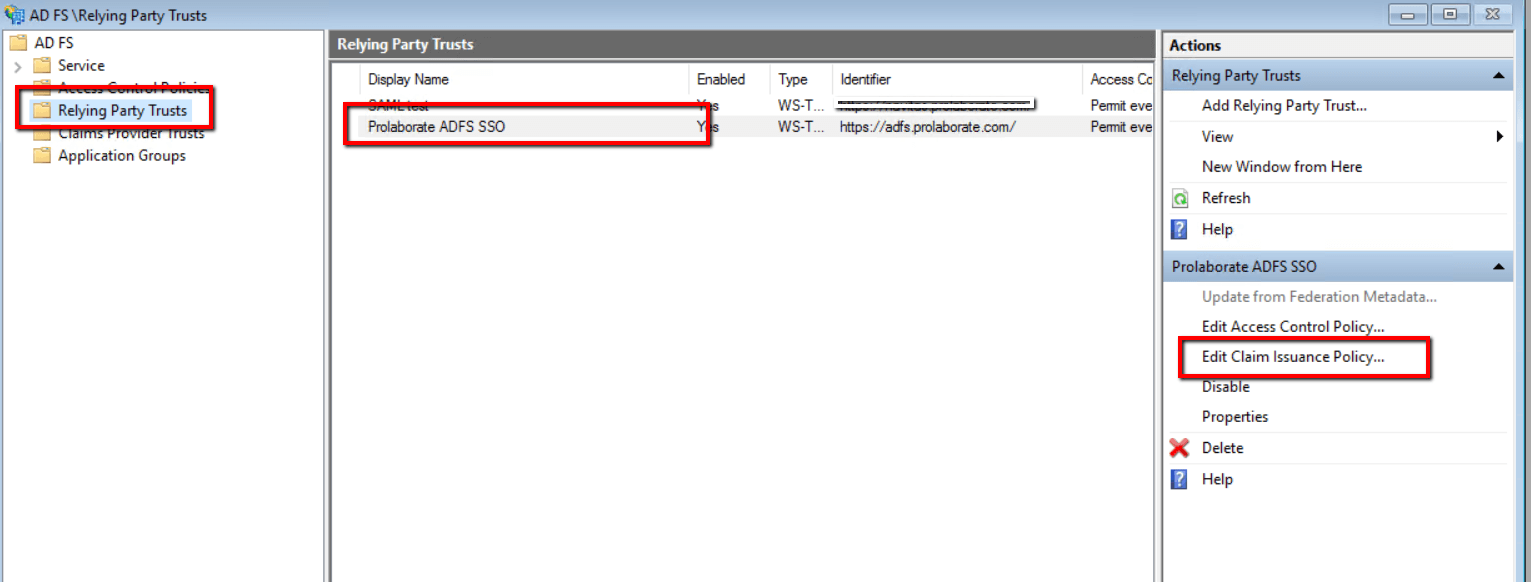
Edit Claim Issuance Policy
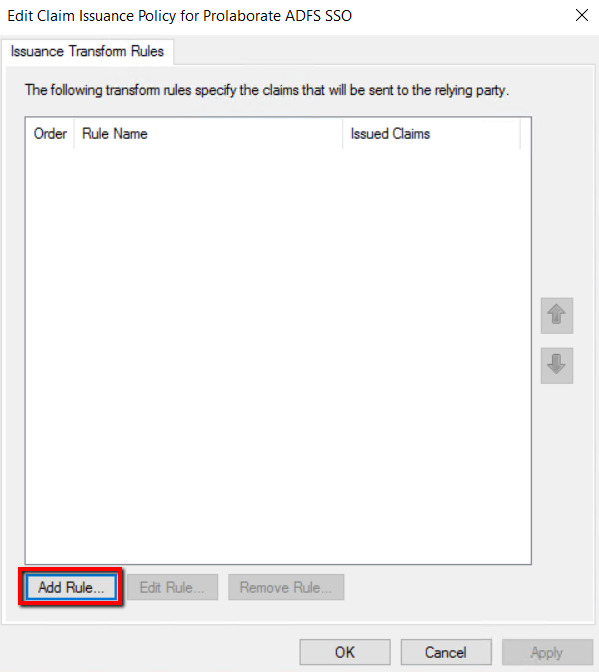
- Click Edit claim Issuance Policy of the Prolaborate ADFS SSO under Actions
2. Click Add Rule
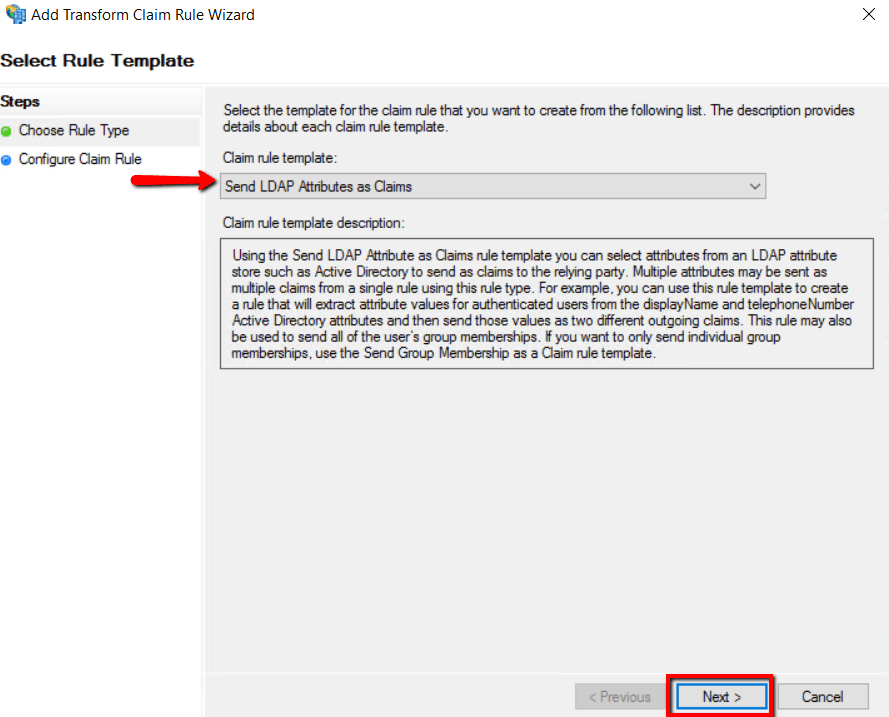
2. Choose Send LDAP Attributes as Claims for Claim rule template and click Next
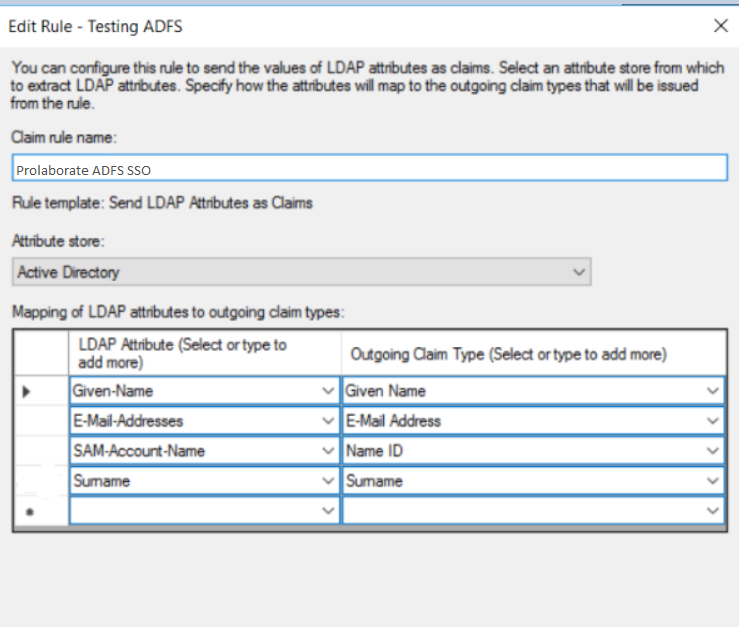
4.Enter Claim Rule name as Prolaborate ADFS SSO and choose Active Directory as attribute store.
5. Claims type should be configured as below and click Finish,
| Claim Name | Value |
|---|---|
| Given-Name | Given Name |
| E-mail-Addresses | E-mail Address |
| SAM-Account-Name | Name ID |
| Surname | Surname |
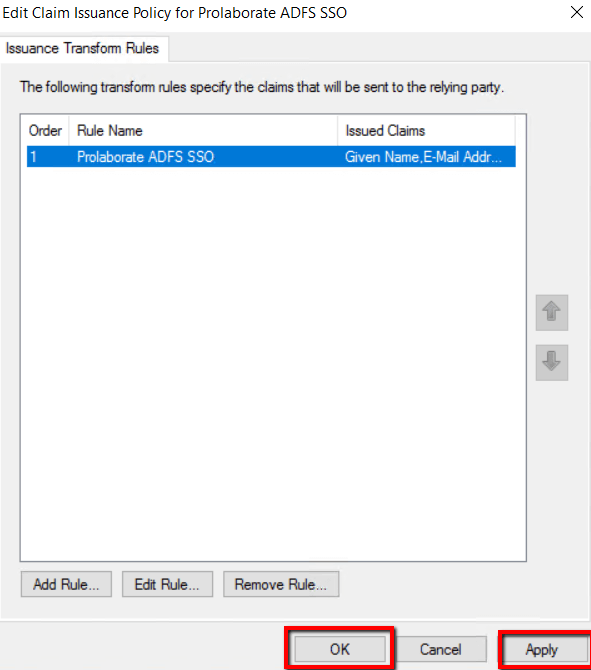
6.Click Apply and OK.
Identity Provider Configuration
Go back to Prolaborate, click on Menu → SAML Settings.

Fill the Identity Provider Configuration as per the instructions below:
- Select your Identity Provider as Active Directory Federation Services.
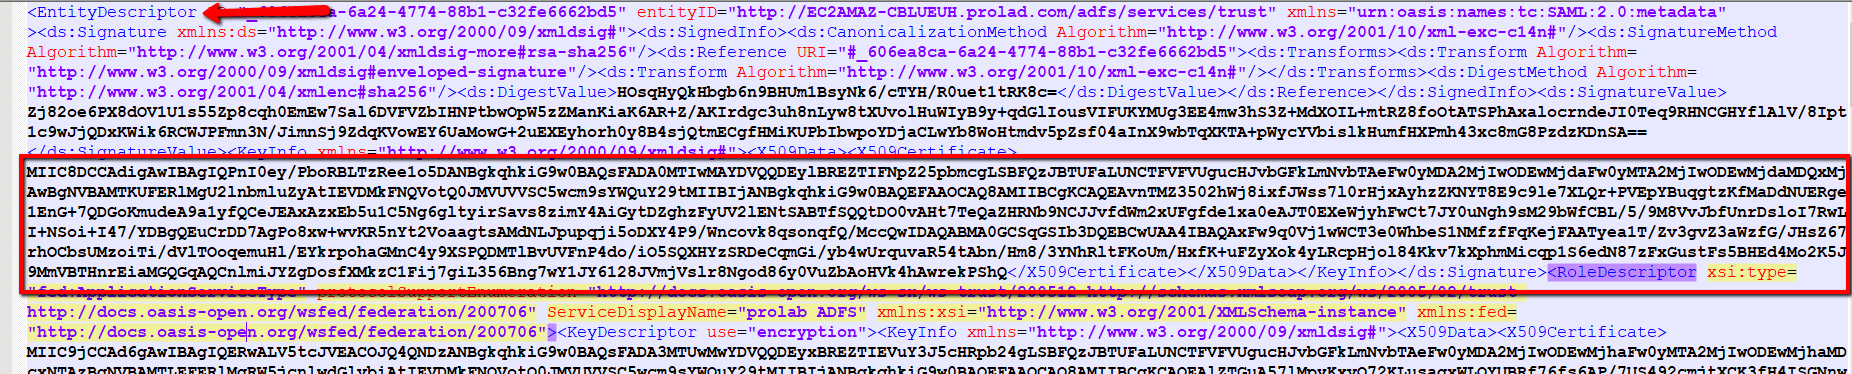
- Fill Name field using Entity ID URL from the ADFS Federation Metadata XML file.You can get the Metadata XML file using the below link
https://[servername or hostname]/FederationMetadata/2007-06/FederationMetadata.xml
Please replace [servername or hostname] with ADFS server name and hit this URL in the browser to download the ADFS Federation Metadata XML file.
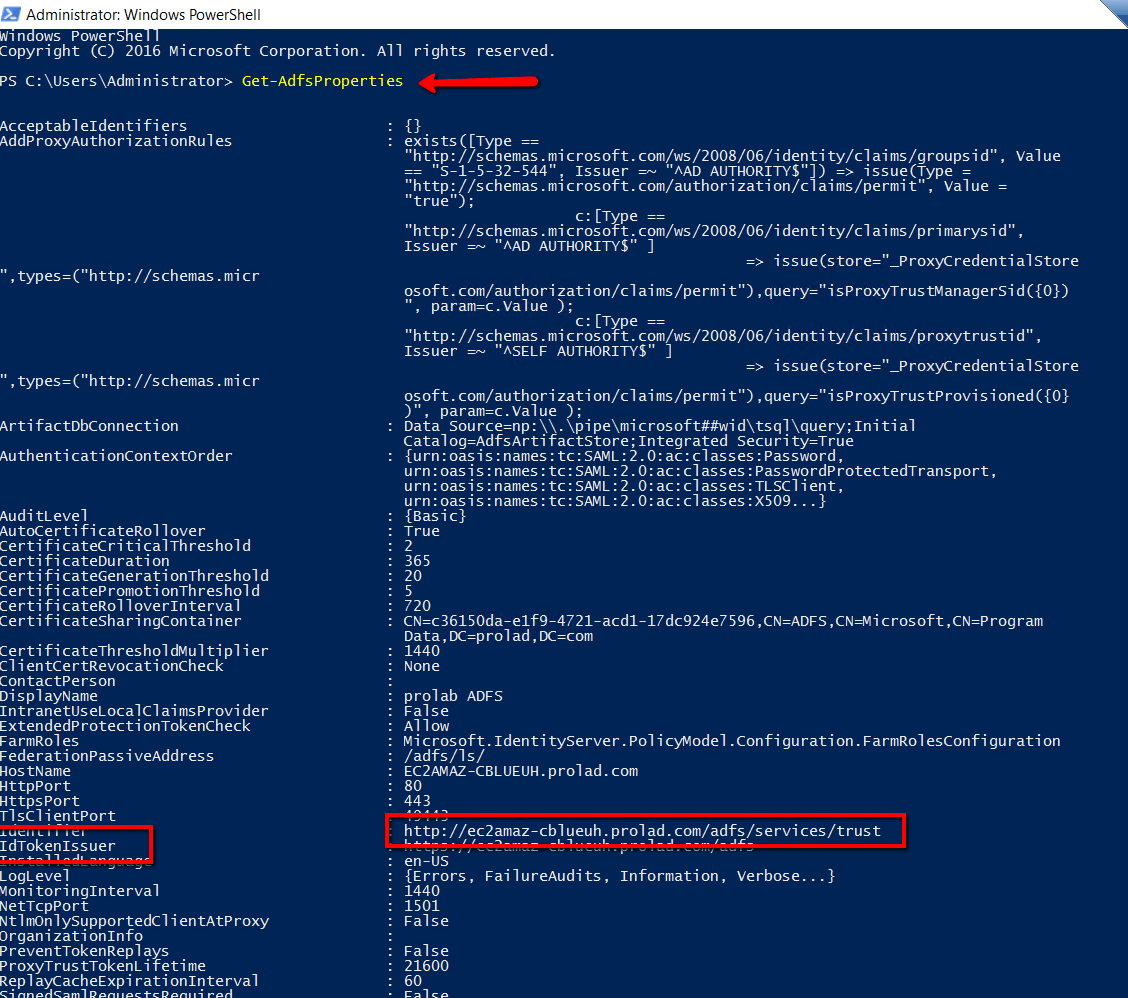
3. Sign In URL will be the IDTokenIssuer availed from Windows PowerShell .
4. Enter “Get-AdfsProperties” command in Windows PowerShell and get the value of IDTokenissuer and append it with /ls/idpinitiatedsignon to get the Sign In URL.
For example, https://abc.com/adfs/ls/idpinitiatedsignon
5. Fill Sign Out URL field using Single Logout Service URL from the ADFS Federation Metadata XML file.

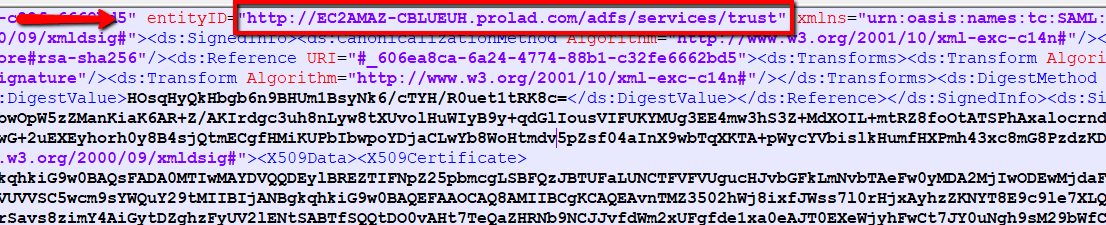
6. Certificate File: Choose the .cer using Entity Description ID from the ADFS Federation Metadata XML file. Copy the Entity Description ID and paste in to notepad and save as IDPcertificate.cer file
Default Access Control Profile
Click on Manage Profiles to create a new profile.
Click on Create Profile.
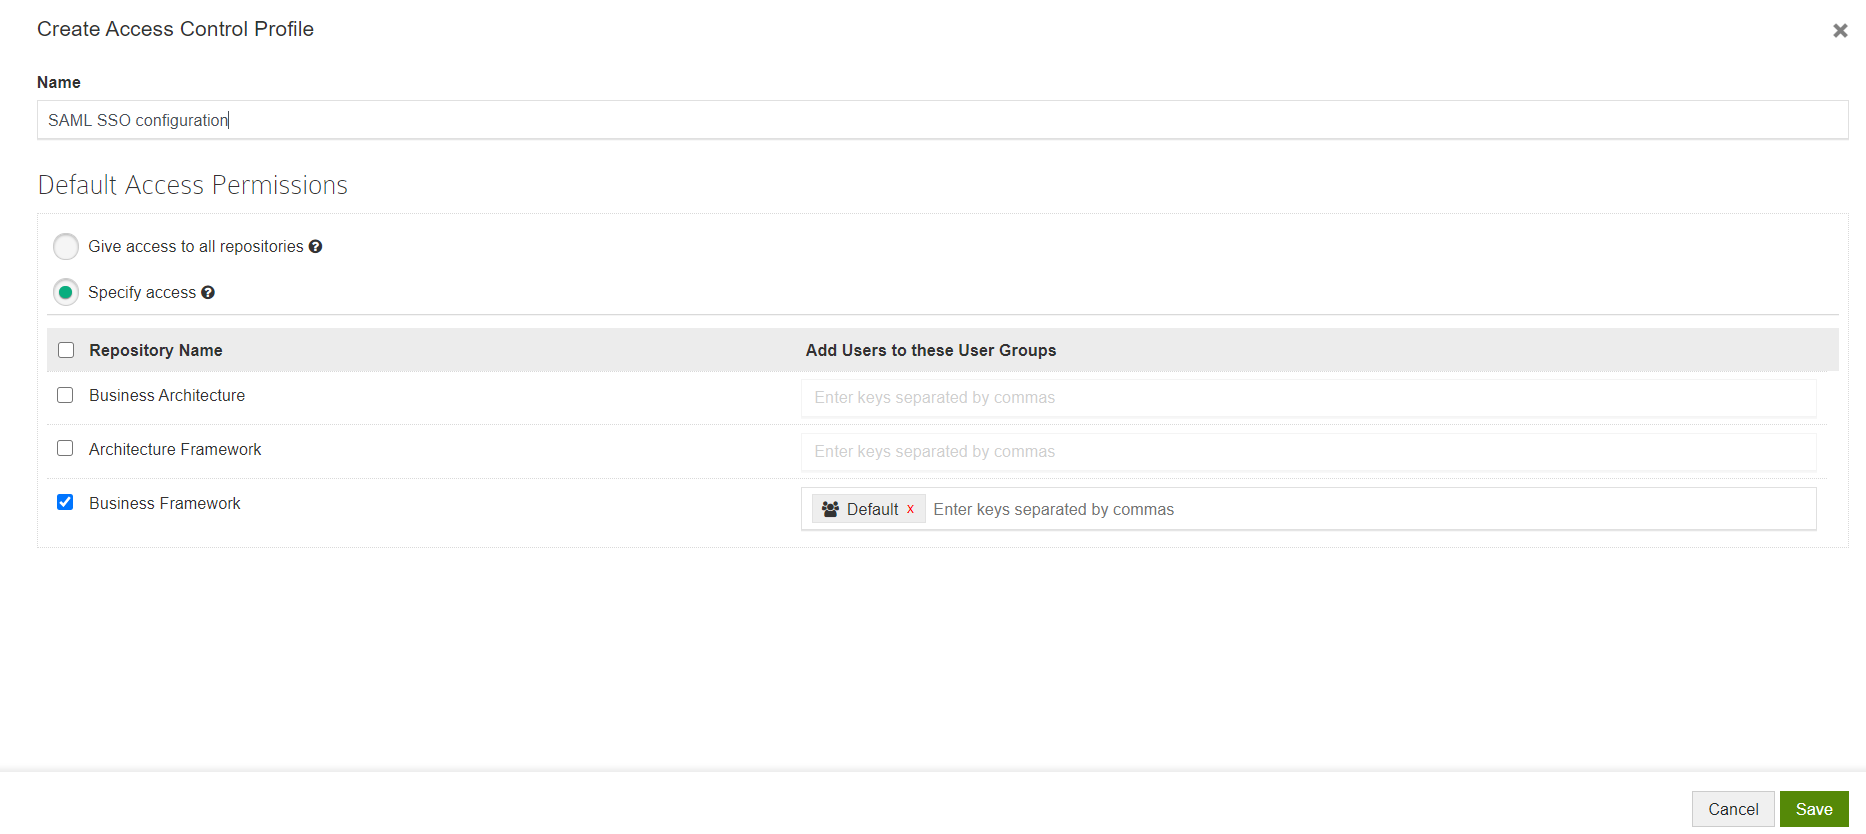
Give a Name to the Profile and configure permissions.
This is the permission that will be provided to all the users logging into Prolaborate using their SSO Crendentials.
You can choose any one of the following options:
- Give access to all repositories – Any user logging with their SSO credentials will be given access to all repositories
- Specify access – Any user logging with their SSO credentials will be added to the user groups you have specified after selecting the repositories
Click Save.
Now, go back to SAML Settings page.
Select the newly created profile and click Save.
Log in with ADFS Credentials
Once the configuration is done, your users will start to see a new button on the login page called Login with SSO.
When they click on Login with SSO,
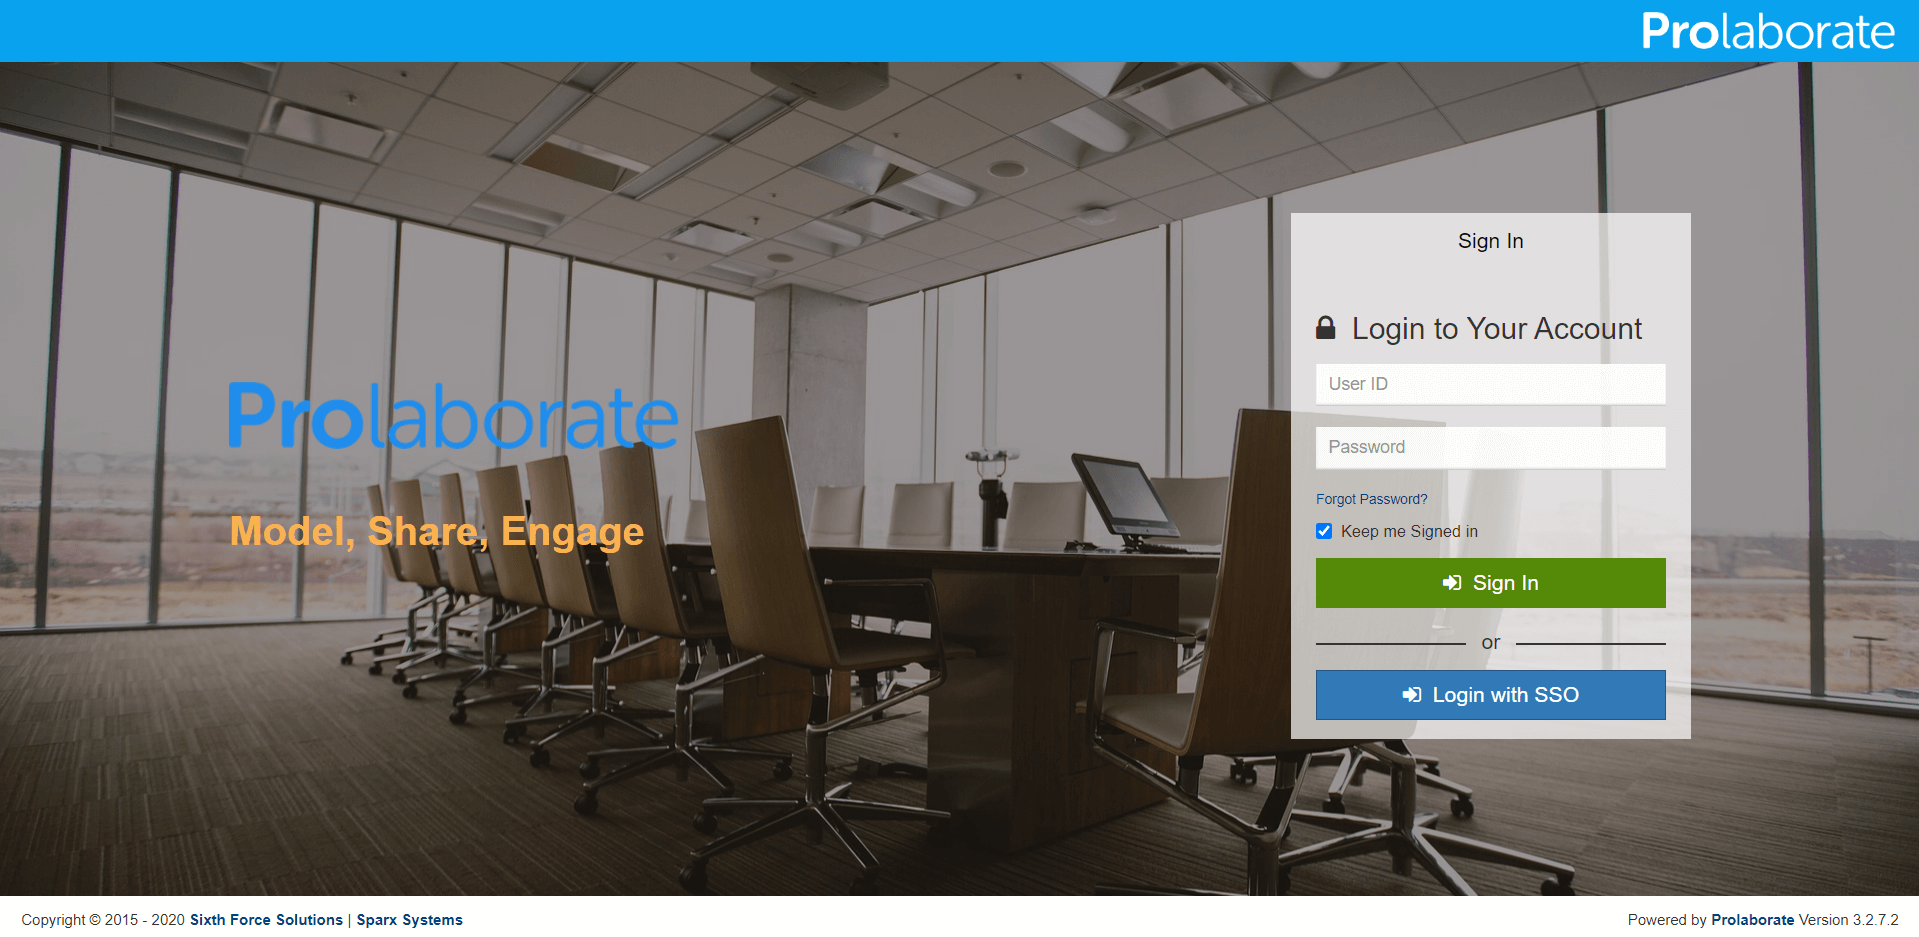
They will be redirected to an URL as per configuration. They can then give their ADFS credentials to login to Prolaborate.
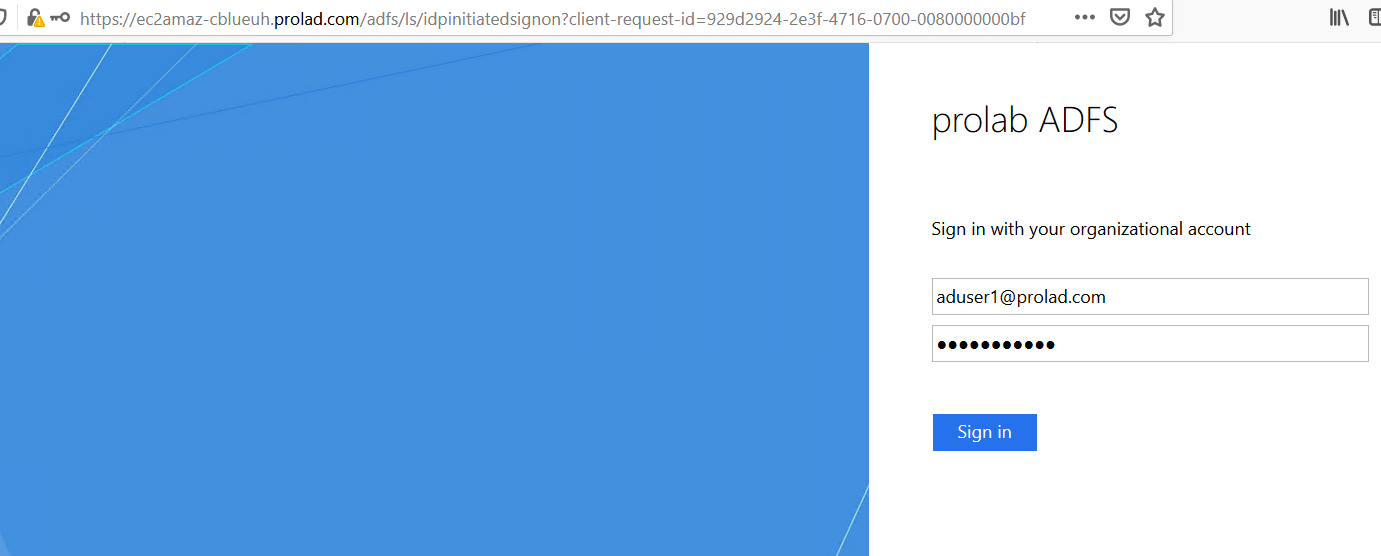
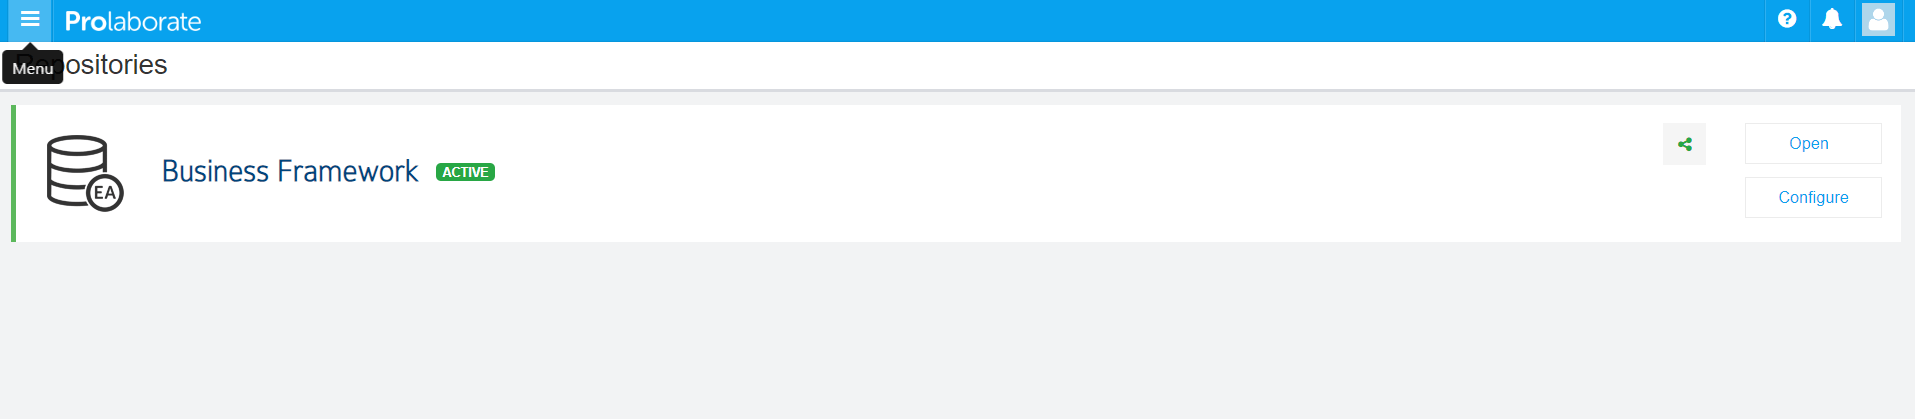
You will be redirected to Prolaborate successfully if the configuration is done right as said in the document.
Note the Repositories you see will be based on Default Access Control Profile
Logging out from Prolaborate
When a user logs out from Prolaborate, the user will be logged out from all applications signed in using their SSO credentials.