
Create Packages and Elements
Create Packages and Elements
Prolaborate lets you quickly create packages and elements in your Enterprise Architect models using an intuitive Excel interface.
Here are the workflows that are involved:
- Configure Element Creation Settings
- Create Packages and Elements
- Import CSV file and Create Elements
- Edit Elements
Configure Element Creation Settings
Configure and customize this functionality based on your requirements.
Click on Menu > Element Creation Settings to go the settings page.
Element creation is allowed by default. If you don’t want anyone to create packages or elements in Prolaborate, you can disable it.


Next, you need to choose any one of the Connection types detailed below:
PCS Connection
Choose this connection type if you are fine with creating elements with stereotypes only from the following MDGs – UML, BPMN 2.0 and Archimate 3.0
There is no configuration needed for this type of connection.
Direct Connection
Direct connection lets you create elements of any stereotype of your choice provided you have added the MDG which has that stereotype to Prolaborate.
Read more about Modeling languages in Prolaborate from here.
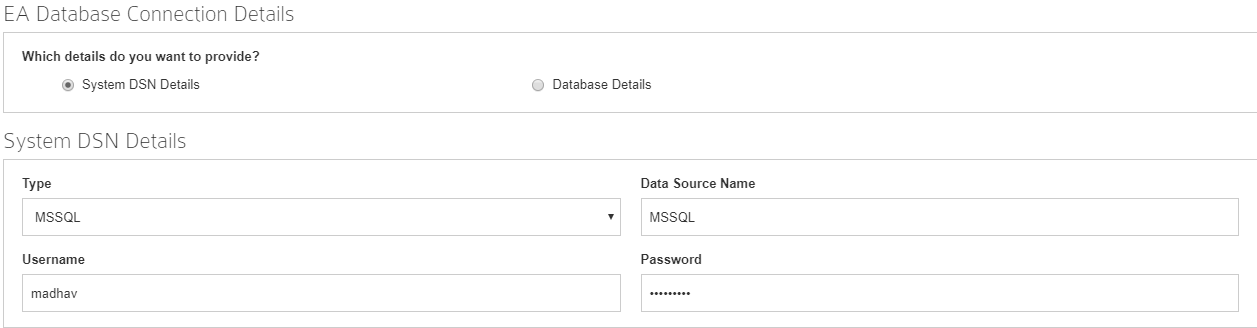
System DSN details
If you have System DSN details for your EA database, use the details here:
| Type | Choose the type of Database. Any one of MSSQL, MySQL, Postgres SQL, or Oracle |
| Data Source Name | Name of the DSN as defined in ODBC data source administrator |
| Username and Password | Credentials to login to the data source mentioned above |
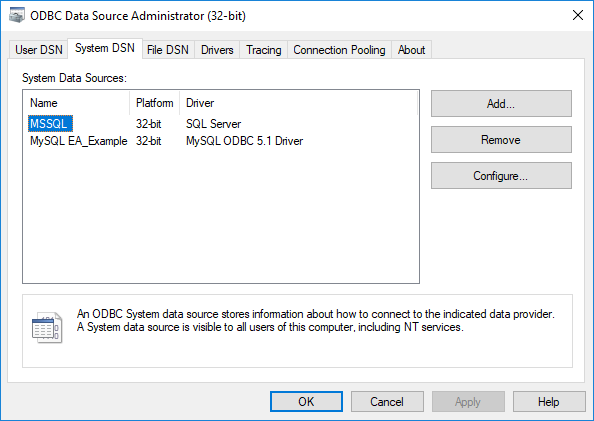
Create or edit DSN details from ODBC Data Source Administrator console. You can just type “ODBC data source” in search in Start menu of Windows to go to this client.
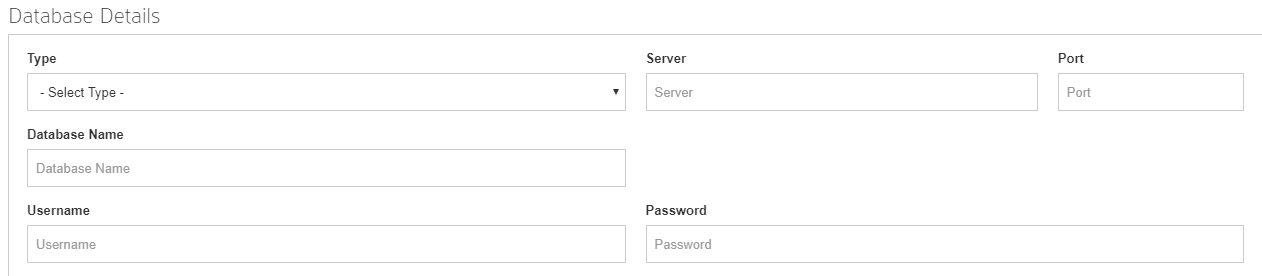
Database Details
Use this option, if you have the direct database details.
| Type | Choose the type of Database. Any one of MSSQL, MySQL, Postgres SQL, or Oracle |
| Server | Name of the server where the EA database is located |
| Port | Port number (If any) |
| Database Name | Name of the EA database |
| Username and Password | Credentials to login to the database mentioned above |
General Notes
Excel Interface Features
You can do the following:
- Click on a row or a column and right-click to find options to insert, delete or rename.
- Press Tab to add a column when in last column
- Press Enter to add a row when in last row
- Click and drag the borders to extend the column width
Errors and Resolution
The errors that will be shown when you try to create or edit elements and their resolution are listed below:
- Choose parent package – Select the package in which you want to create the elements or package
- 400 bad request – Ensure the details entered are valid
- 403 forbidden – Ensure packages and elements are not locked
- No access to create or update object – Ensure you have write permission in the package in which you want to create elements or packages
Create Packages and Elements
Prerequisite: The package under which you want to create an element or a package should not be locked in EA and you should have write access in Prolaborate.
To create a package or an element, click on Add Elements from the Repository browser.
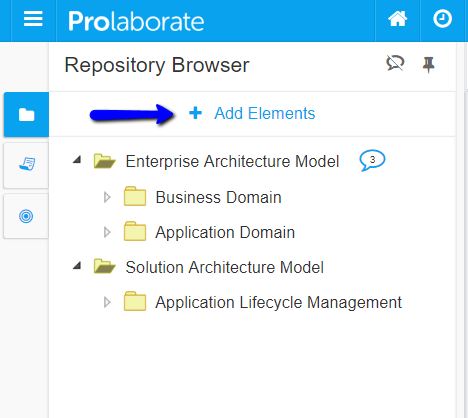
The excel interface will open.
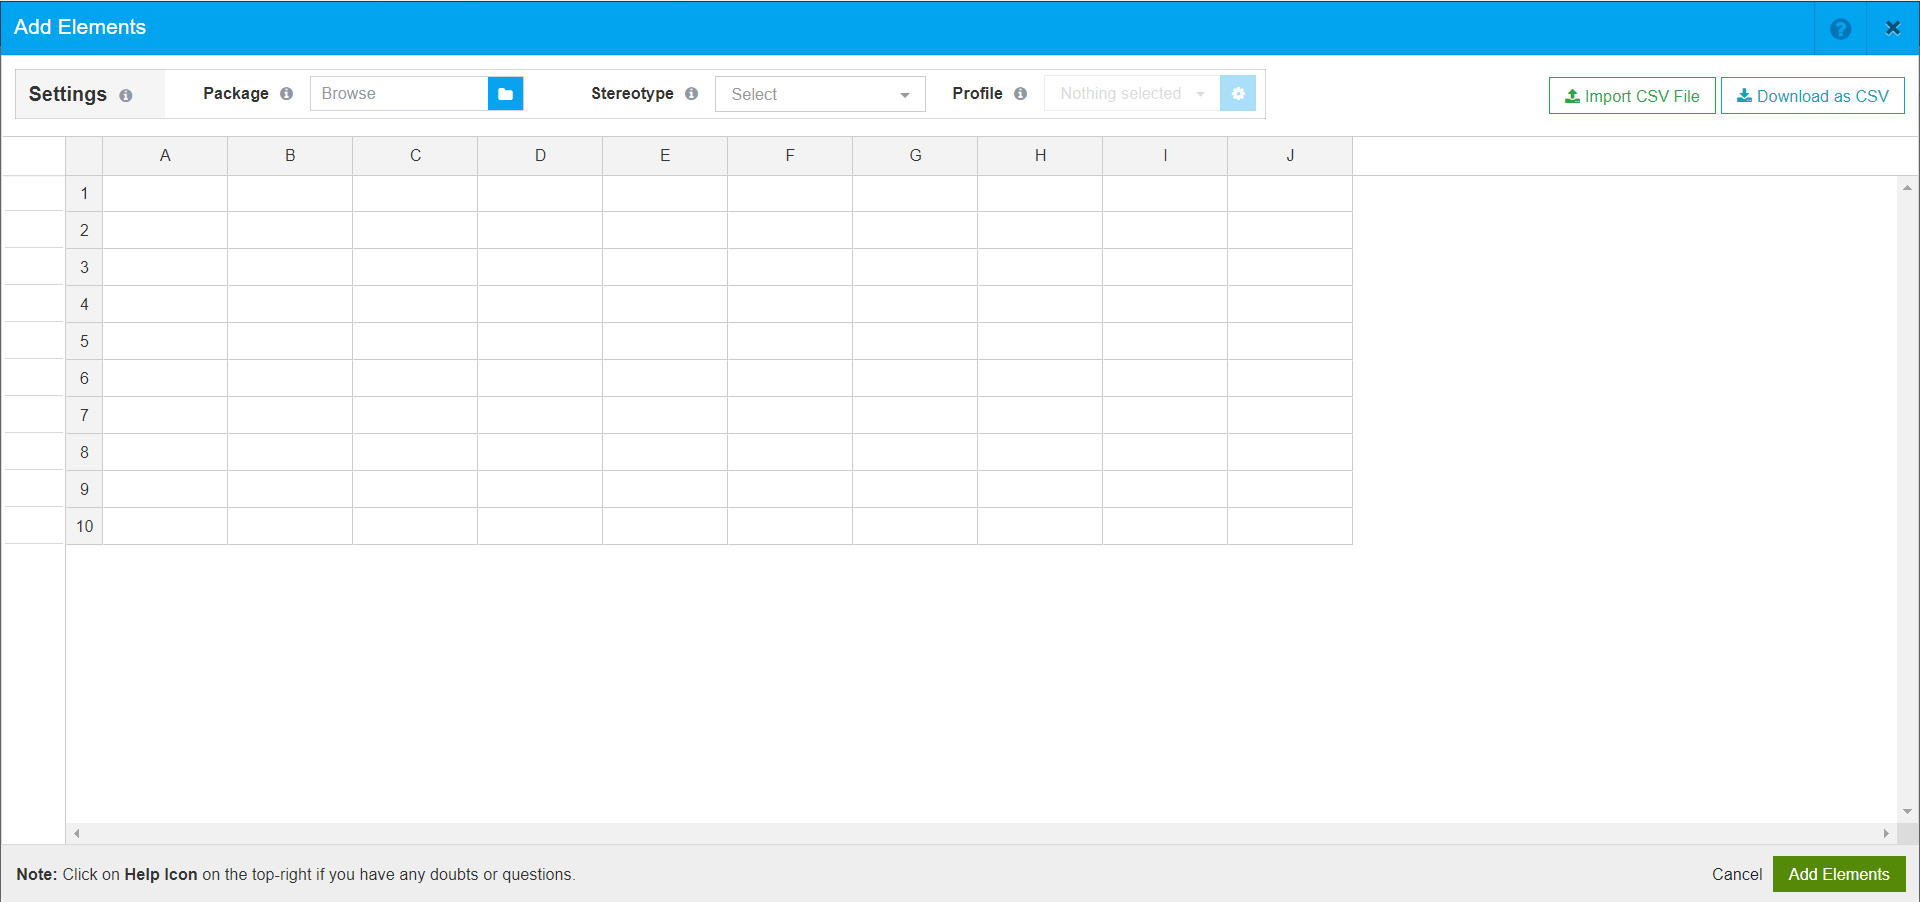
Select the Package in which you want to create the elements.Then select the Stereotype.
The default Modeling Language Profile of the selected stereotype will get loaded. Read about Modeling Languages here.
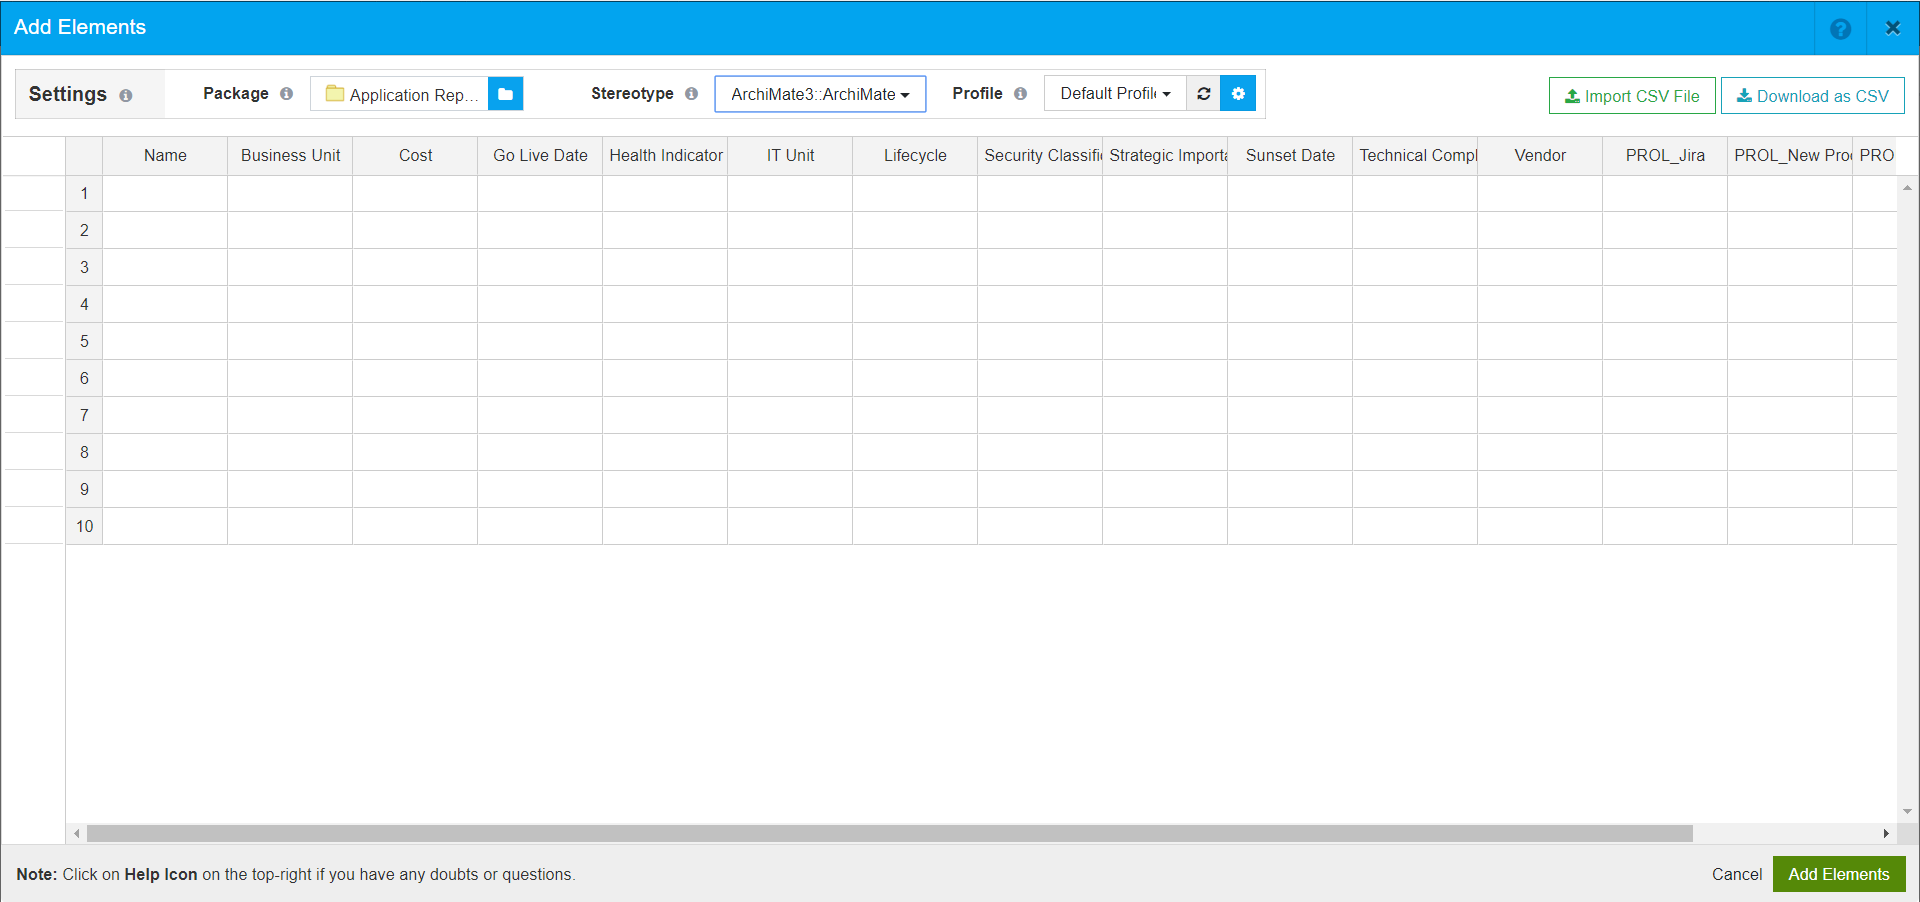
You can change the profile if needed.
Enter the values and then you can either click on Add Elements to add everything or click on Save against a row to individually add an element.

If there are any issues, an info or an error icon will show up. Hover over it to see the details.

Please refer to Errors and Resolution section to see the list of errors and their resolution.
Rectify the issues and save again.

Status will be shown.
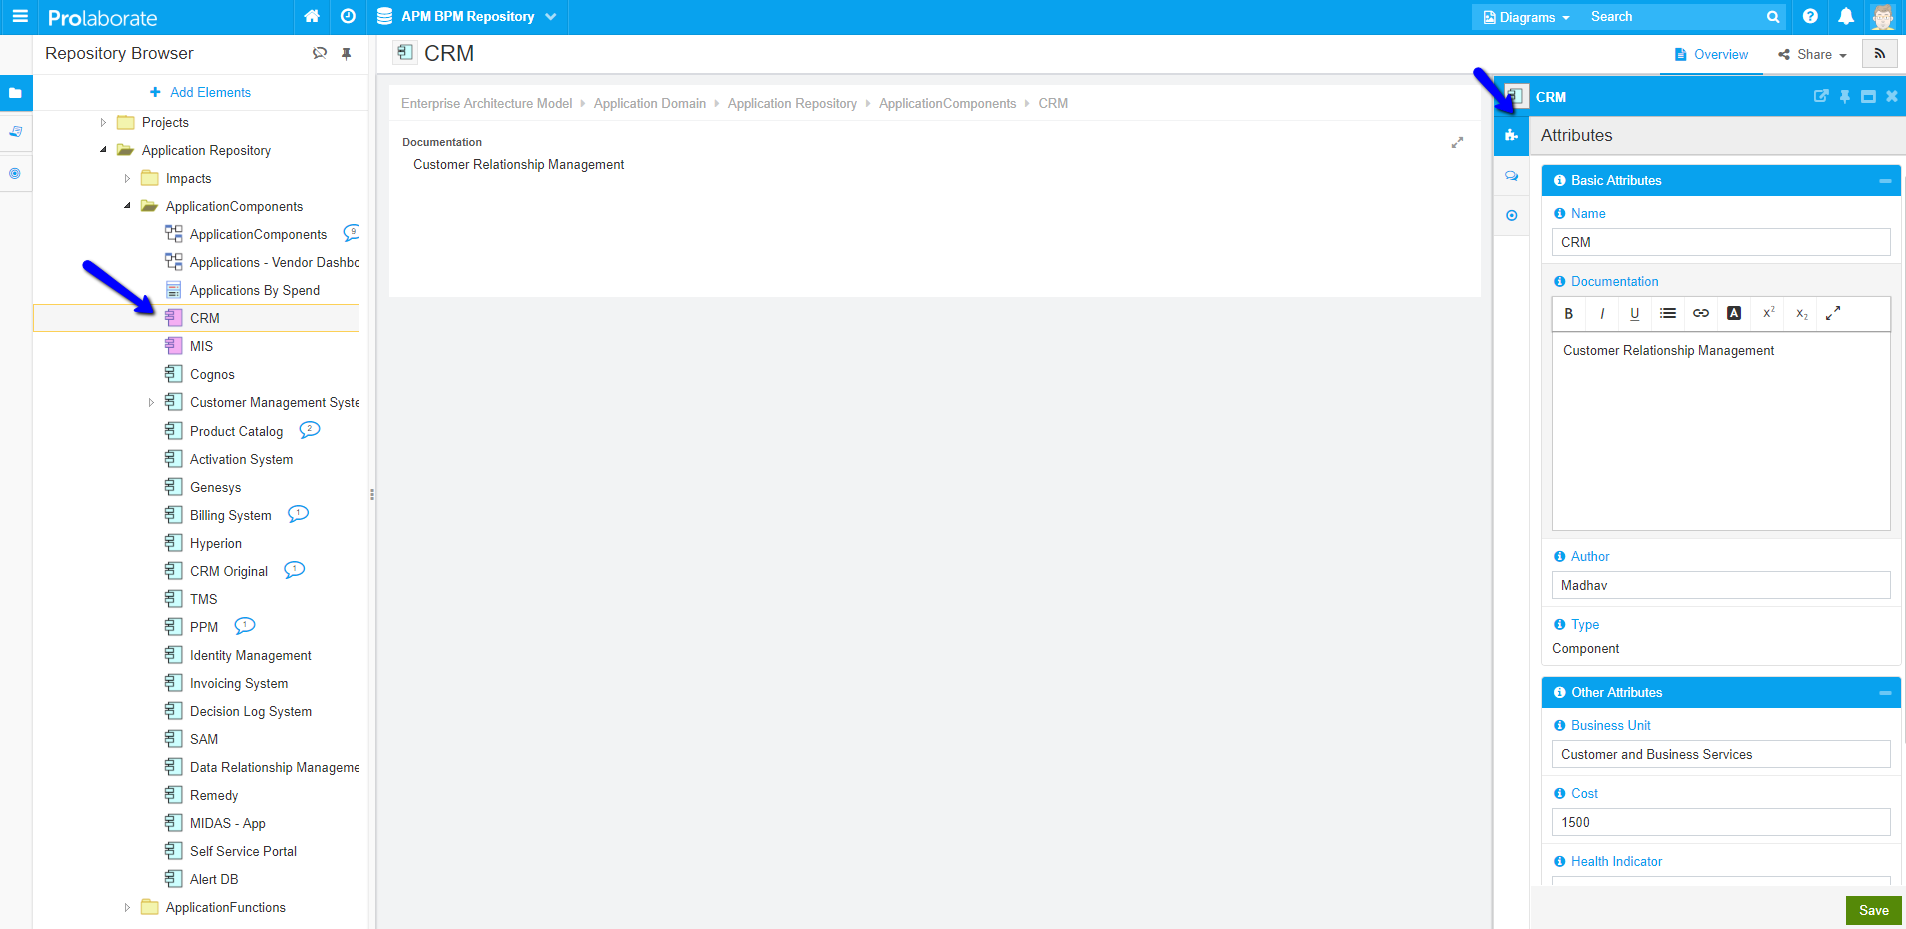
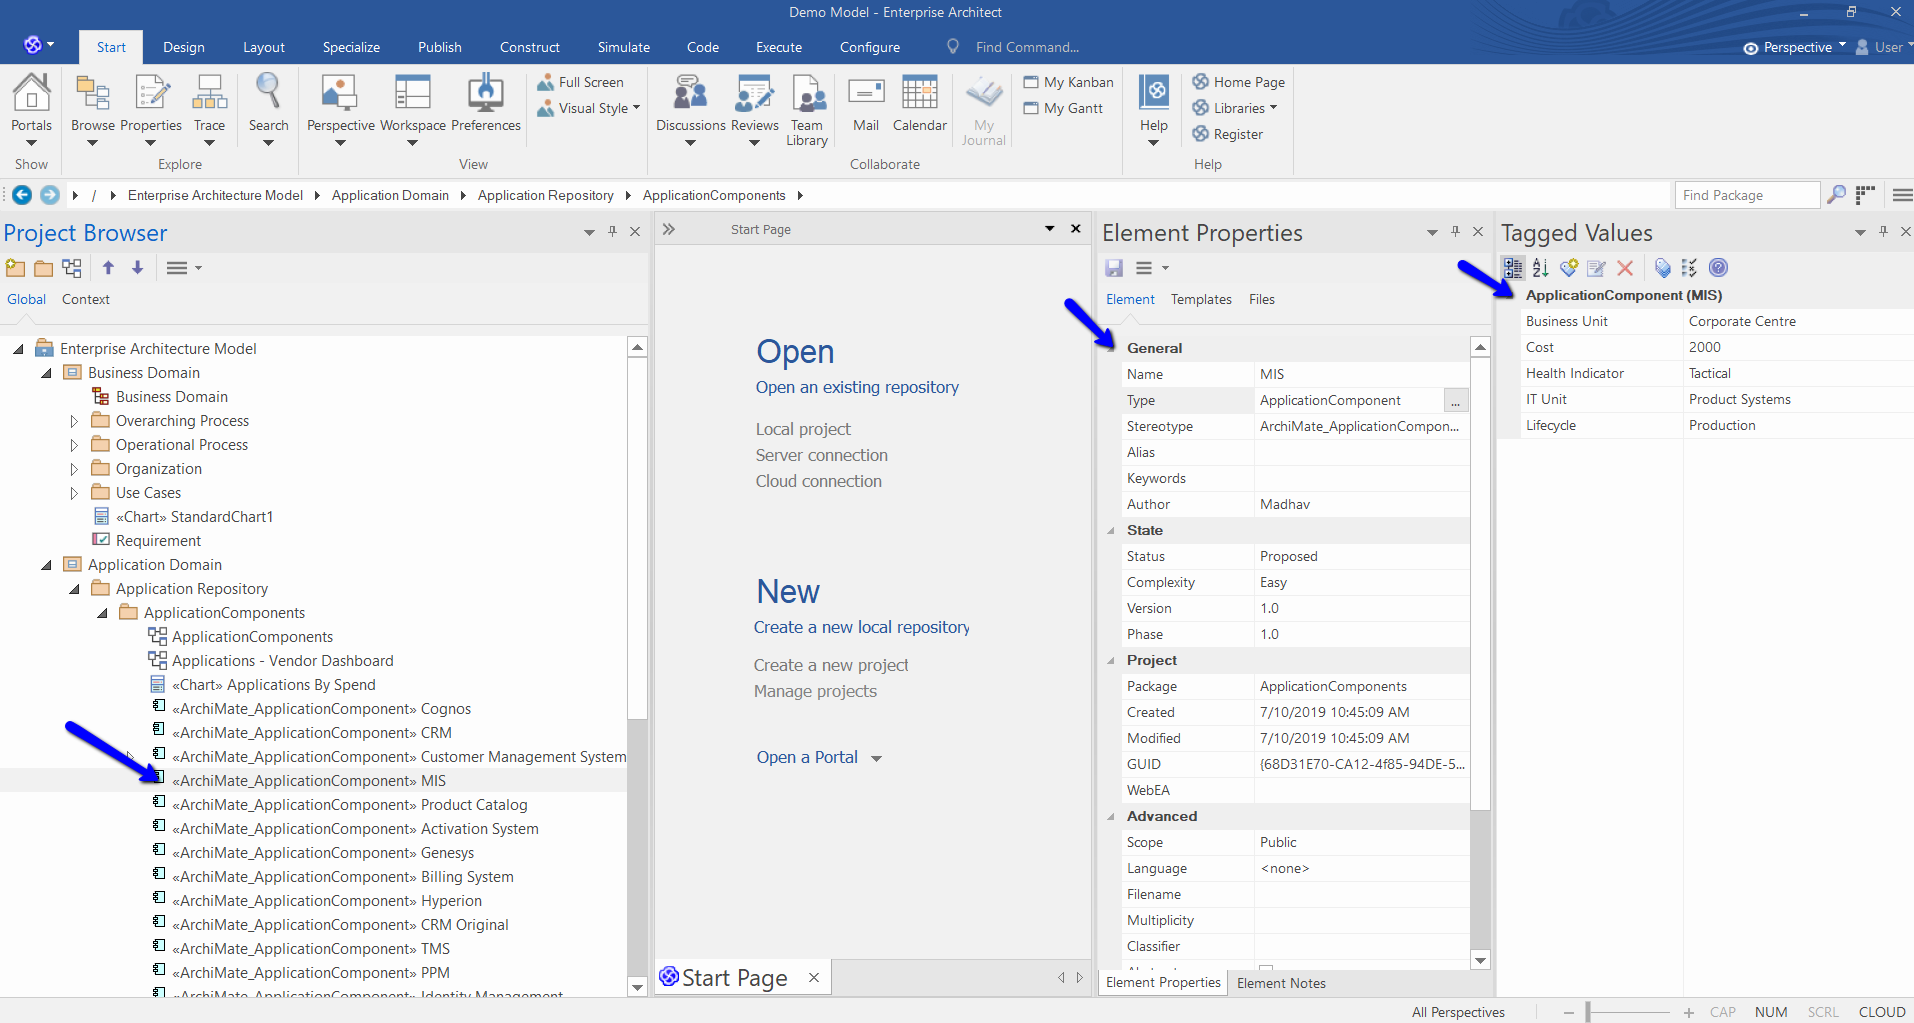
The newly created elements will be visible in the model.
When viewed in Prolaborate:
When viewed in EA:
Import CSV file and Create Elements
It is recommended to import only 100 elements at a time.
Prolaborate lets you import details from CSV files and create elements in bulk with a single click.
Click on Import CSV File from the excel interface.

In that window that opens, browse and choose the CSV file.
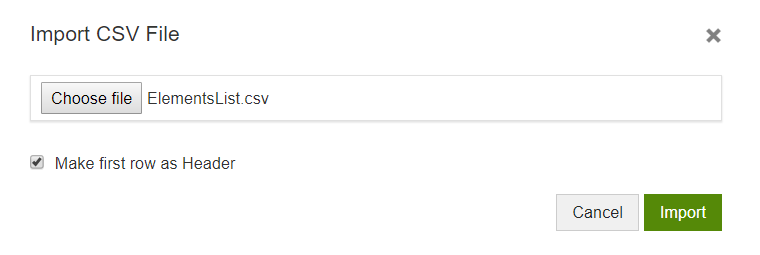
Enable Make first row as Header if we need to consider the first row in the file as header.
An CSV file like this
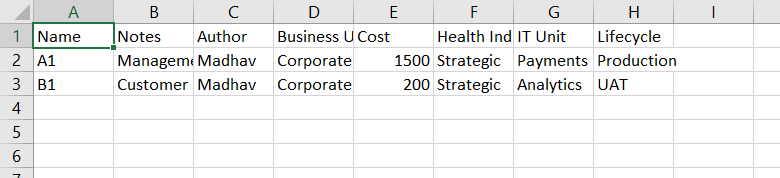
will get exported as below:

You can click on Add Elements to add these elements.
Edit Elements
You cannot edit packages and diagrams.
Not only the creation of elements is made simpler using Prolaborate, but also editing elements in bulk has been made easy.
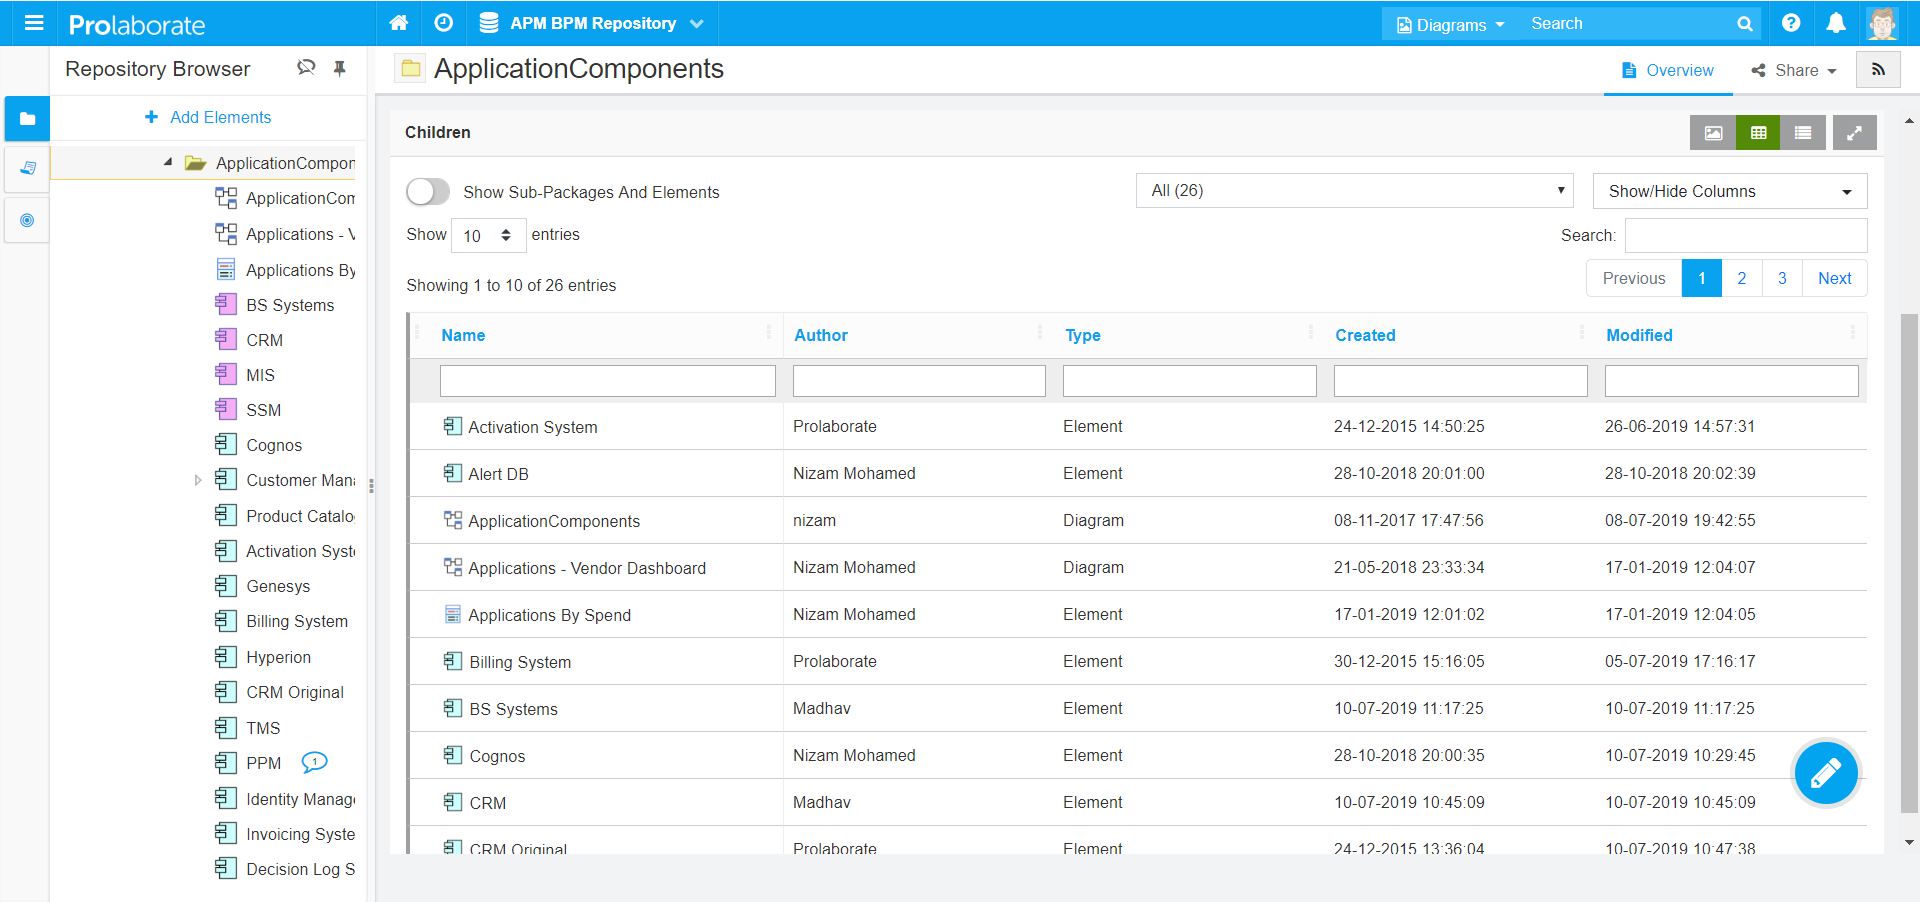
Click on the package that has the elements you wish to edit; its children will be shown as below:
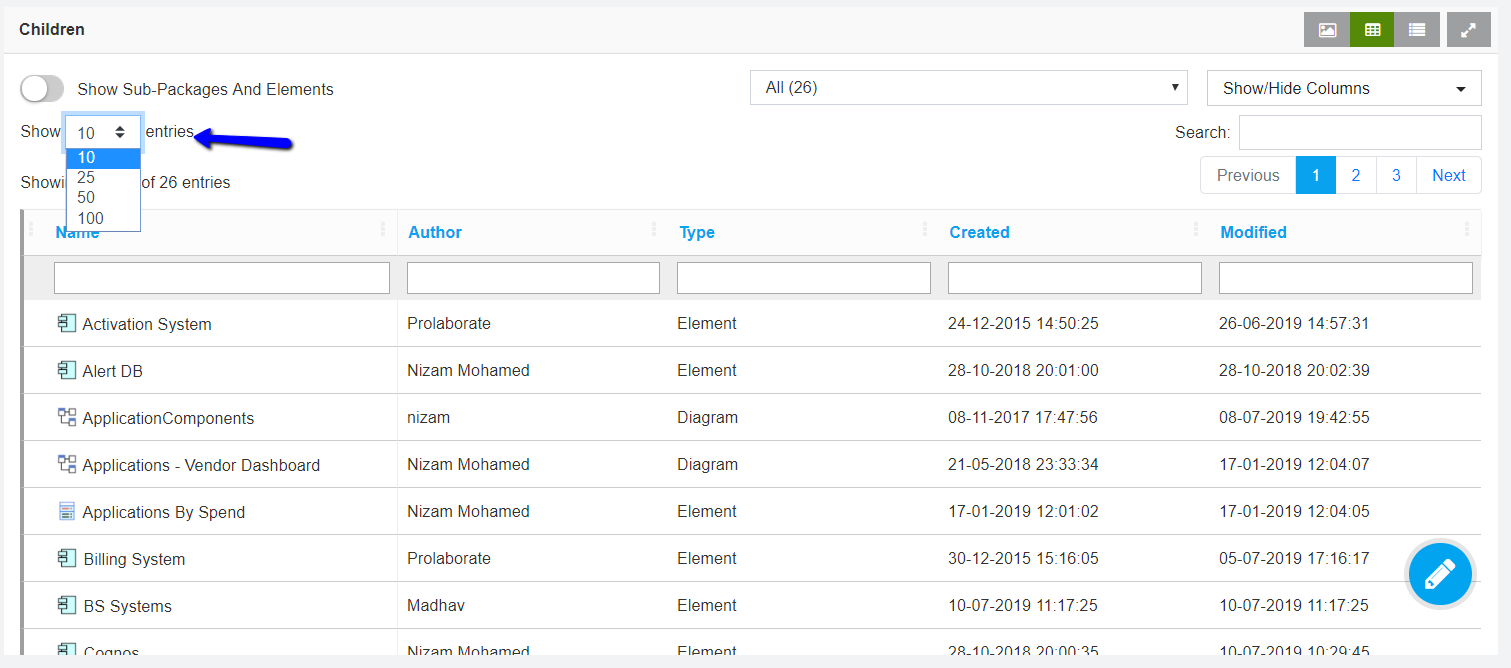
Select the number of elements you wish to edit and then click on Edit. If you wish to edit specific properties or tagged values, check the subsequent sections.
Edit Basic Properties
You cannot edit Complexity, Status, and Stereotype of elements.
By default, the children view shows a default set of columns.
If you want to edit the basic properties of elements that are not shown, add the desired properties in the Form Designer for the Stereotype you wish to edit. Here is the user guide for Form Designer.
As per the example we have been seeing so far, we have edited the following stereotype:
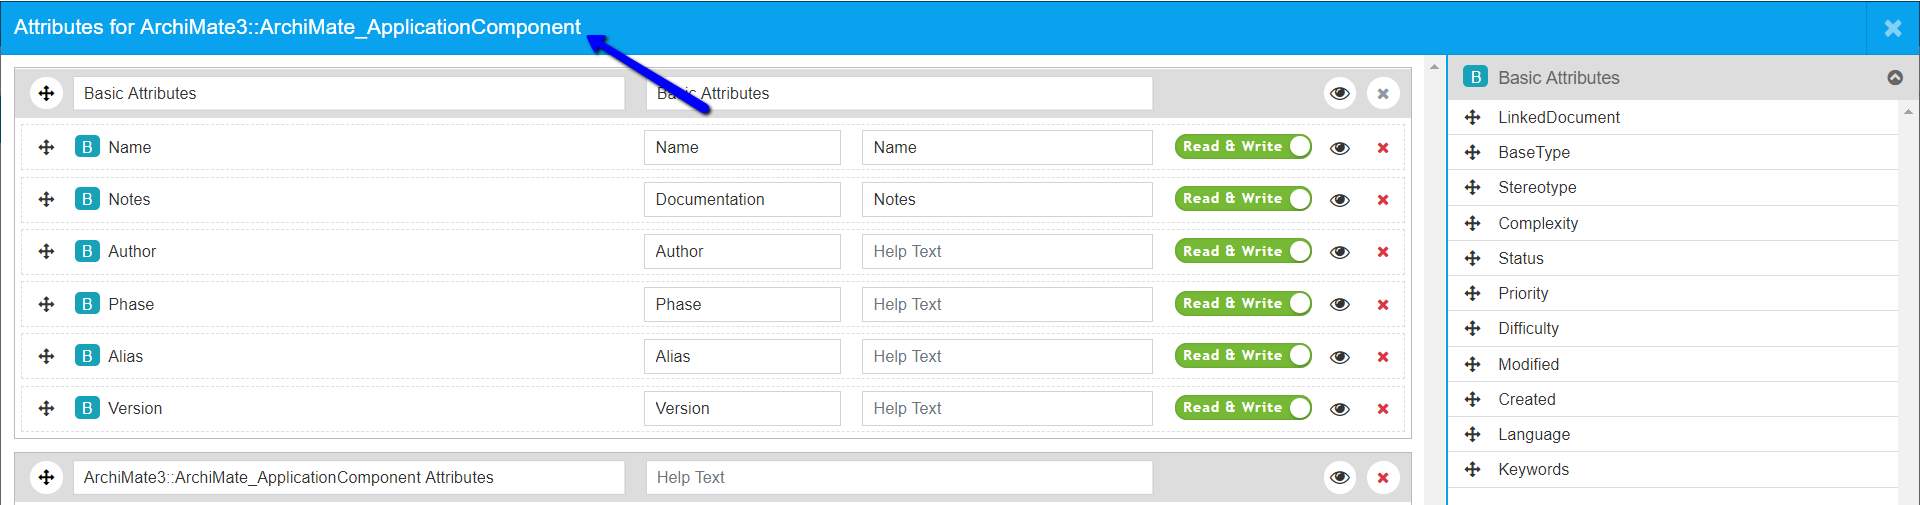
Let’s go back to the same package and select this Stereotype from the Children view. We can see all the attributes has shown as per our configuration.
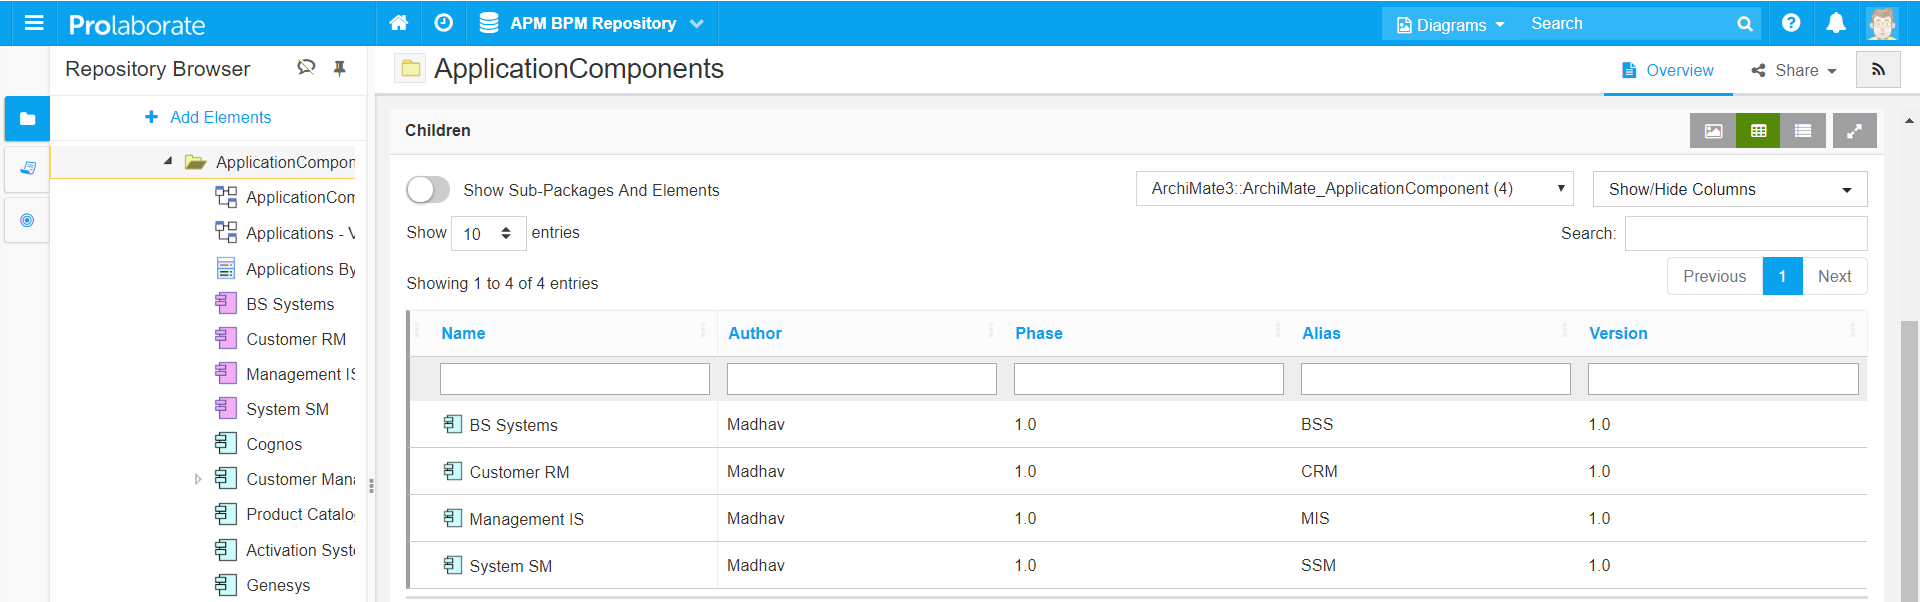
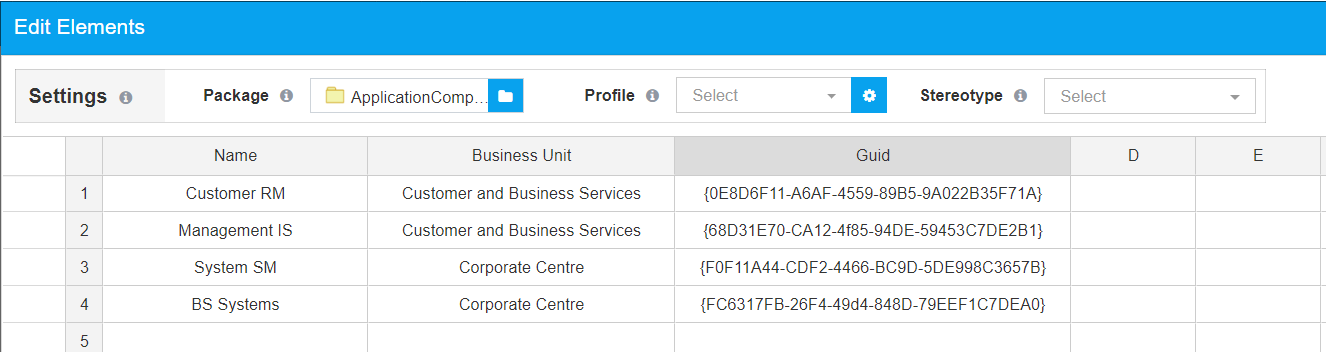
Click on Edit icon and this information will be shown in the excel interface.

You can edit and save them.
You cannot edit Notes from the Excel interface. It can be edited from the Properties Window instead.
Edit Tagged Values
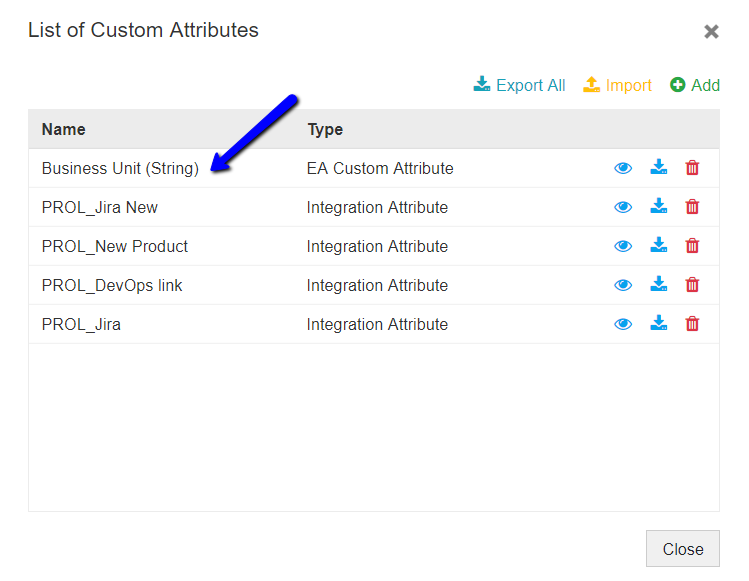
To edit tagged values, they need to be created first in Prolaborate.
Check this guide to learn how to create tagged values or custom attributes.
Then add the Tagged value using the form designer in the same way as in the previous section.

From the children view, select the stereotype and click on Edit.
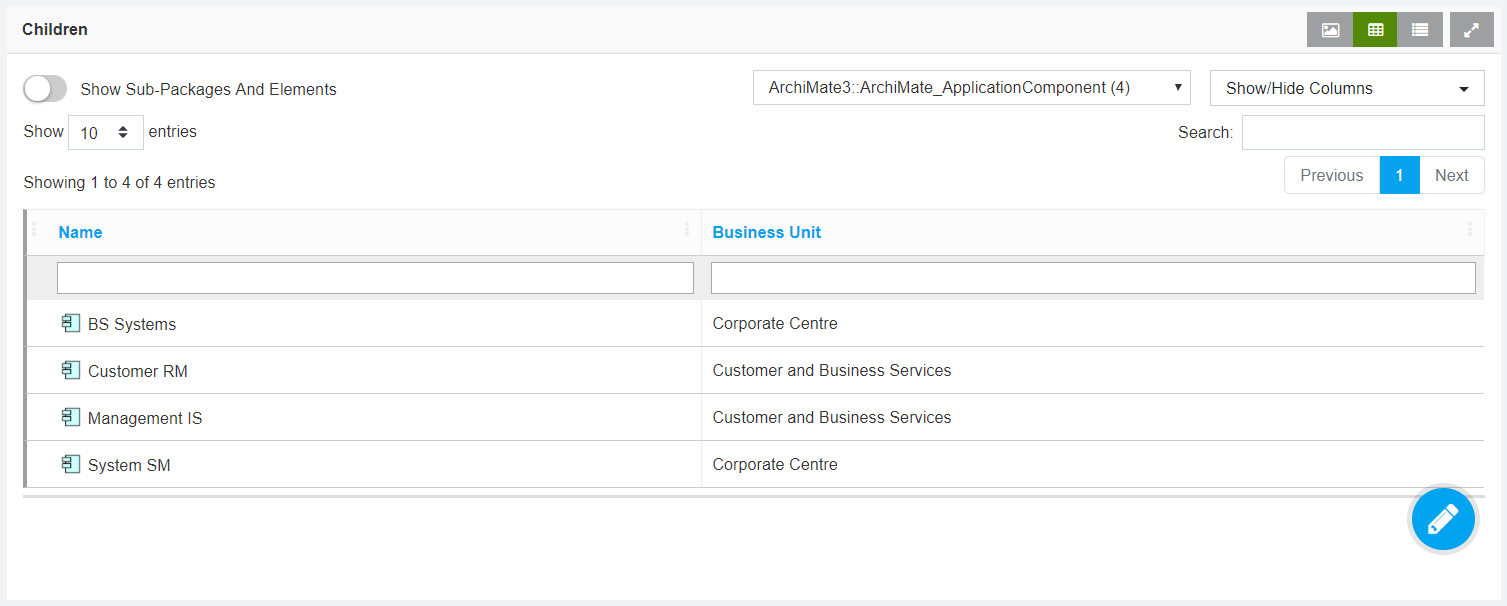
The data will be shown in the excel interface.
Edit the content and click on Edit Elements to save the changes.