Migrate Prolaborate Content from Confluence Server to Cloud
Overview
This guide shows the steps involved in migrating Prolaborate model content to Atlassian Confluence Cloud from following sources
- Confluence Server
- Confluence Data Centre
Note:
The steps mentioned below is applicable for
- Prolaborate V3 with Prolaborate Macro in Confluence
- Prolaborate latest version with Prolaborate 4 Macro in Confluence
Related Content
Steps to follow
Migration of Prolaborate content in Atlassian Confluence is a four-step process.
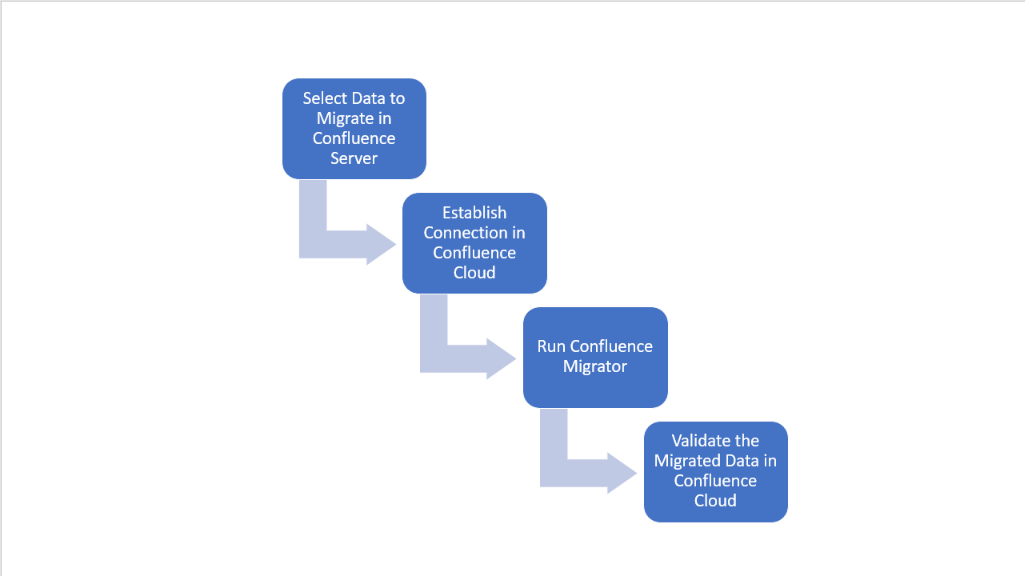


The steps involved in the migration process are explained below in detail.
Select Data to Migrate in Confluence Server
The first step is to select the required data for migration from Confluence Server/Data Center.
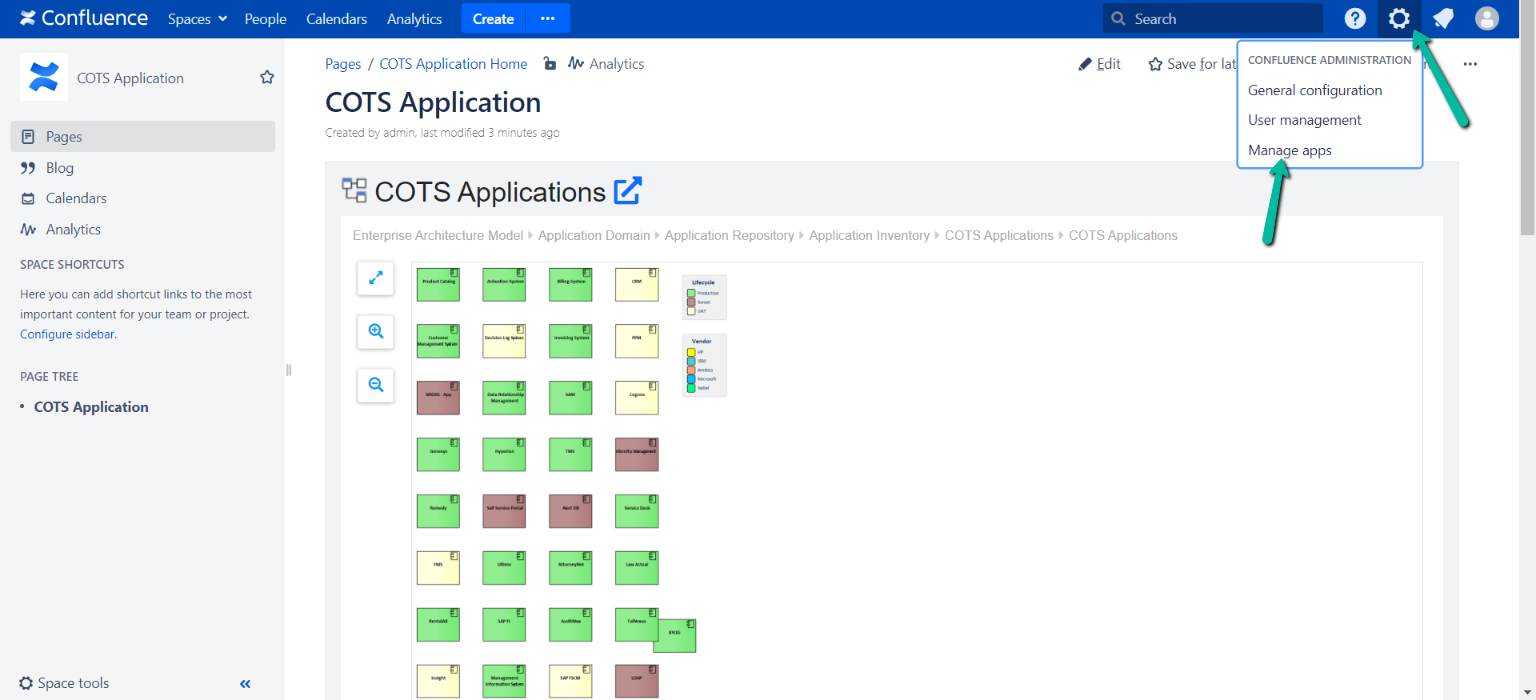
Open your Confluence Server or Data Center. Click the Settings icon from the top right corner and select Manage apps.
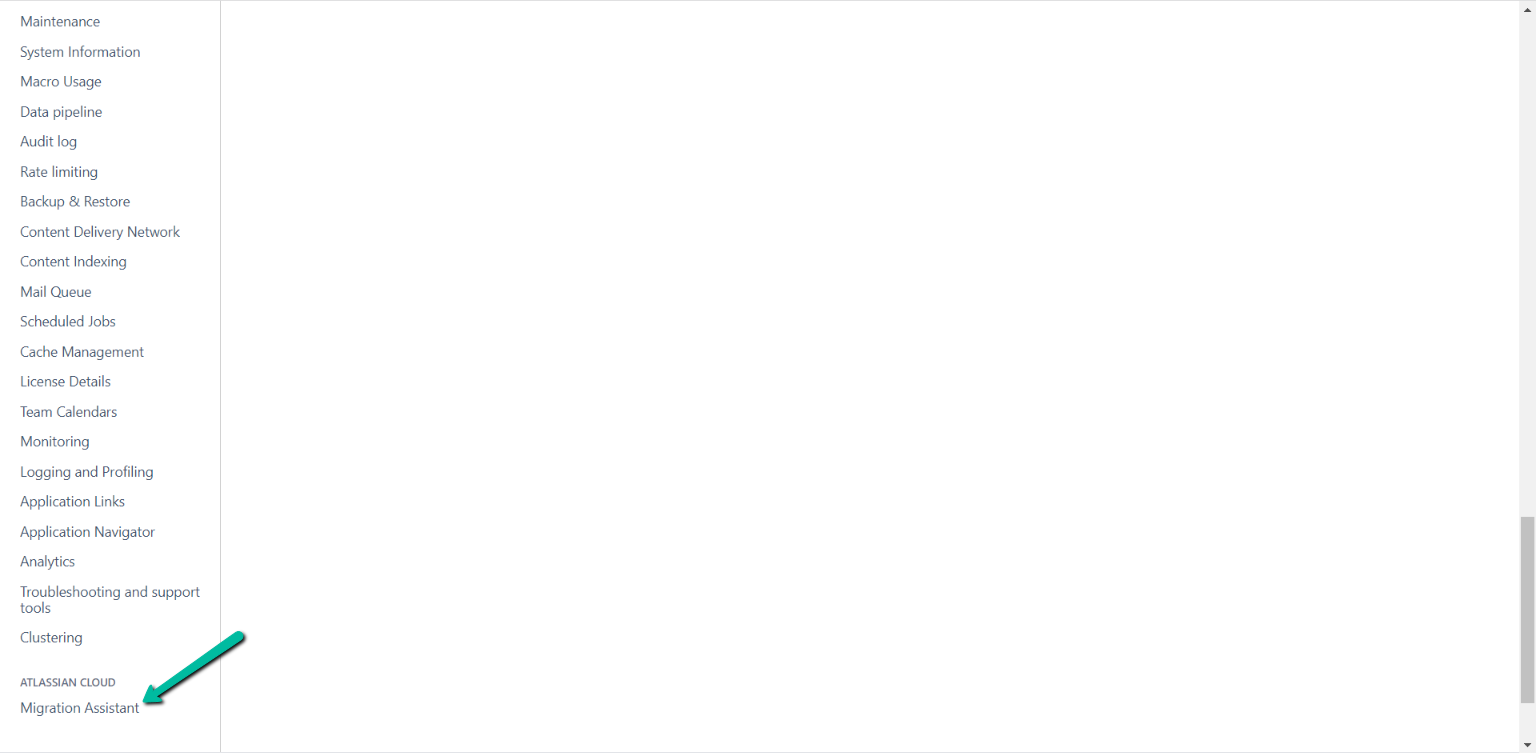
Scroll down the page and select Migration Assistant under Atlassian Cloud.
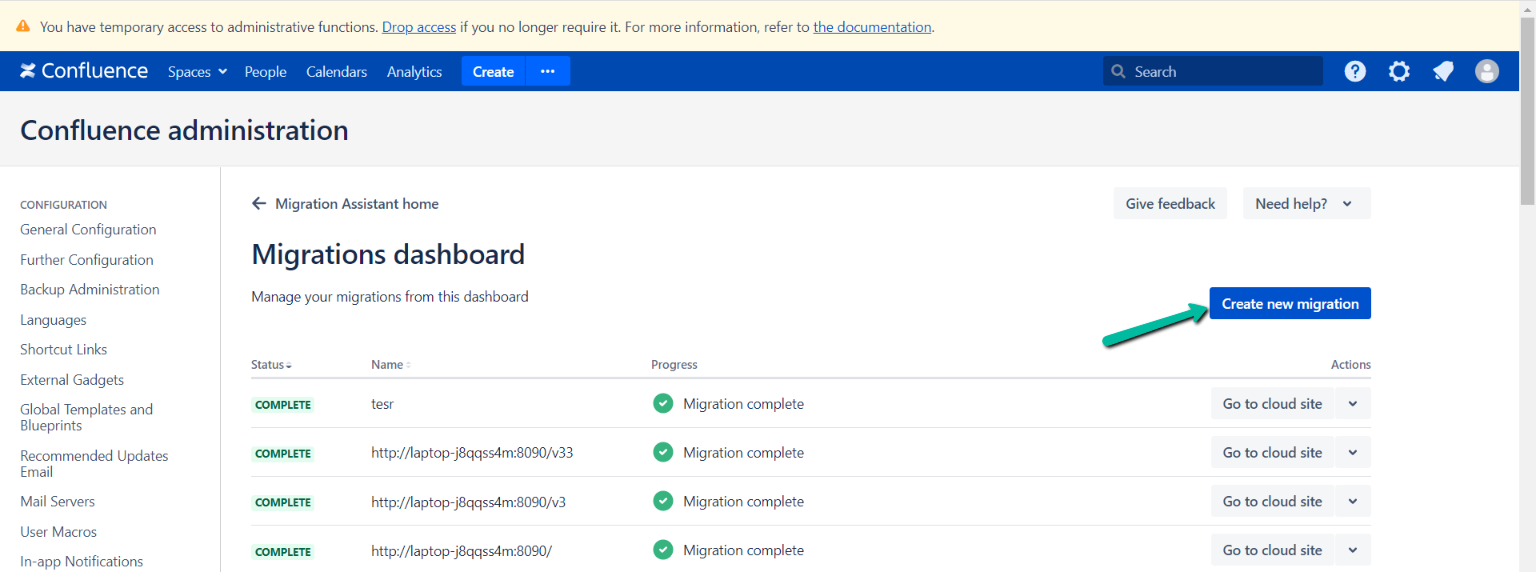
In the Migrations dashboard, click on Create new migration.
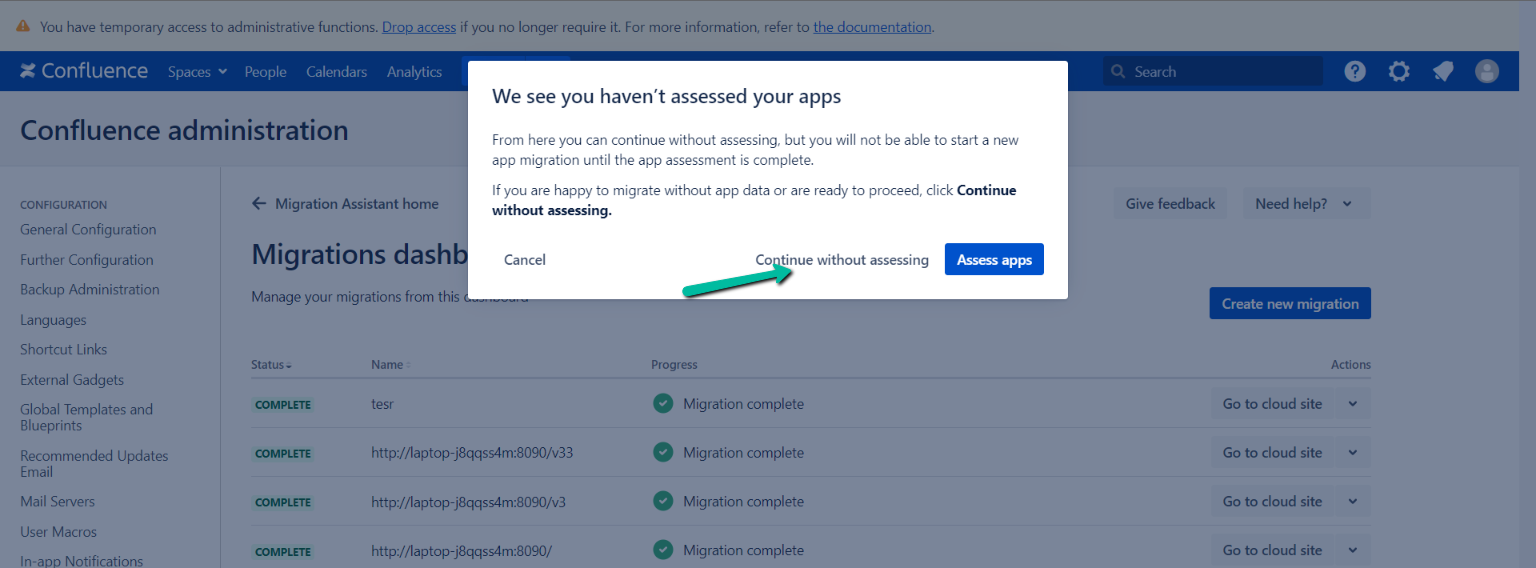
A popup window will appear. Click Continue without assessing to continue the migration process without assessing the apps or click Access apps to complete the assessment.
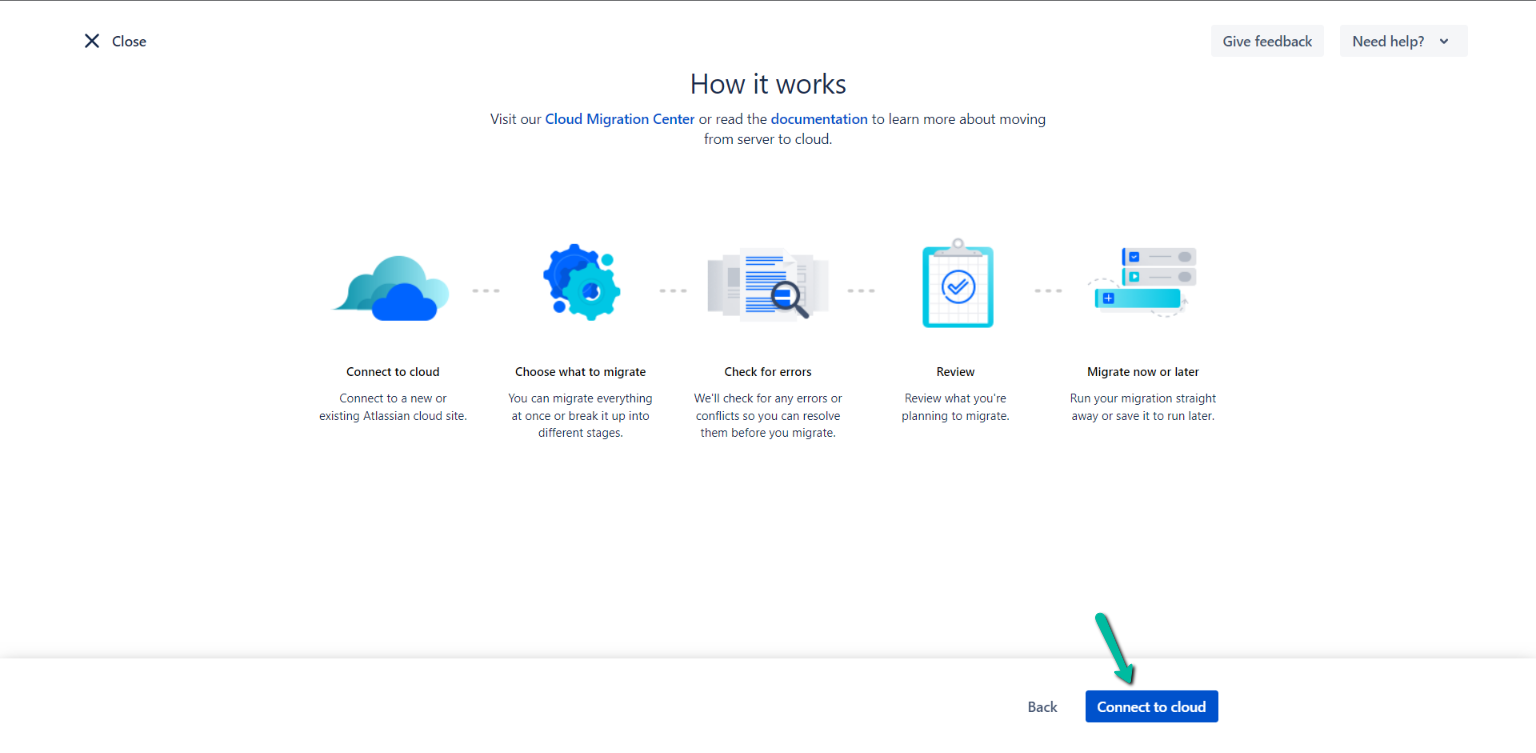
Once completed, a window appears showing step by steps on how to migrate data to cloud. Click Connect to cloud to start the process.
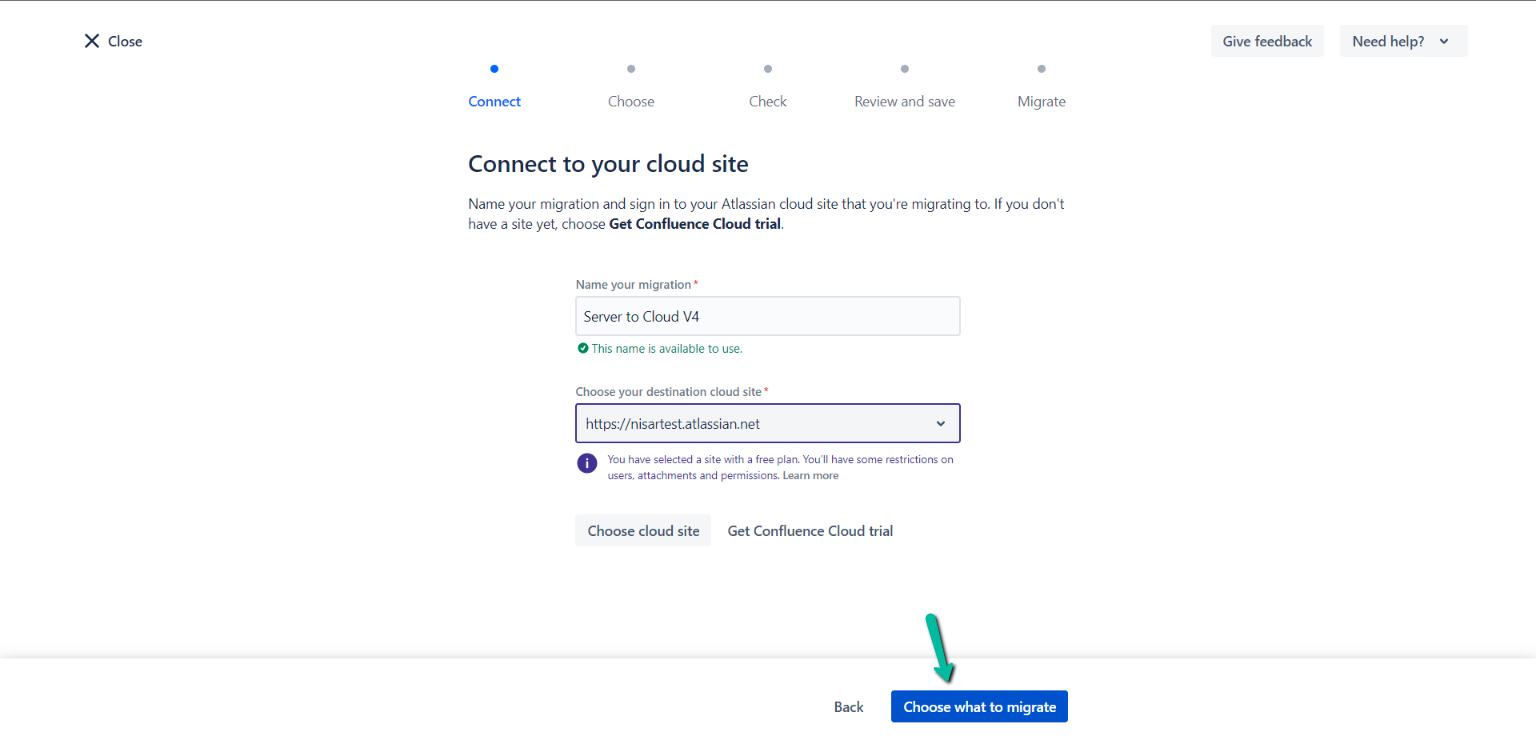
Enter a name for migration and select cloud site from the list available. Once completed, click on Choose what to migrate.
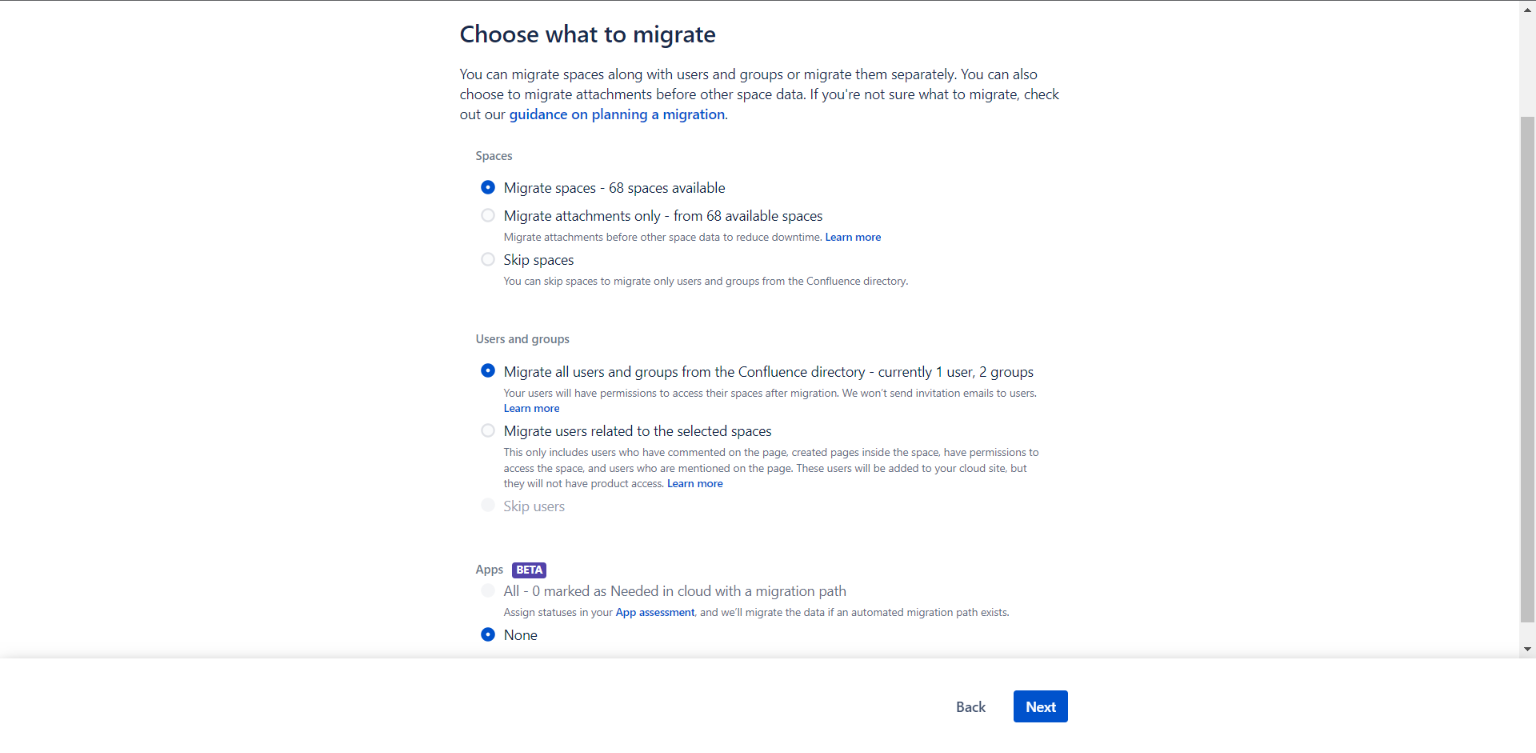
Here, one can choose what data needs to migrated. After selecting required information, click Next.
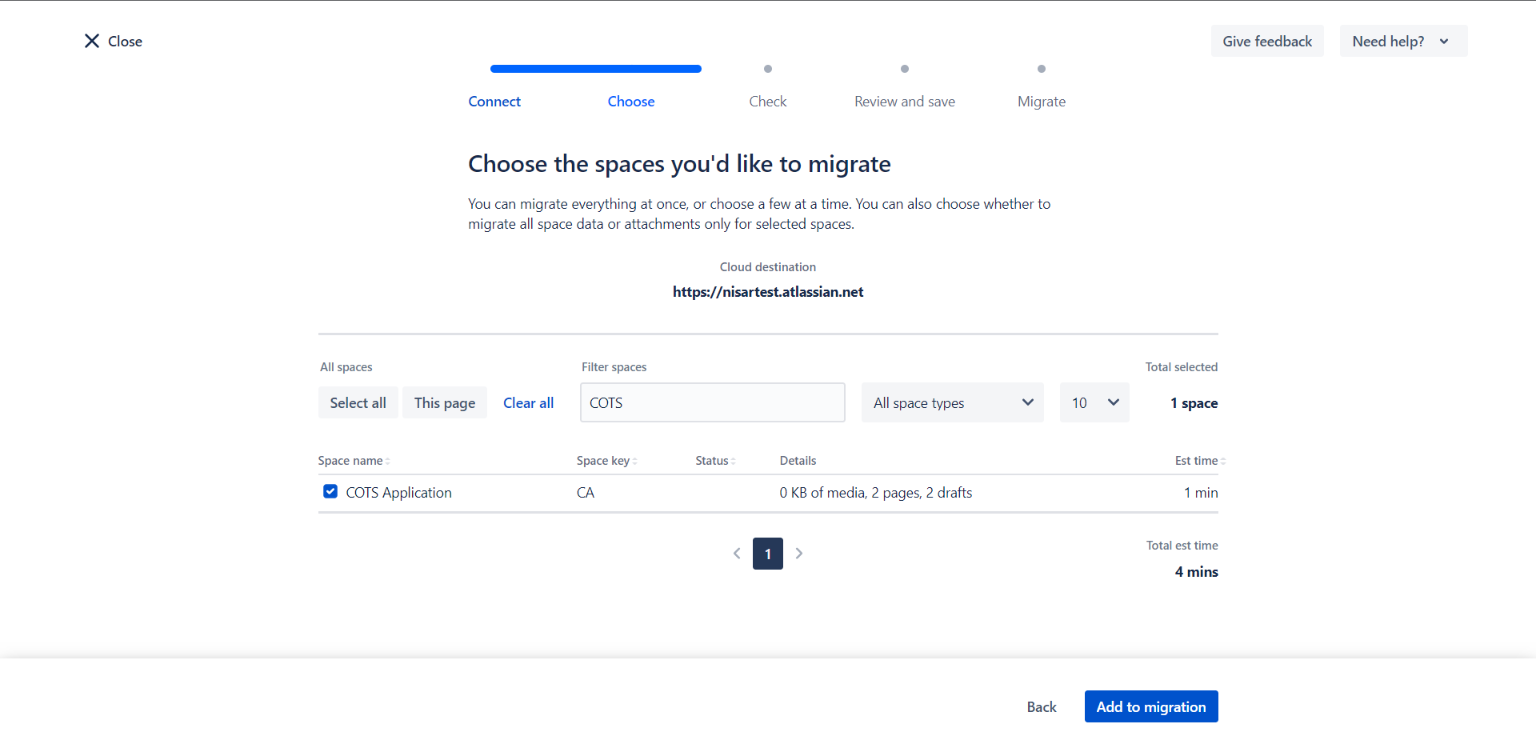
Next, it shows the list of spaces available, if they are selected in Choose what to migrate in the previous step. Select all the spaces or choose a specific space using the search field to select.
After selecting the spaces, click on Add to migration.
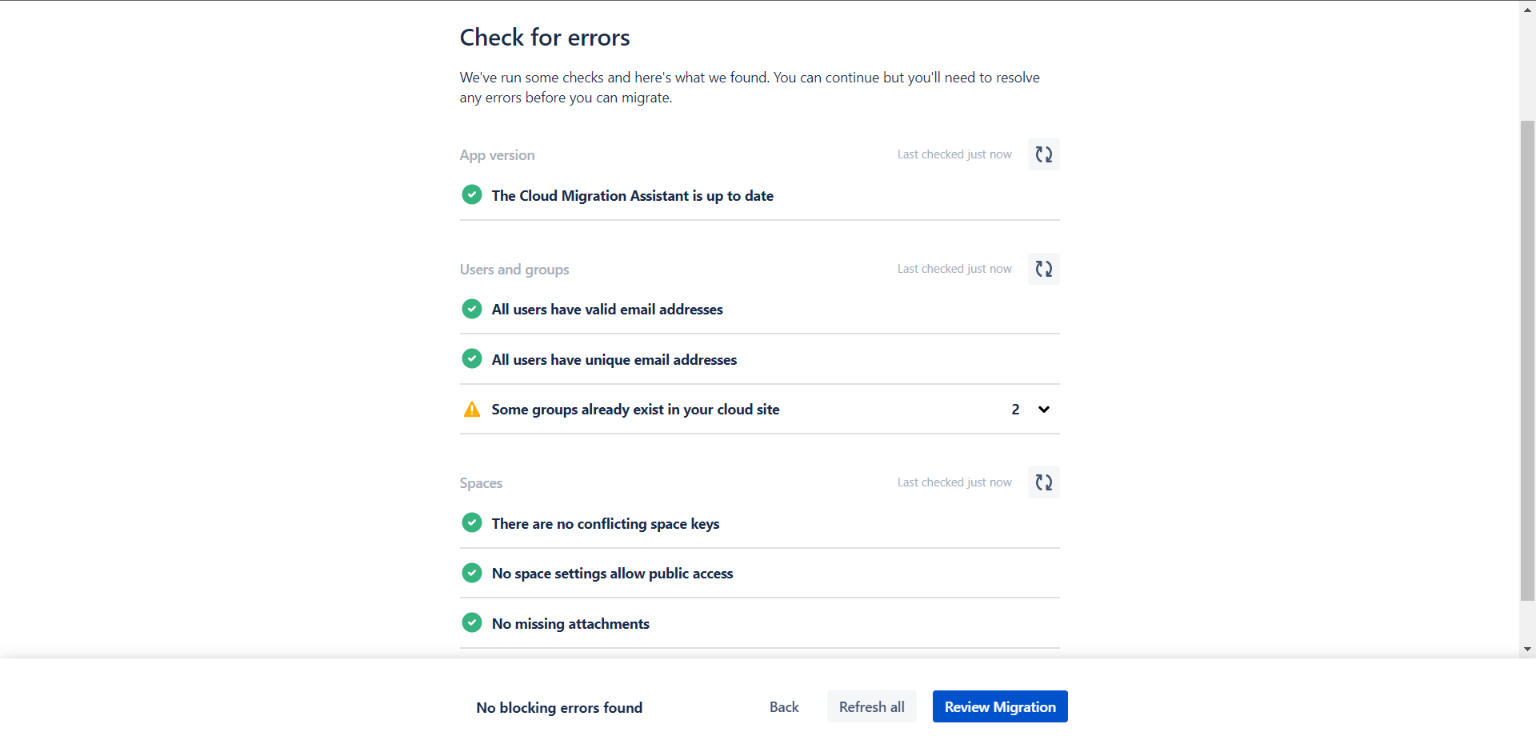
Once the spaces are added, Confluence checks for errors. If everything is satisfactory, click on Review Migration.
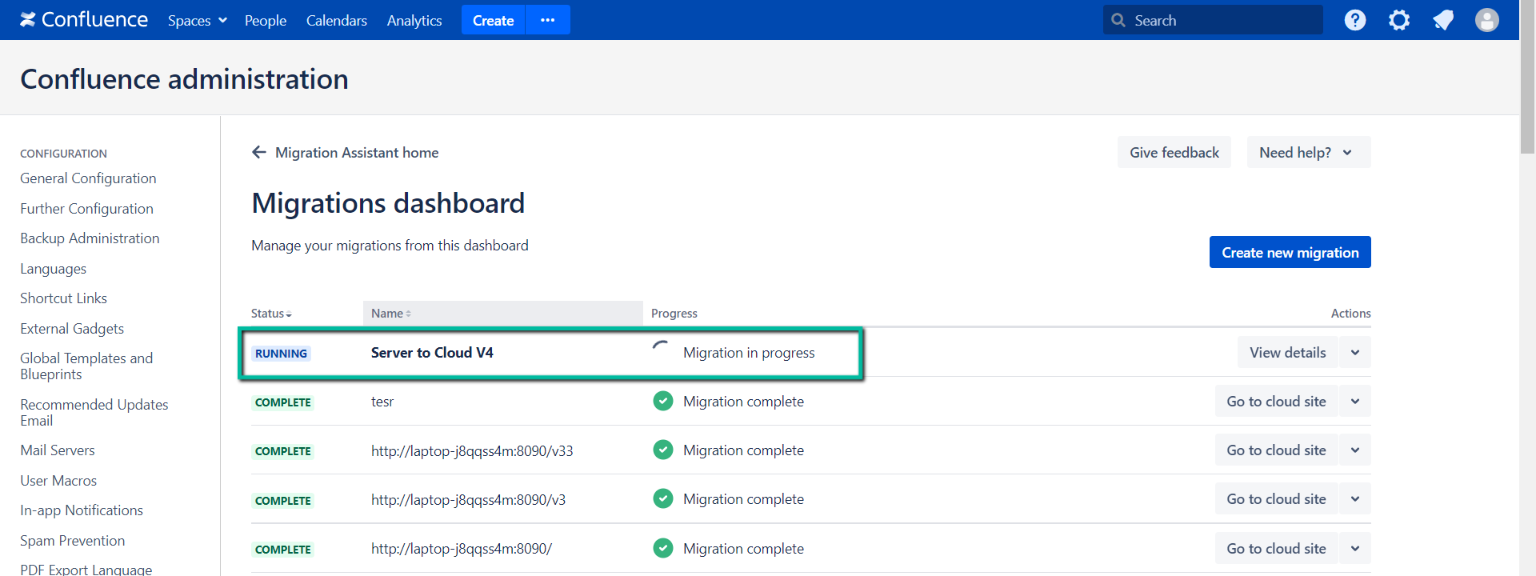
Review the migration details and click Run now if all the details are correct.
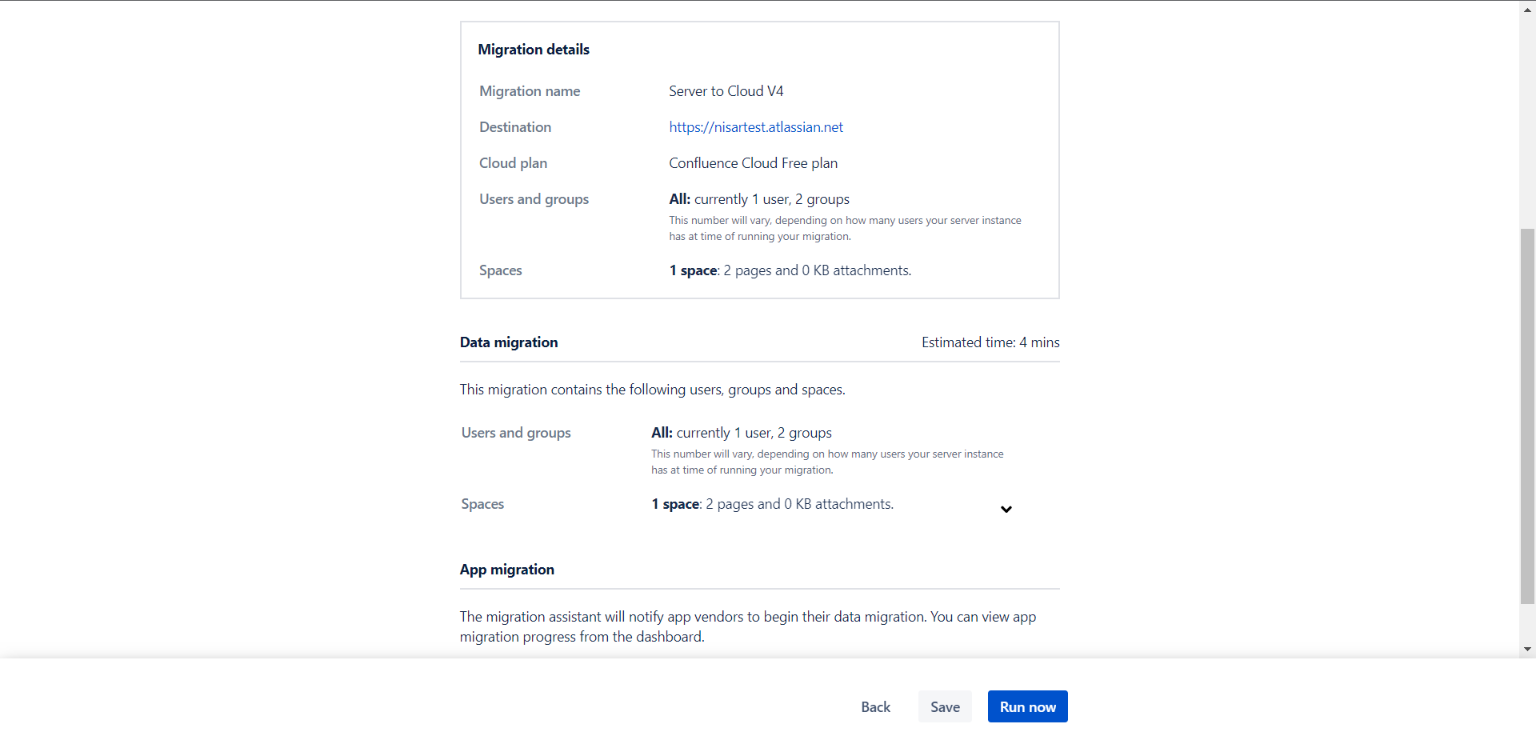
Clicking the Run Now initiates the migration process.
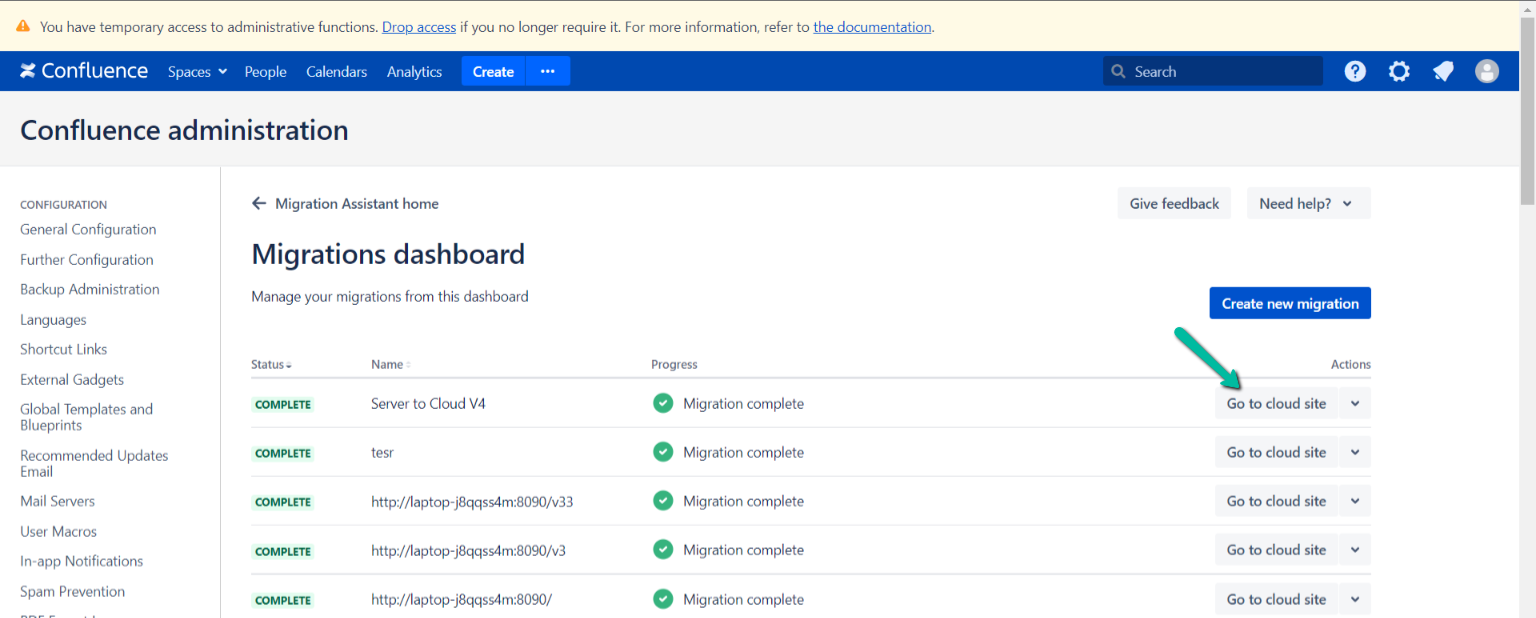
Once the process is complete, click Go to cloud site to open the Confluence Cloud.
Establish Connection in Confluence Cloud
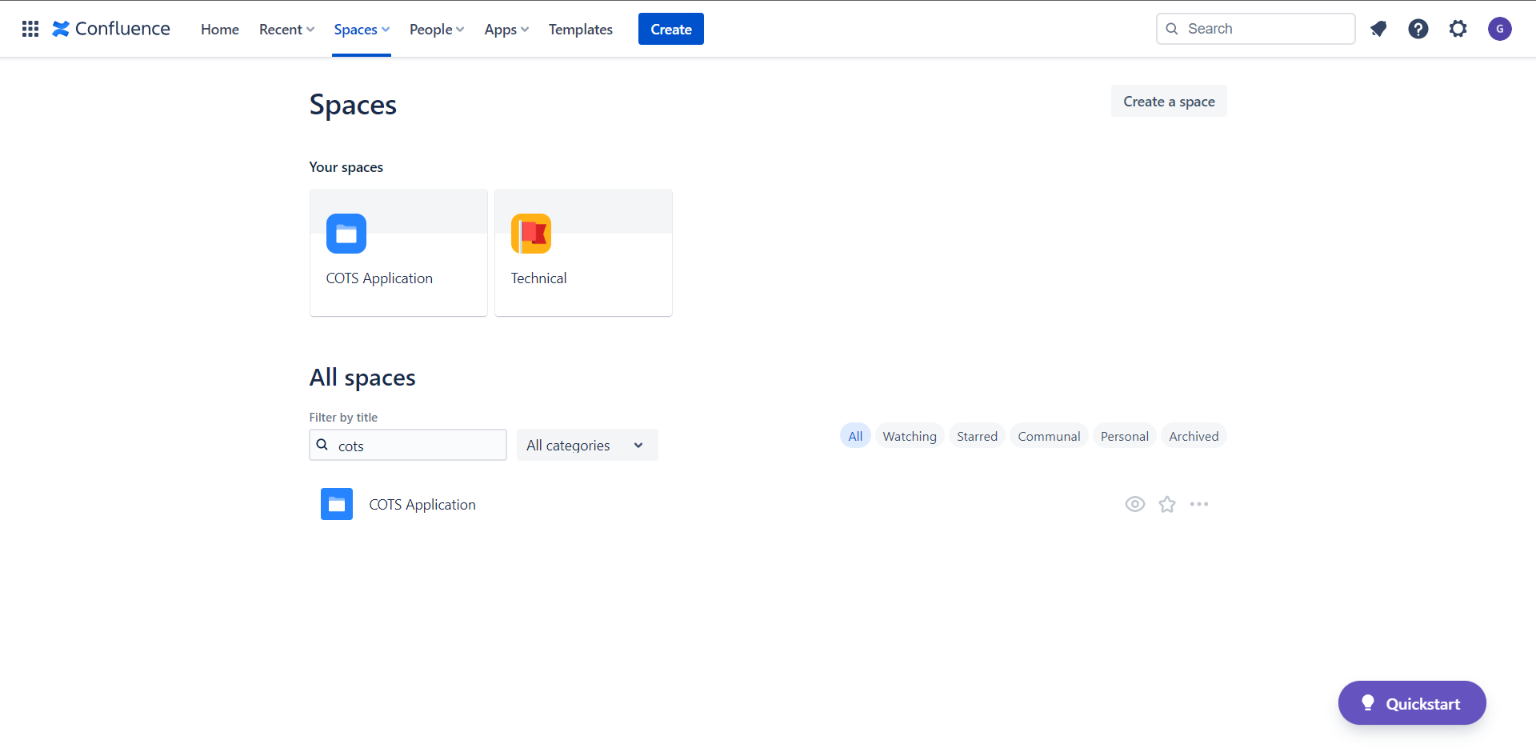
In the Confluence cloud site, click View all spaces under Spaces.
It lists all the spaces available in the cloud. Search for a Space using the search field and click on it to open.
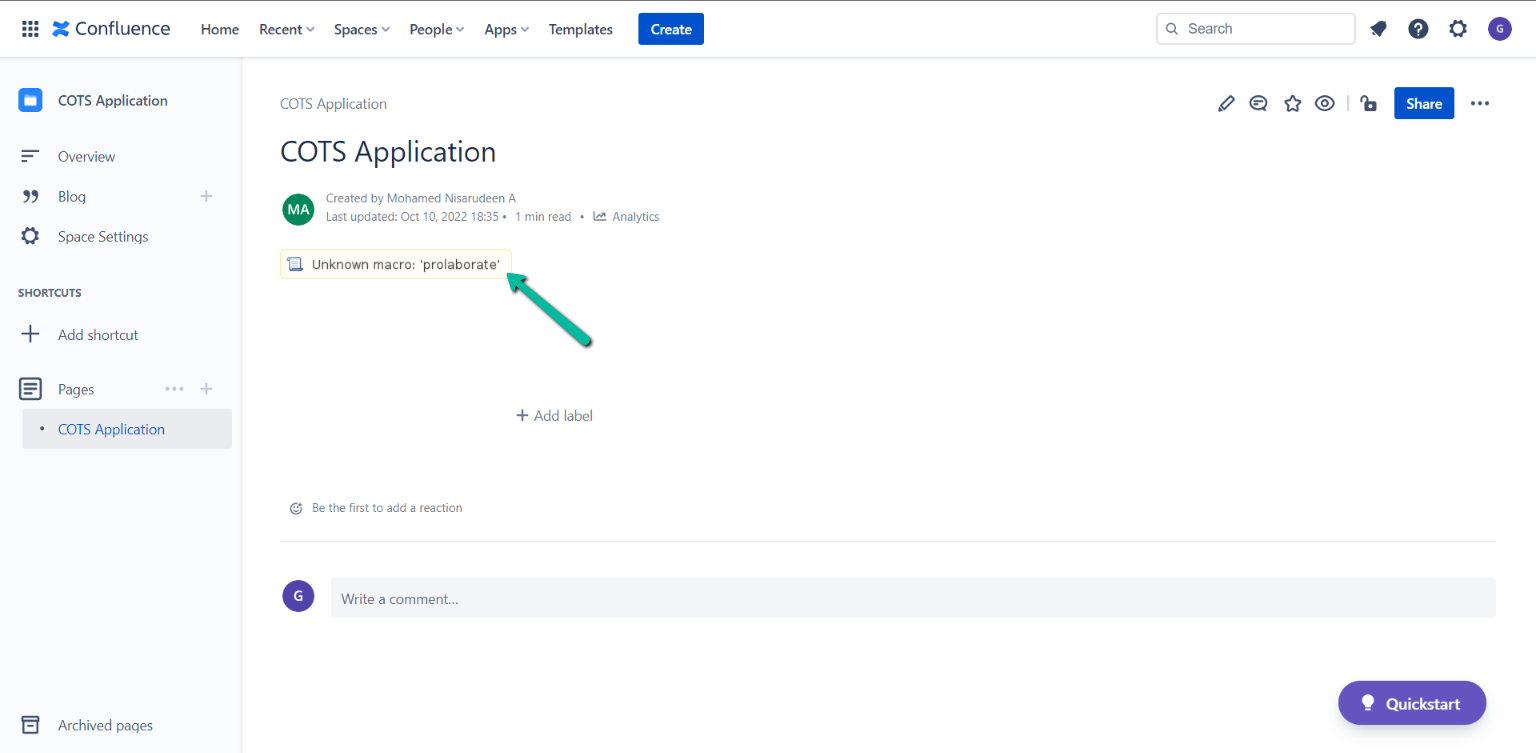
After navigating to the space, click on a page in the space to open.
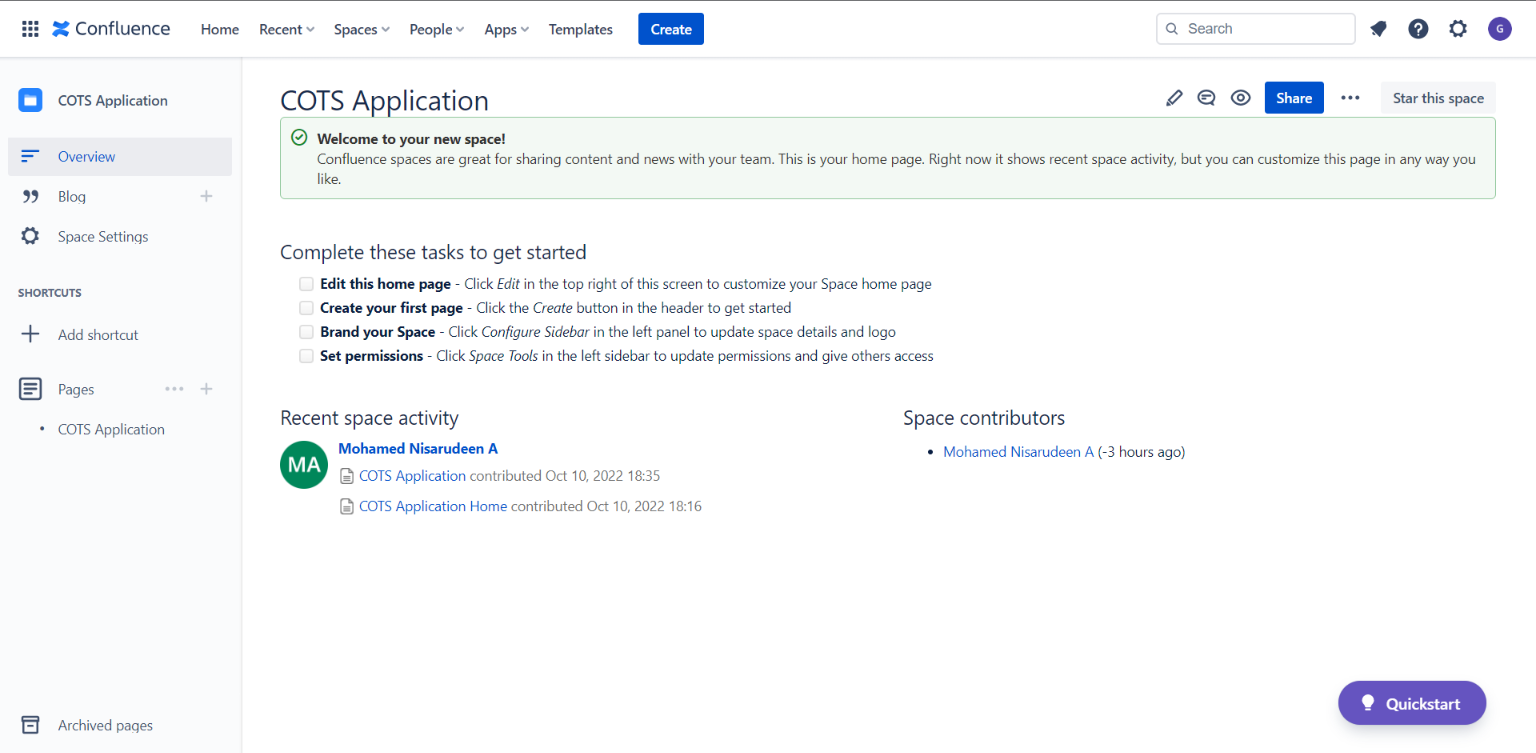
Opening the page shows Unknown macro and the migrated data is not rendered.
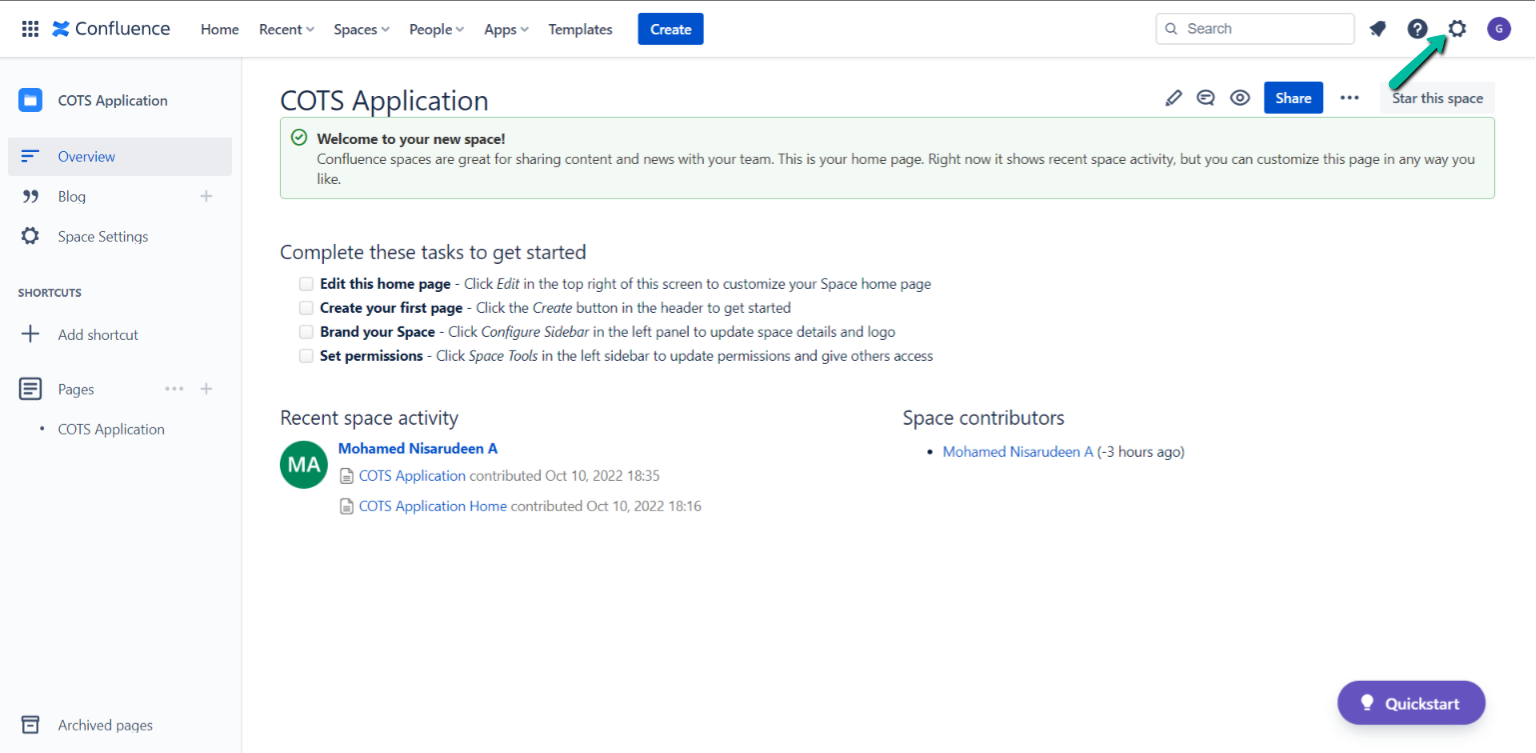
Now establish the connection in the Confluence Cloud with Prolaborate. Click on Settings in the top right corner.
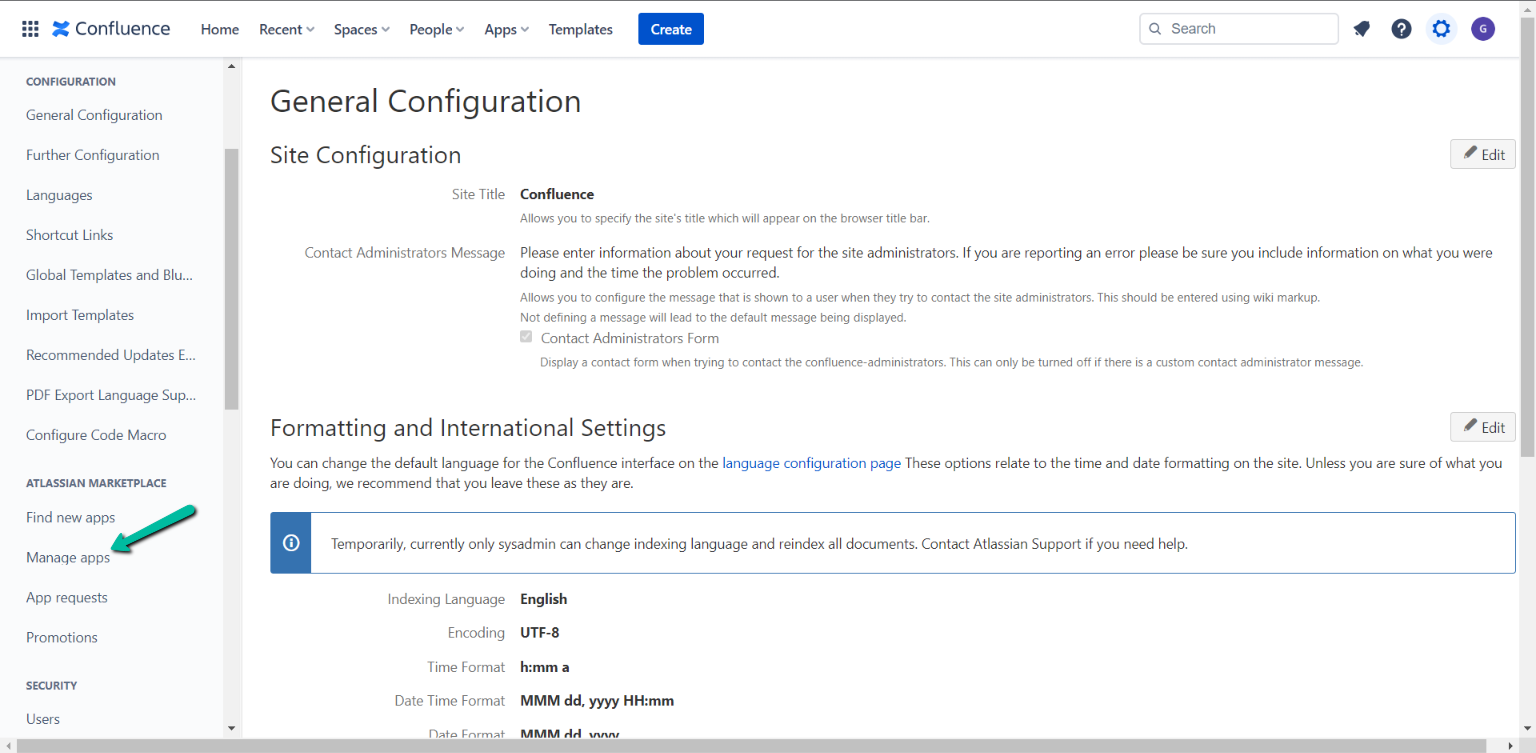
Select Manage Apps under Atlassian Marketplace.
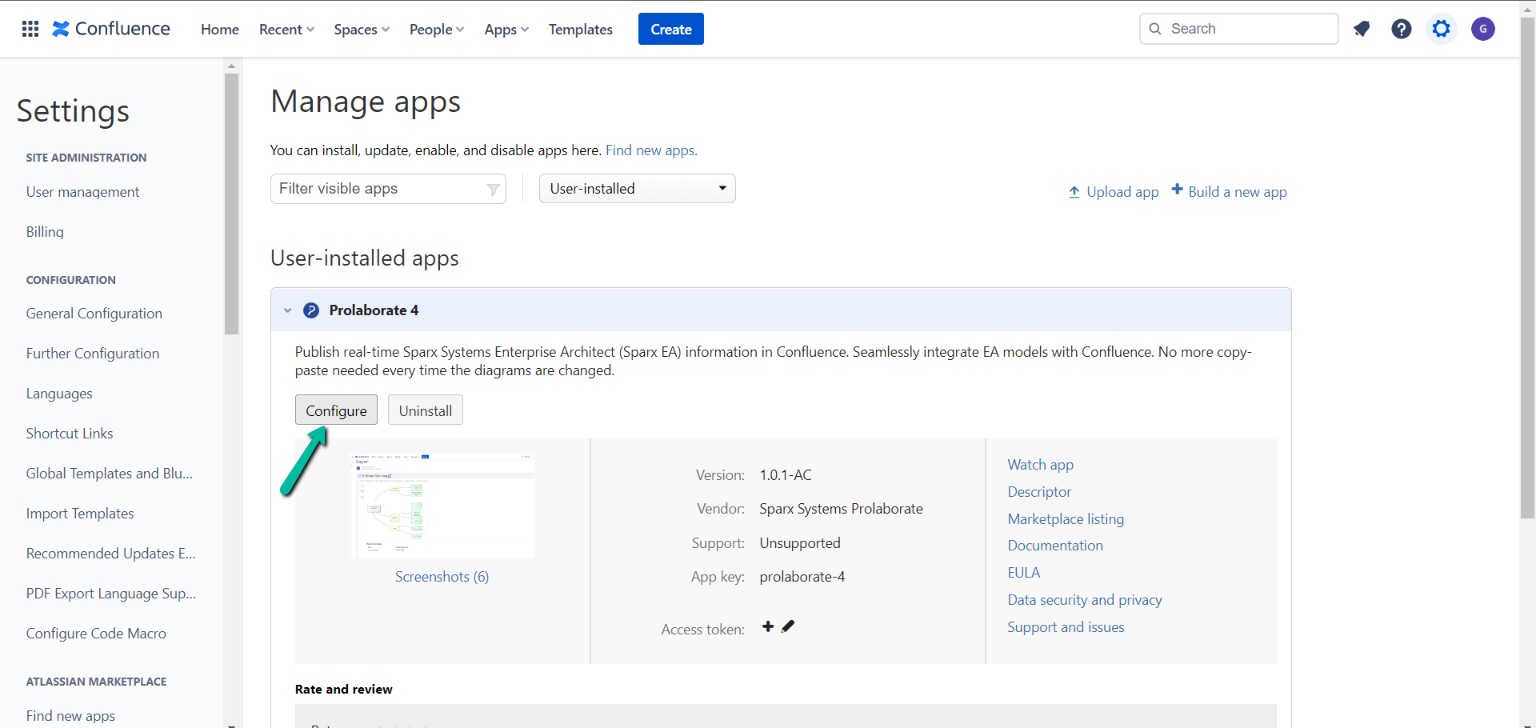
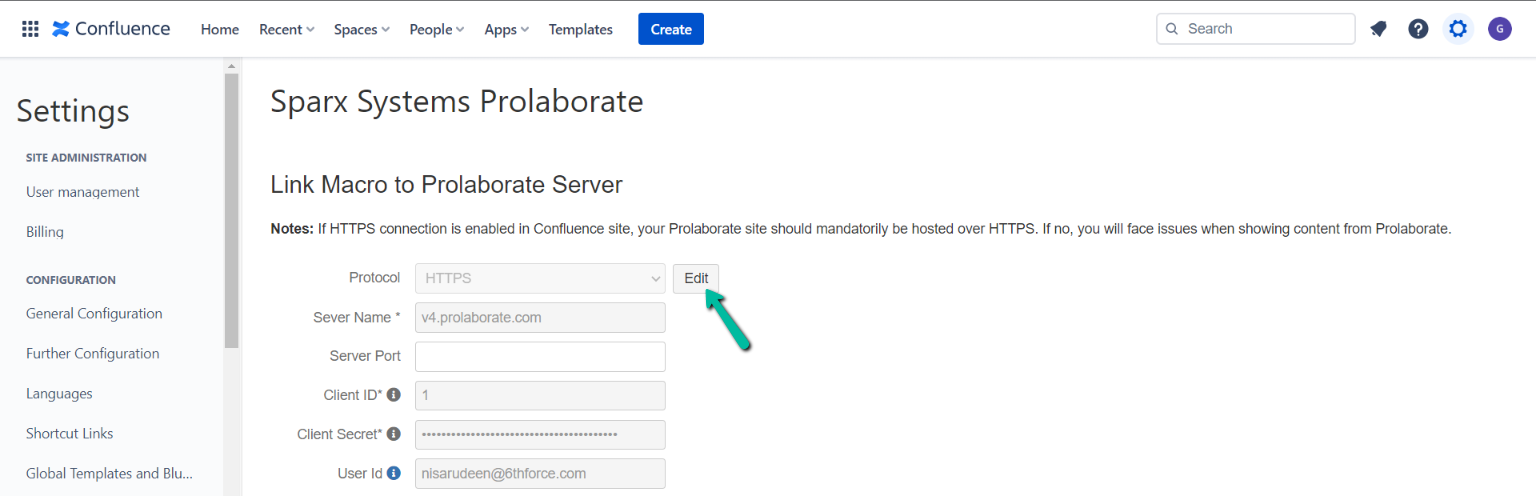
Under User-installed apps, Prolaborate 4 is listed. Click Configure to open the configurations with Prolaborate.
Click Edit to the edit the configuration, if required. To know more about configuring Prolaborate Macro in Confluence, click here.
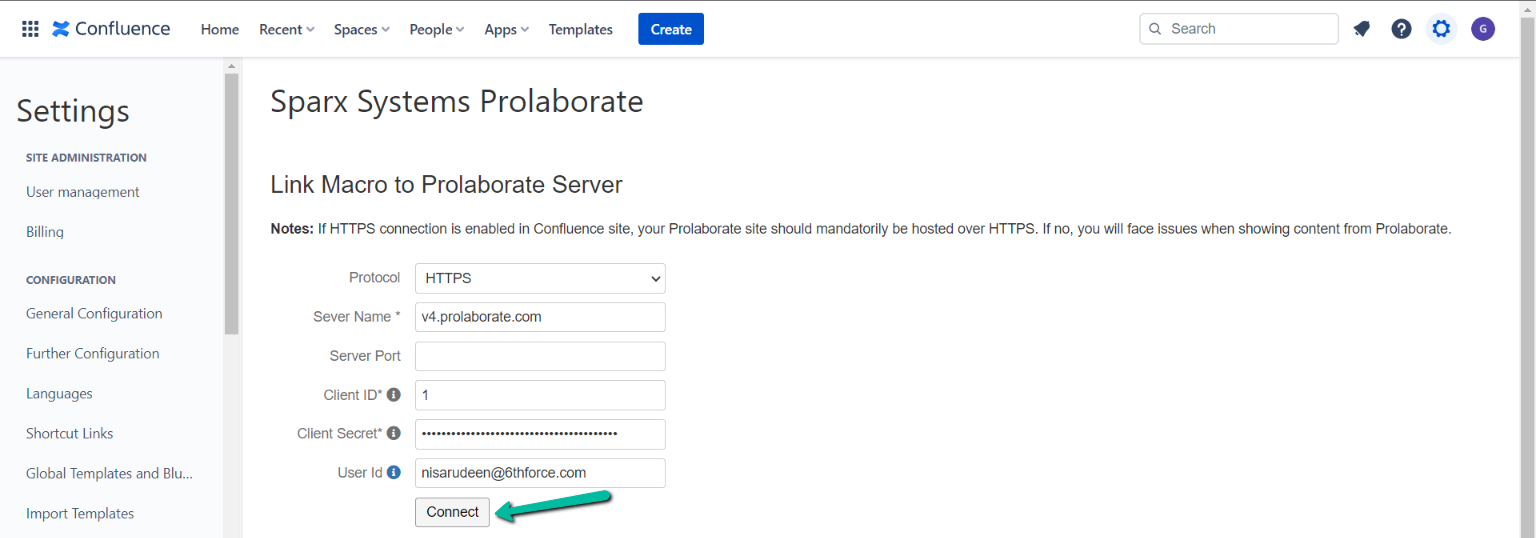
Once the details are reconfigured, click on Connect to establish the connection.
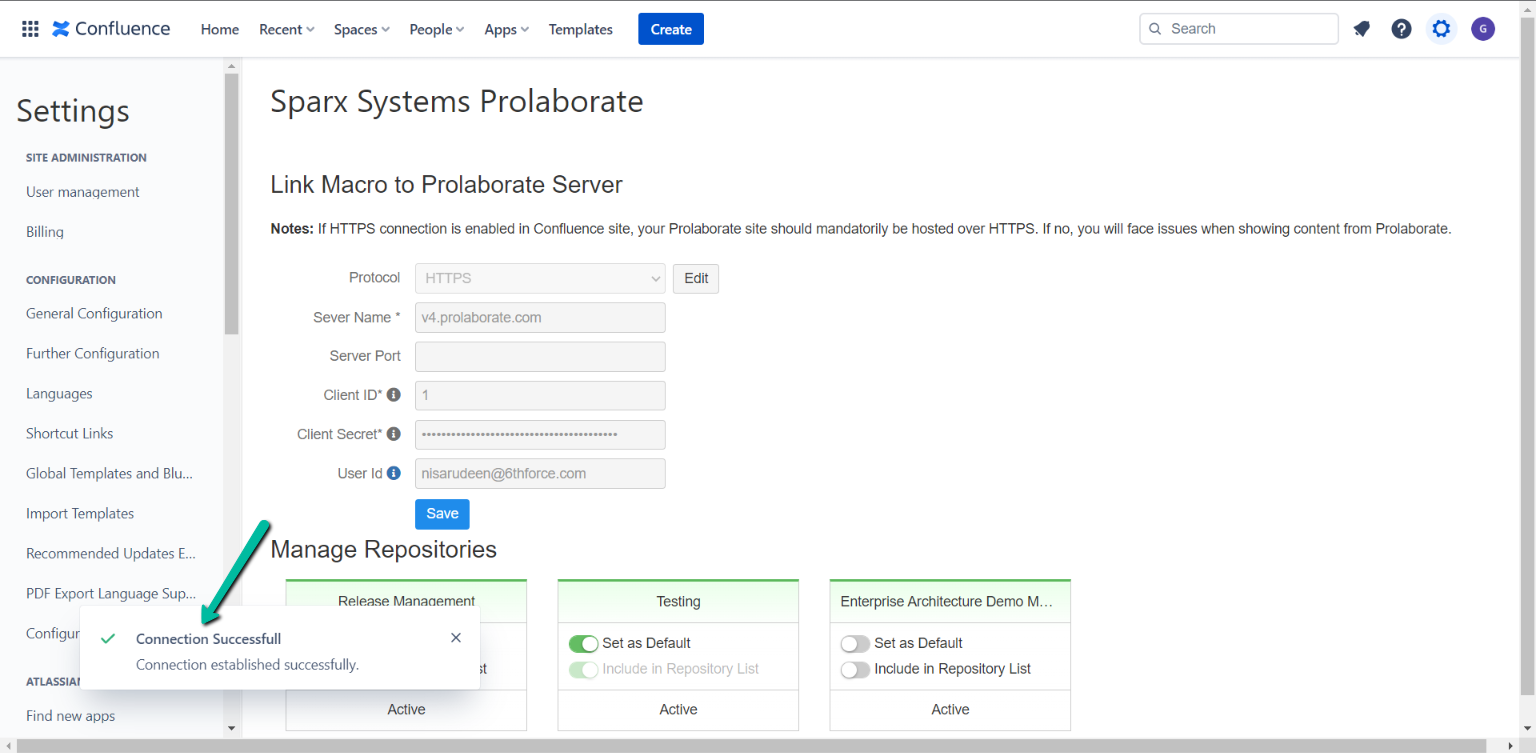
Connection Successful alert appears if it is successful along with the list of repositories which the user has access.
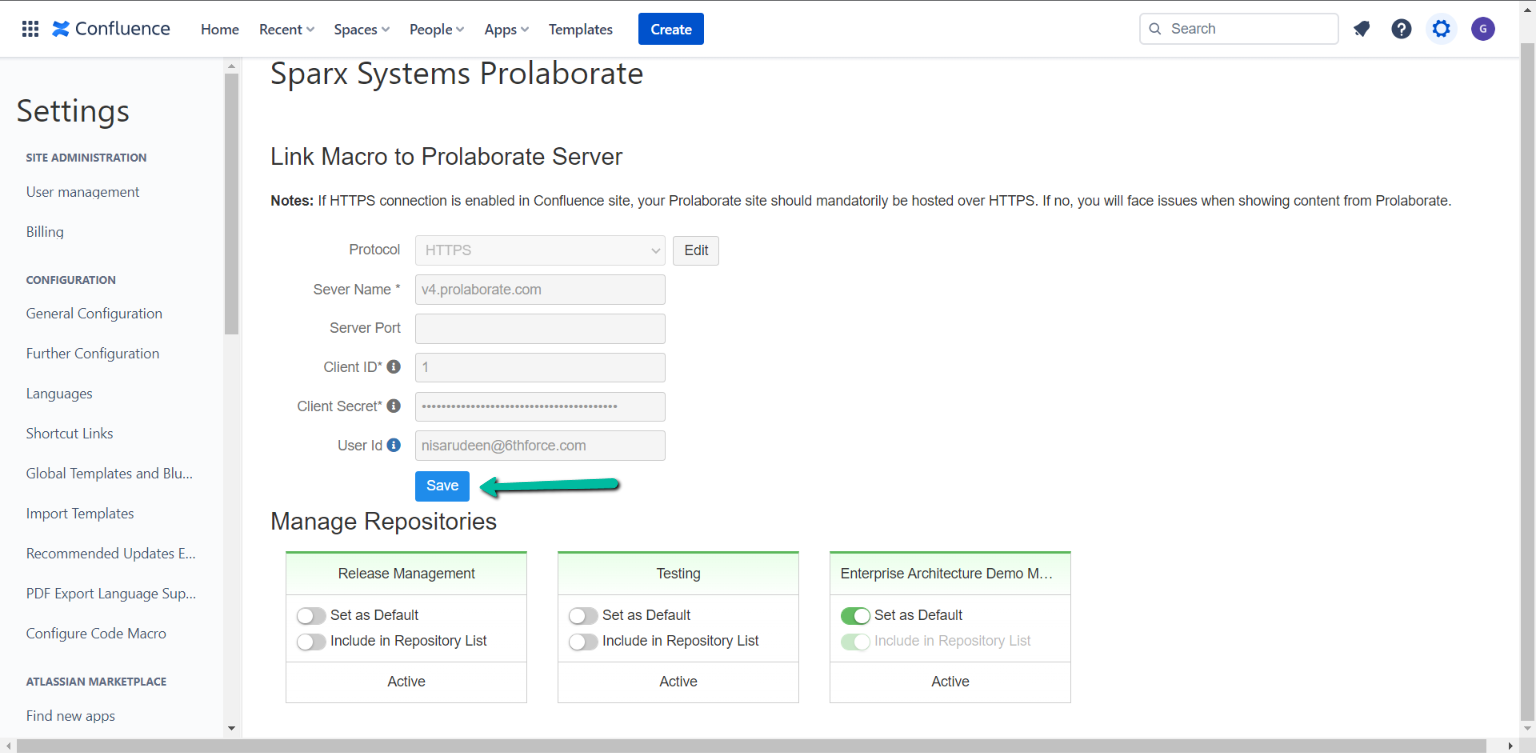
Click to Save to save the configurations. Saved Successful appears once it is successful.
Run Confluence Migrator
Once the connections are established in Confluence Cloud, run the ConfluenceMacro.DataMigration.exe as Administrator. Click here to download the Confluence Migrator.
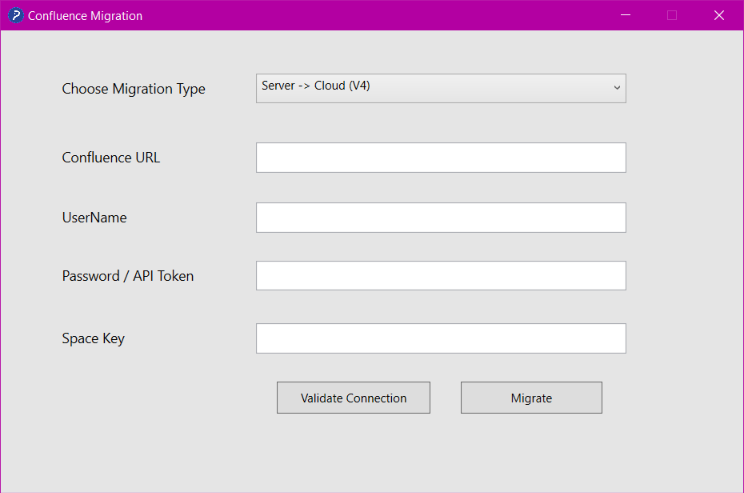
Enter the following details,
| Field | Description |
|---|---|
| Choose Migration Type | Choose Server → Cloud (V4) from the dropdown |
| Confluence URL | URL of the Confluence Cloud site |
| Port | (Optional) Port of Prolaborate site |
| UserName | Email address of the user |
| Password/ API Token | Paste the created API token. click here to know more |
| Space Key | Enter the Space Key of the space to be migrated |

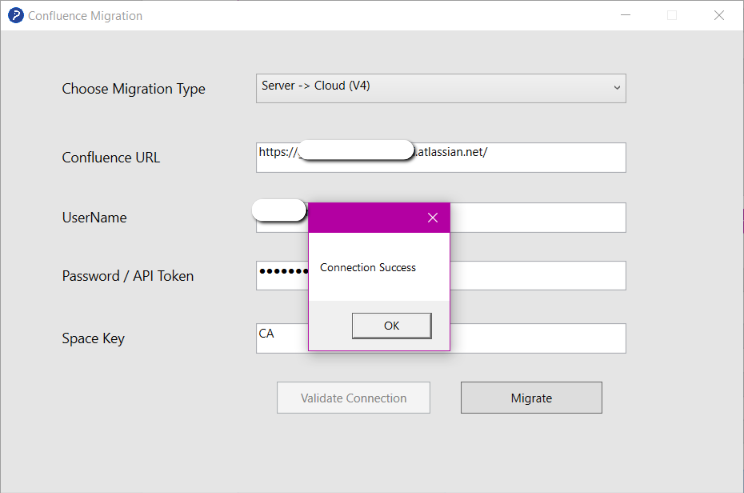
After entering the details, click on Validate Connection. Connection Success popup appears if the entered details are correct.
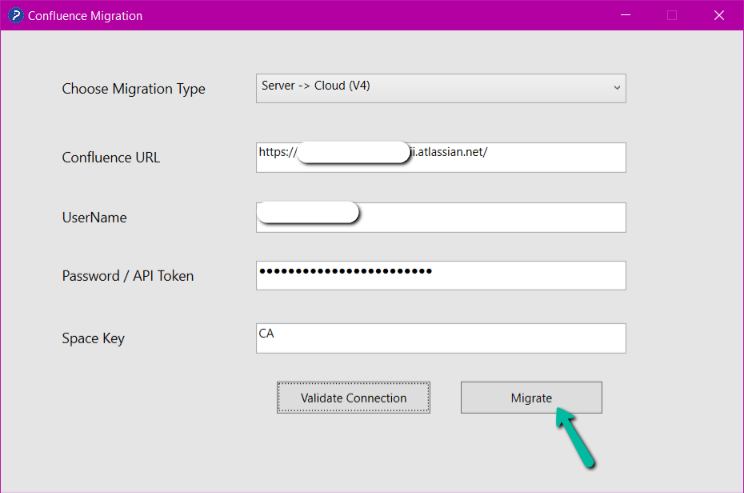
After validating the connection, click Migrate to initiate the migration process.
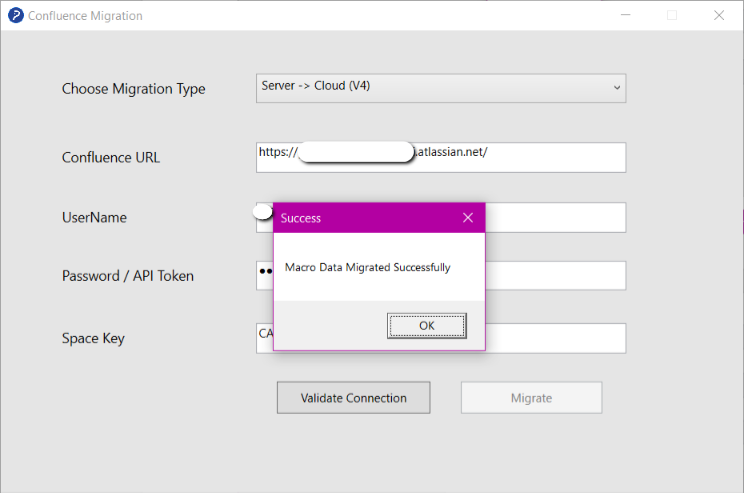
A popup alert appear after the data is migrated successfully.
Validate the Migrated Data in Confluence Cloud
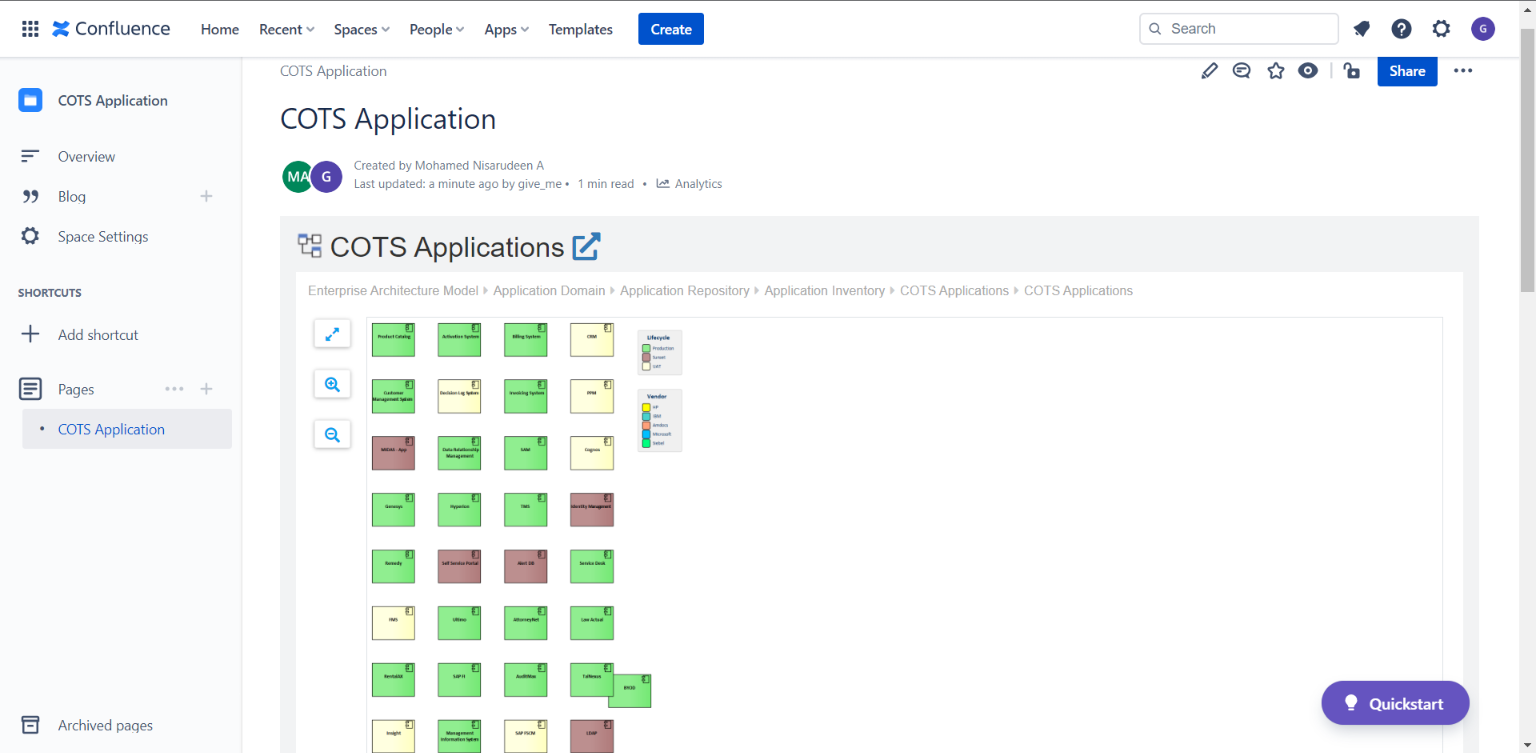
Open the spaces which is migrated in Confluence Cloud. All the pages in the migrated space renders properly.
Get Space Key to Migrate the Spaces
The next step is to get the space key for the migrated spaces from the Cloud Site.
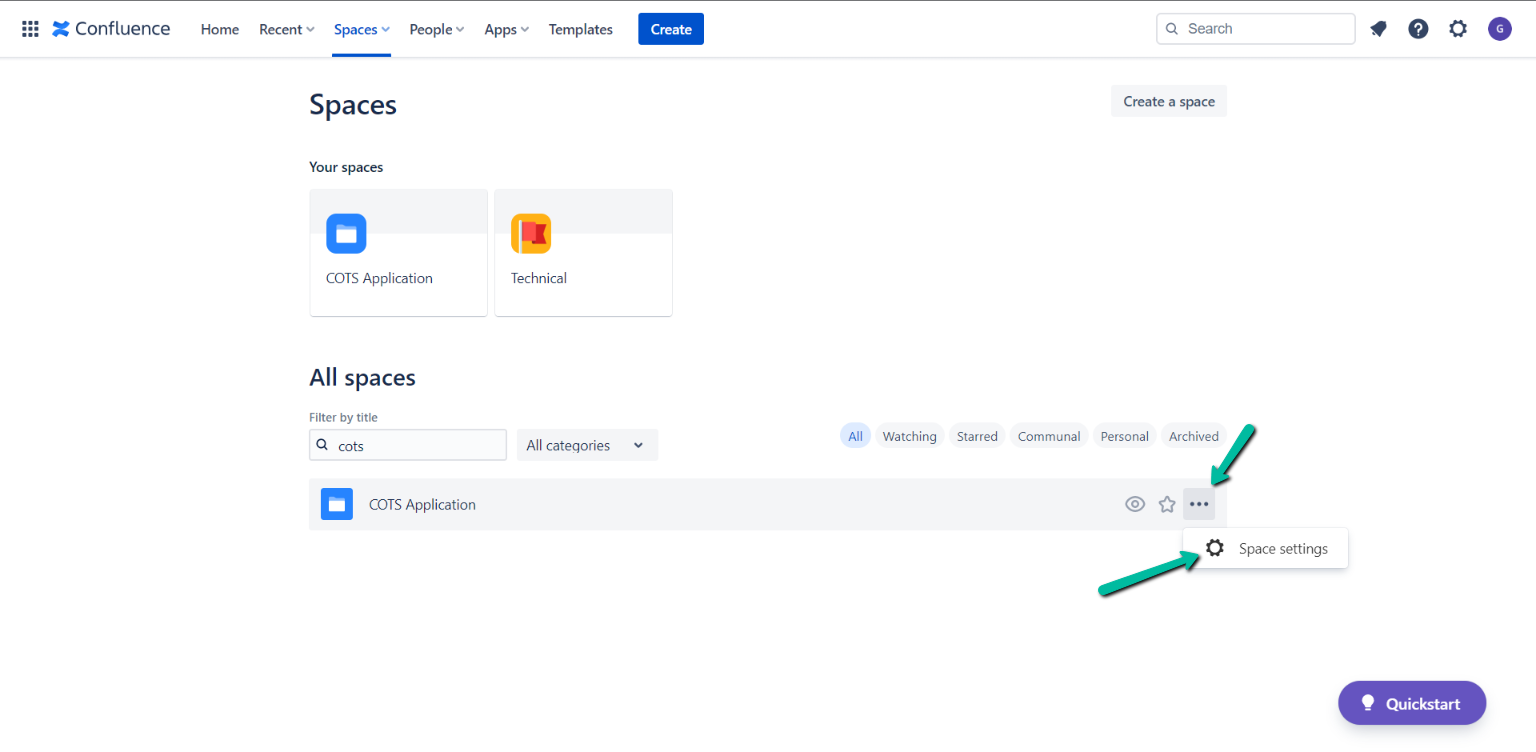
In the Confluence cloud site, click View all spaces under Spaces.
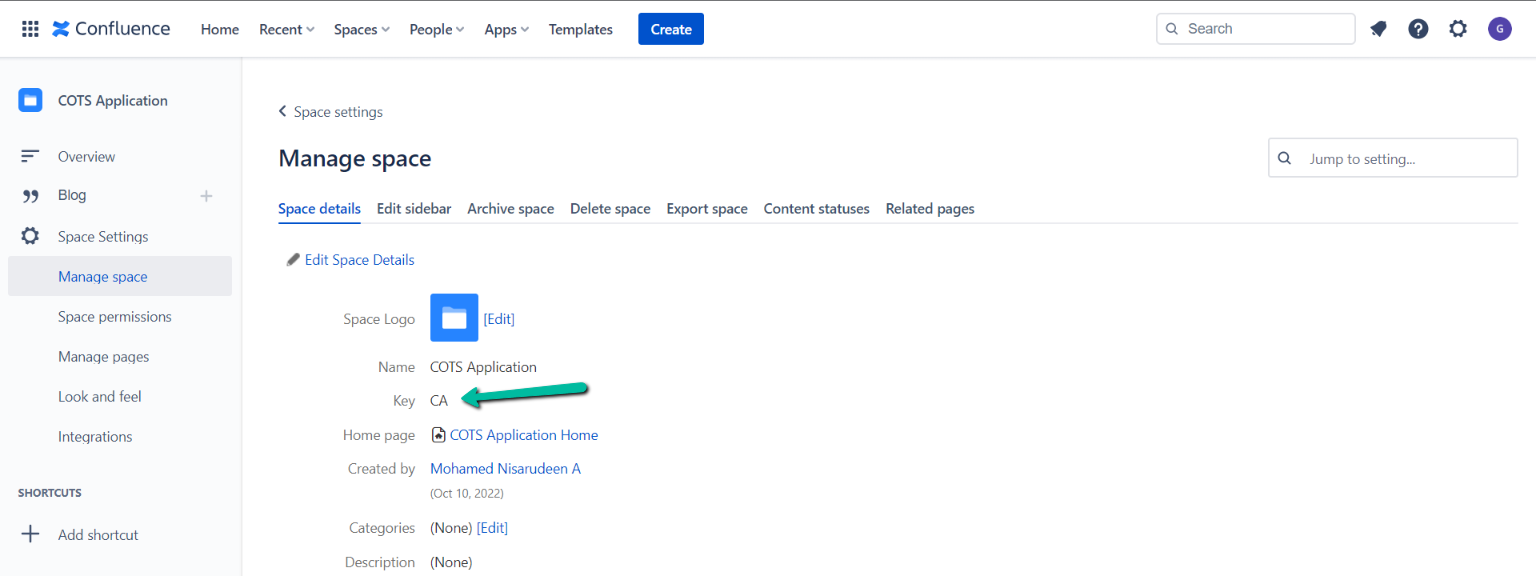
Click on the ellipses of a space and choose Space Settings.
The Space Key is listed under Space details section as shown in the image below and copy the key as it is required to complete the migration process.